Insights & Articles
Discover the latest in AI tools, productivity hacks, software reviews, and technology trends.

Best AI Meeting Agents 2026: Otter vs Fireflies vs ScreenApp
Compare the best AI meeting agents in 2026. Otter.ai vs Fireflies vs ScreenApp vs Grain. Real pricing, accuracy tests, and video-first workflows. Find the right AI meeting agent for your team.

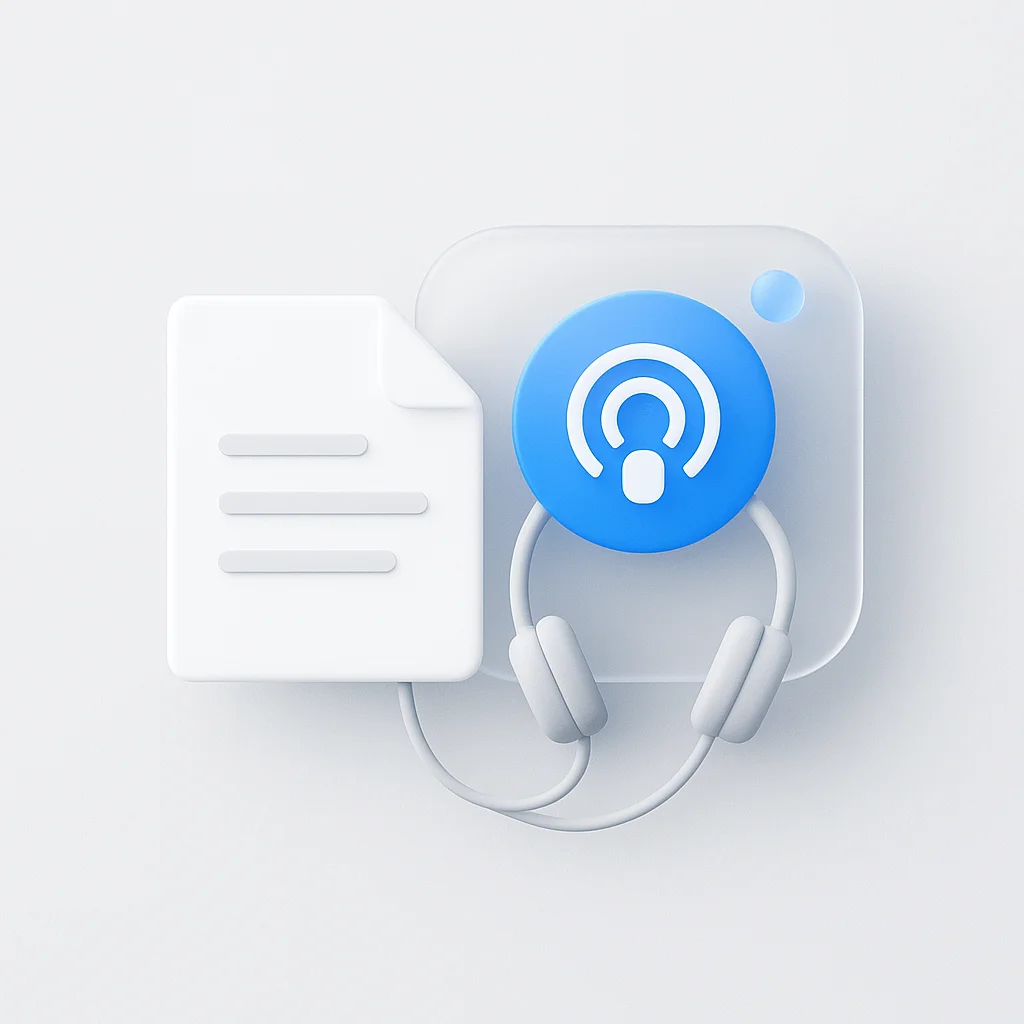
PDF to Podcast Generator: 6 AI Tools Tested for 2026
Turn any PDF into a podcast you can listen to. We tested 6 AI podcast generators (NotebookLM, NoteGPT, ElevenLabs, Turbo AI, BeFreed, Wondercraft) on free limits, voice quality, and study use.
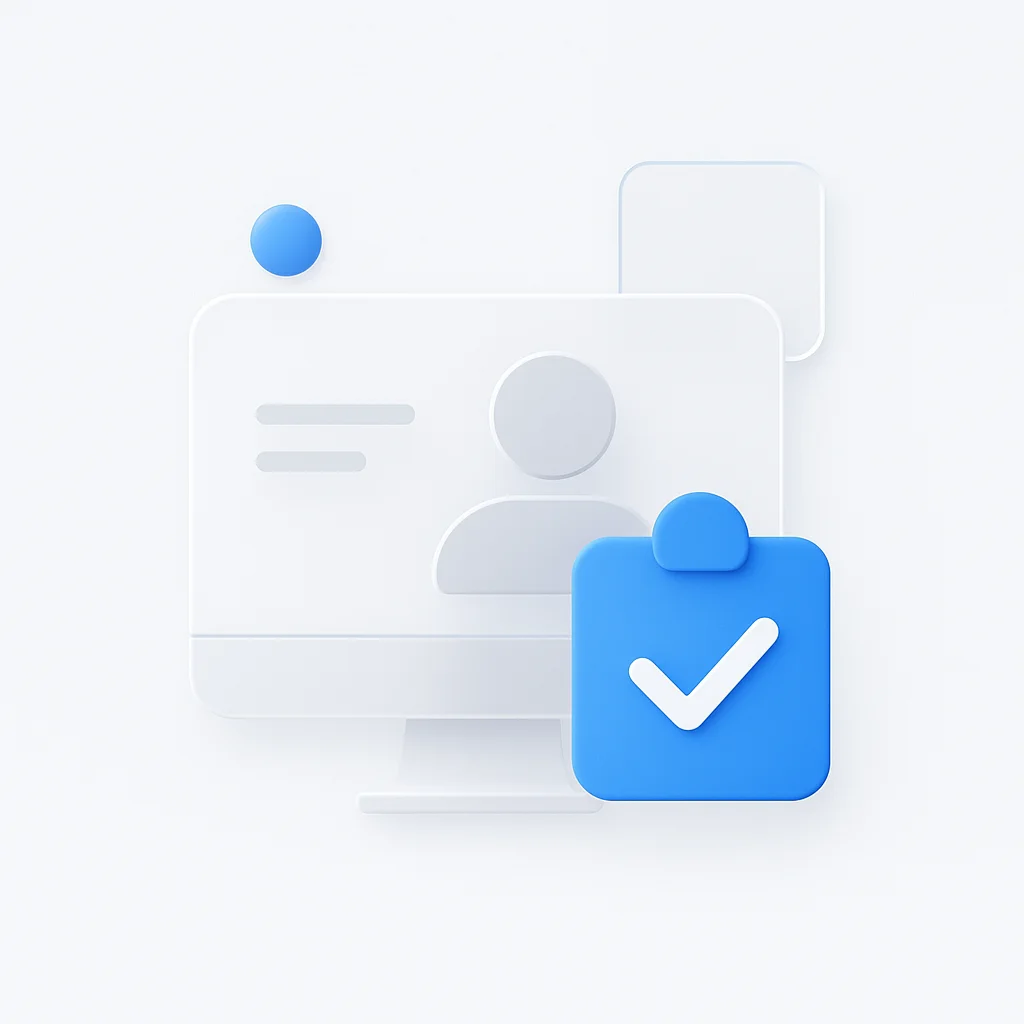
12 Best Employee Onboarding Software Platforms for HR Teams
12 employee onboarding software platforms compared on paperwork, IT provisioning, global hiring, training, and employee experience, including BambooHR, Rippling, Deel, and Trainual.
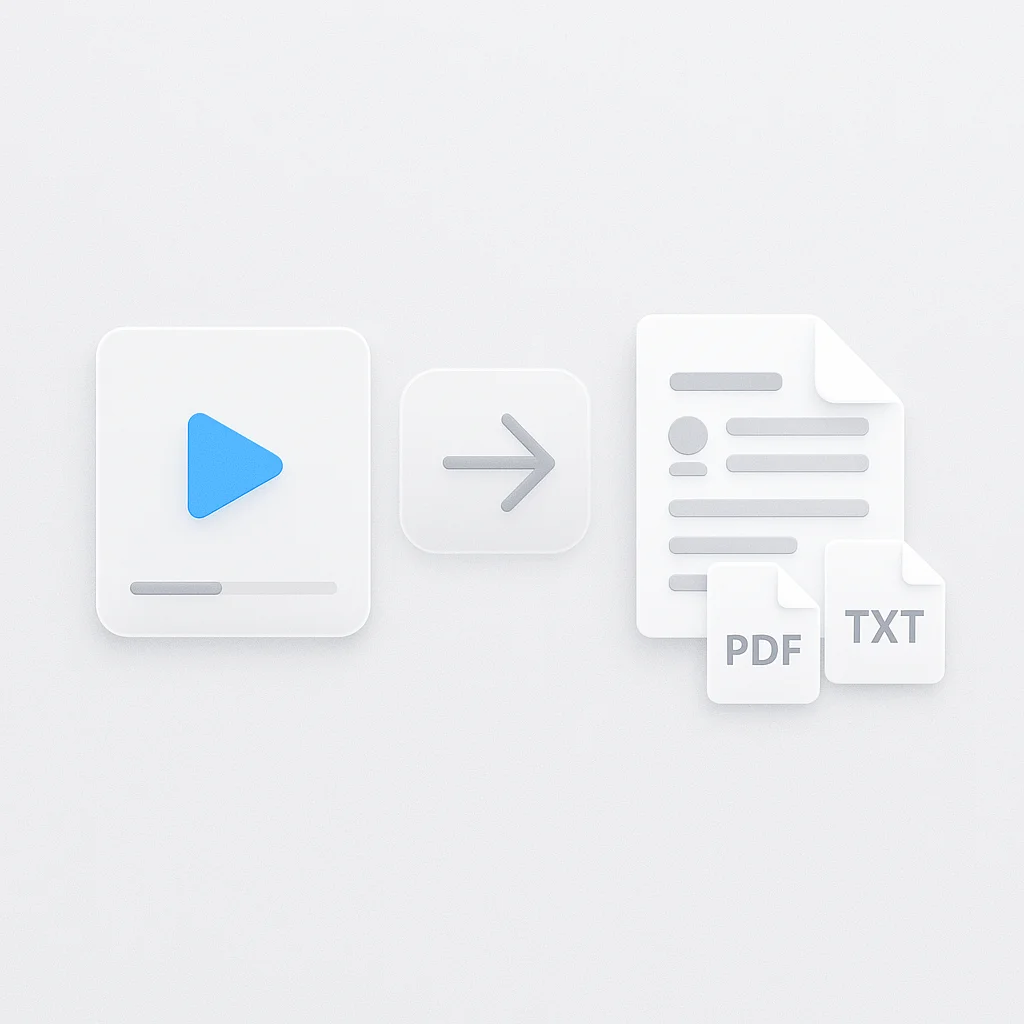
How to Convert a Video Interview to DOCX, PDF, or Text
How to convert a video interview into an editable Word document, PDF, or plain text: upload the recording, generate a transcript with speaker labels, review it, and export to DOCX, PDF, or TXT.
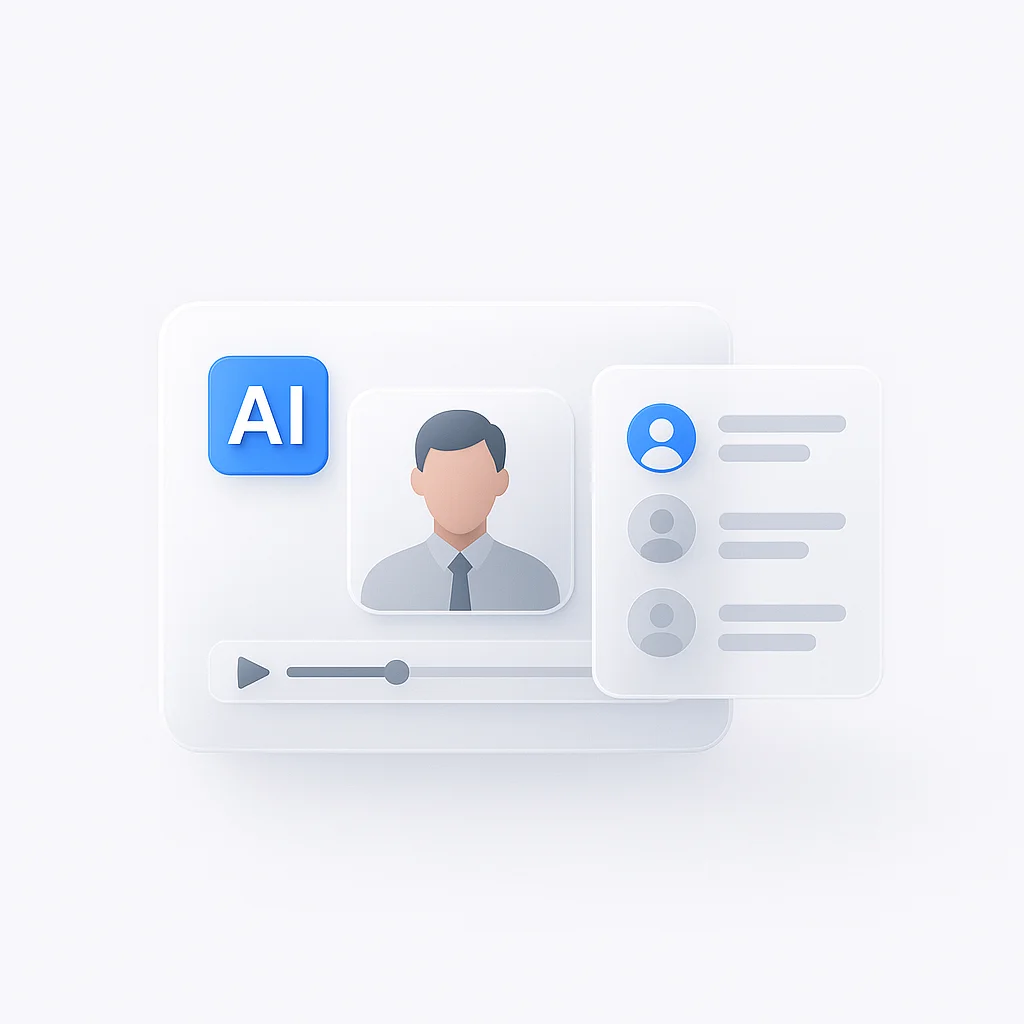
12 Best AI Video Interview Software Platforms for Faster Hiring
12 AI video interview software platforms compared on transcription, automated summaries, searchable recordings, and candidate comparison, including HireVue, Spark Hire, Metaview, and BrightHire.

12 Best Free Video Interview Platforms for Recruiters and Hiring Teams
12 free video interview platforms compared on free plan limits, interview caps, team seats, and whether a credit card is required, including Zoom, Google Meet, myInterview, Willo, Hireflix, and ScreenApp.
12 Best One-Way Video Interview Platforms for Candidate Screening
12 one-way video interview platforms compared on retakes, response time limits, question libraries, and collaborative review, including Hireflix, Willo, Spark Hire, HireVue, and Jobma.

Top 12 Online Proctoring Software 2026: Ensuring Exam Integrity
Secure your exams with the top 12 online proctoring software, maintaining integrity in the digital age.

Best Bot-Free AI Meeting Recorders 2026: Record Without Bots
Record any meeting without adding a bot: compare ScreenApp, Fathom, Granola, Krisp, and Jamie. No participant notifications, full privacy, works on Zoom, Teams, and Google Meet.
What Is Ask YouTube? Google's Gemini Video Search, Explained
What Ask YouTube is, how Google's Gemini-powered video search works, who can use it, and where it stops. A clear look at the I/O 2026 feature, plus how it compares to chatting with a single video in ScreenApp.

Best MKV to MP4 Converter: 10 Tools for Windows and Mac (2026)
The best MKV to MP4 converter picks for Windows and Mac, tested for speed, quality, and real free-tier limits. Free and paid tools compared, no watermark traps.
Can You Edit Videos in Photoshop? Complete Step-by-Step Guide
Can you edit videos in Photoshop? Yes: import clips, trim and split them, add text, transitions, music, and effects in the Timeline, then export MP4. Here is the full workflow, the limits, and when to use a real video editor instead.
Can You Upload Video - Audio to ChatGPT? How It Works, Limits, Alternatives
Can you upload video or audio to ChatGPT? What actually works in 2026: file attachments, live video in Voice, ChatGPT Record, the 512 MB limit, why uploads fail, and the transcript workflow that always works.