Master Screen Recording on iPhone 14!

Are you ready to take your iPhone 14 experience to the next level? Look no further than the incredible screen recording feature in iOS 14. With just a few simple steps, you can capture and share your favorite moments, whether it’s a hilarious TikTok video or a stunning gameplay session. Say goodbye to the hassle of third-party apps and join us as we dive into this step-by-step guide on how to master screen recording on your iPhone 14. For comprehensive screen recording solutions across all devices, explore our best AI screen recorders review and OBS vs Camtasia comparison.
Introduction
In an era where digital communication reigns supreme, screen recording has become an indispensable tool. It allows us to capture and share the exact sequence of actions occurring on our screens, serving as a powerful means of communication that transcends geographical barriers. Whether you’re demonstrating a complex process, capturing a digital milestone, or creating compelling content for social media, screen recording helps you deliver your message accurately and effectively.
Now, imagine wielding this powerful tool in the palm of your hand, right on your iPhone. With the iPhone 14, this isn’t just a possibility—it’s a seamless, integrated feature. The iPhone 14’s screen recording feature, deeply rooted within its state-of-the-art iOS, provides a user-friendly, efficient method for recording high-quality video content of your on-screen activities. In this article, we’re going to delve into the specifics of this feature, guiding you through the process of screen recording on your iPhone 14, so you can unlock and utilize its full potential. For desktop alternatives, check out our Bandicam vs OBS analysis and ScreenRec vs OBS comparison.
Basic Requirements
Before we delve into the process of screen recording, let’s ensure your device meets the necessary criteria.
Compatible iOS and iPhone Models
- Screen recording is a built-in feature available on all iPhones running iOS 11 and later. This encompasses a wide range of iPhone models, from the iPhone 5s up to the latest iPhone 14 series. If you’re not sure which iOS your device is running, you can check it by going to Settings > General > About > Software Version.
Additional Hardware or Software Requirements
- As far as additional requirements go, you don’t need any extra hardware or software to use the screen recording feature. It’s all neatly bundled with your iPhone’s operating system. Do ensure that you have enough storage space on your device, as video recordings can consume a significant amount of storage, especially for longer or high-resolution recordings.
Step-by-Step Guide: Enabling Screen Recording on iPhone 14
Now, let’s move on to the meat of the matter: how to enable and start using the screen recording feature.
Navigating to the Control Center in Settings
- Open the Settings app on your iPhone.
- Scroll down and tap on ‘Control Center’.
Adding Screen Recording to the Control Center
In the Control Center menu, you’ll see a list of various controls that you can add to your Control Center for quick access. Here’s how to add a Screen Recording:
- Under ‘More Controls’, find ‘Screen Recording’.
- Tap the green ’+’ button next to ‘Screen Recording’. It will move to the ‘Included Controls’ section, meaning it’s now added to your Control Center.
Explanation of the Screen Recording Button on the Control Center
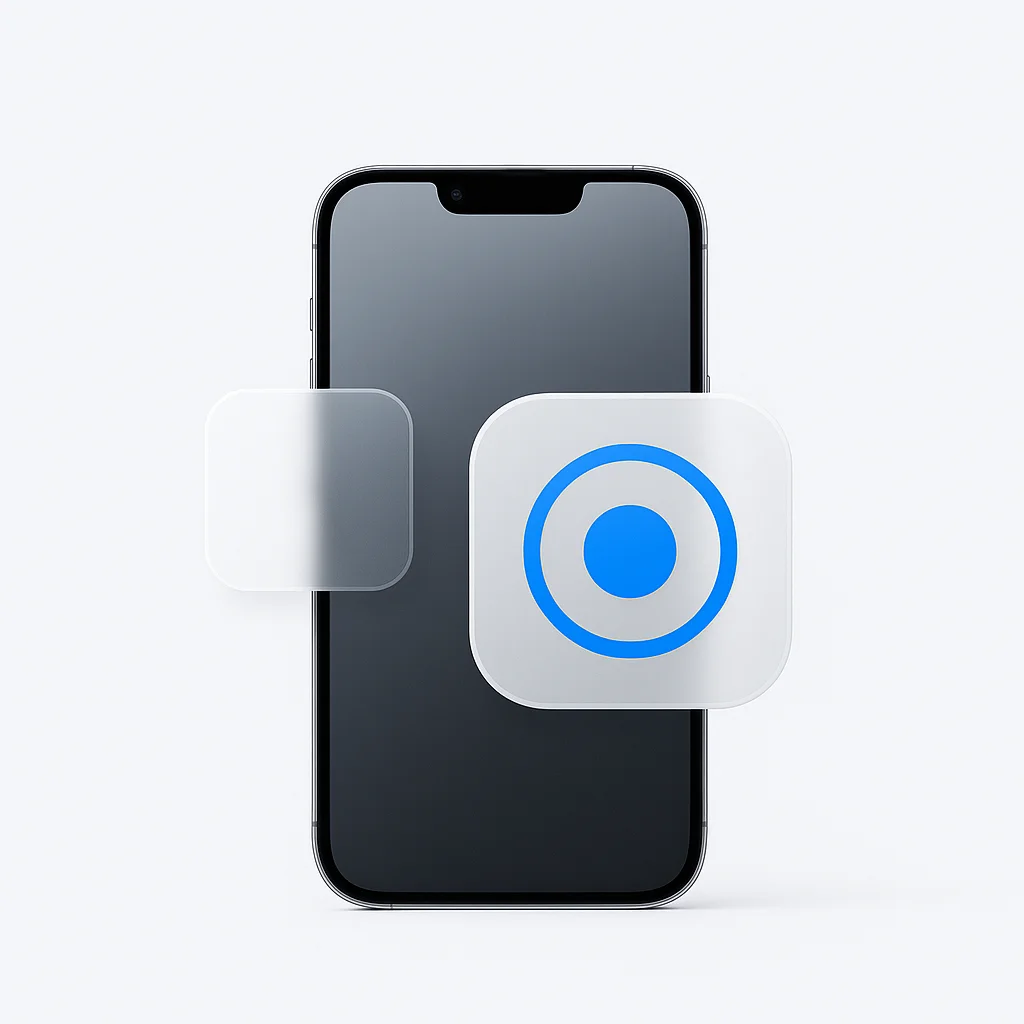
Now, when you swipe up from the bottom of your screen (or down from the top right corner on iPhone X or later models), you’ll see a new icon in your Control Center. It’s a circle within a circle - that’s your Screen Recording button. A single tap starts a screen recording, and it turns red when a recording is in progress. To stop recording, you simply tap the button again.
How to Use Screen Recording
Now that you have enabled the screen recording feature on your iPhone 14, let’s delve into how to use it effectively.
Starting a Screen Recording
- Open the Control Center by swiping down from the top right corner of your screen.
- Tap the Screen Recording button.
- A three-second countdown will begin, giving you a brief moment to prepare. Once the countdown is over, everything you do on your screen will be recorded.
Recording with or without Audio
By default, screen recordings don’t capture audio. But what if you want to narrate what you’re doing, or capture the audio from a video or game? Here’s how to do it:
- Open the Control Center.
- Press and hold the Screen Recording button. This opens a menu with more options.
- Tap the Microphone icon to turn it on (it will turn red when on). Now your screen recording will also capture audio from your microphone.
Stopping a Screen Recording
To stop recording, you have two options:
- Open the Control Center and tap the red Screen Recording button.
- Or, tap the red status bar at the top of your screen, then tap ‘Stop’.
Locating the Saved Screen Recording
Once you stop a recording, the video is saved automatically. You can find it in your Photos app, in the ‘Recents’ album, or in the media types under ‘Screen Recordings’.
Tips and Tricks for Better Screen Recording
To enhance your screen recording experience, here are some tips and tricks:
Utilizing Do Not Disturb Mode During Screen Recording
To prevent incoming calls or notifications from interrupting your screen recording, enable Do Not Disturb mode. Navigate to Settings > Do Not Disturb, then switch it on.
Important Points About Recording Audio
Remember that enabling the microphone captures all the sounds around you, not just your voice. Ensure you’re in a quiet environment if you’re narrating.
Suggestions on Screen Orientation for Optimal Viewing
Before you start recording, decide if you want your video in portrait or landscape mode. Once you start recording, changing your screen’s orientation will result in a video that’s rotated.
Highlighting Touches During Recording
If you want to make it clear where and when you’re tapping on your screen during a video, you can add an Accessibility feature that shows a touch indicator on your screen:
- Go to Settings > Accessibility > Touch.
- Scroll down to ‘Back Tap’ and turn it on.
- Select either ‘Double Tap’ or ‘Triple Tap’, then scroll down and select ‘AssistiveTouch’.
Now, a circular dot will appear on your screen when you touch it. To remove this feature after you’re done recording, just follow the steps above but turn ‘AssistiveTouch’ off.
Troubleshooting Common Issues
As helpful as the screen recording feature is, you may occasionally encounter issues. Here are some common problems and solutions:
What to Do if Screen Recording is Not Working
- Check if your iPhone is running iOS 11 or later, as the screen recording feature is not available on older versions.
- Make sure you have enough storage space. If your iPhone is almost full, it may not save screen recordings.
- Restart your iPhone. Sometimes a simple restart can solve a lot of problems.
How to Fix No Audio During Screen Recording
If you don’t hear any audio when you play back your screen recording, here are some things you can try:
- Make sure the ringer/silent switch on the side of your iPhone is not set to silent.
- Check the audio level in the video player. It may be muted or very low.
- Ensure you turned on the Microphone Audio while starting the recording (as described in Section IV-B).
Resolving Issues with Saving Screen Recording
If you can’t find your screen recording in the Photos app:
- Check the ‘Screen Recordings’ album, as iOS creates a separate album for screen recordings.
- Make sure your iPhone has enough storage space. If it’s almost full, it may not save screen recordings.
Creative Uses of Screen Recording
There are countless ways to utilize the screen recording feature. Here are a few ideas:
Making Tutorials or Demos
Educators, app developers, or anyone needing to explain a process on their iPhone can record their actions, making it easier for others to learn and follow along.
Capturing Memorable Moments
Record gameplay, live streams, or other digital events that you can’t save by regular means. Relive your achievements or share the moments with others later.
Creating Content for Social Media
Craft unique content for your social media platforms. From tech tips to DIY hacks, screen recordings can take your content to a new level.
Recording Video Calls or Online Meetings
Screen recording is an easy way to record video calls or online meetings, but remember to respect privacy laws and ask for consent when necessary.
Comments/Interaction
We’ve covered a lot of ground regarding the screen recording feature on the iPhone 14, but there’s always more to learn. So now, it’s over to you, our readers. Have you discovered any useful tricks or creative uses for screen recording? Do you have any stories or experiences you’d like to share about using this feature? We’d love to hear from you, so please feel free to leave a comment below. Your insights not only help us improve our content, but they can also assist other users in making the most out of their devices.
Advanced Screen Recording Settings
Let’s now take a look at some of the more advanced settings you can utilize to customize your screen recording experience.
Explanation of Microphone Audio Setting and Its Usage
As we’ve discussed earlier, turning on the Microphone Audio setting allows you to record external audio alongside your screen recording. This can be particularly useful for narrating your actions during the recording or capturing sounds from the environment. However, do note that this also records all ambient noises, so it’s best used in a quiet setting.
Details About the Broadcast Screen Option and Its Uses
The Broadcast Screen option, available when you hold down the screen recording button, allows you to live stream your screen to compatible apps that support this feature. This could be a powerful tool for gamers, educators, or presenters wanting to share their screen activities in real time.
Discussing Photos App Settings Related to Screen Recordings
In the Photos App, there are a couple of settings that you may find useful when dealing with screen recordings.
- Auto-Play Videos and Live Photos: If enabled, your screen recordings will automatically play when you open them.
- Loop: You can set your screen recording to loop continuously, which is handy when you’re showing a short process or sequence.
Privacy Considerations When Screen Recording
As with any recording, privacy is a crucial consideration when using the screen recording feature.
Notifications Received by Others When Recording Certain Apps or Screens
It’s important to note that certain apps, such as FaceTime or Skype, will notify the other party when a screen recording is taking place. This notification is designed to respect and protect the privacy of all parties involved.
Privacy Aspects When Sharing or Broadcasting Screen Recordings
Remember to be cautious about what you share. Screen recordings might capture sensitive information like passwords, messages, or emails. Before sharing or broadcasting a screen recording, double-check the content and consider whether any information should be obscured or omitted.
Trimming or Editing Screen Recordings to Maintain Privacy
If you’ve captured sensitive information in your screen recording, you can use the editing tools in the Photos app to trim or exclude those parts:
- Open the screen recording in the Photos app.
- Tap ‘Edit’ in the top right corner.
- Use the slider at the bottom of the screen to select the part you want to keep.
- Tap ‘Done’, then ‘Save as New Clip’ to avoid losing the original recording.
Using Third-Party Apps for Screen Recording
While the built-in screen recording feature of iPhone 14 is robust, there are also third-party apps available that offer enhanced functionality.
Overview of Popular Third-Party Apps
Apps like TechSmith’s Capture, Record it!, and Go Record offer additional features like on-screen drawing, webcam support, and more editing options.
Comparison of Built-In Screen Recording Feature with Third-Party Options
The built-in screen recording feature is simple and efficient, perfect for users who want straightforward screen recording. In contrast, third-party apps provide more specialized features. For example, they can record screens and cameras simultaneously or have more advanced editing tools.
Using a Third-Party App for Screen Recording
While the exact instructions may vary depending on the app, here’s a general process:
- Download the chosen screen recording app from the App Store.
- Open the app and go through any setup instructions.
- When you’re ready, start recording from within the app.
- Once done, stop the recording. The video will be saved within the app, and you can usually export it to your Photos app or share it directly from the third-party app.
Integrating Screen Recording with Other iOS Features
The screen recording feature can be combined with other iOS features for enhanced functionality.
Using Screen Recording in Conjunction with Siri Shortcuts
With Siri Shortcuts, you can start a screen recording with just a voice command.
- Open the Shortcuts app and tap the ’+’ icon to create a new shortcut.
- Tap ‘Add Action’ and select ‘Screen Recording’.
- Now, you can set a specific phrase like “Start screen recording” which, when spoken to Siri, will begin a screen recording.
Leveraging Screen Recording with Accessibility Features
AssistiveTouch can be used in tandem with screen recording to highlight touches. By going to Settings > Accessibility > Touch > AssistiveTouch, you can turn on the ‘AssistiveTouch’ function, which displays a circle that tracks your finger taps during a recording.
Coordinating Screen Time and Downtime Settings with Screen Recording
If you’re recording your screen for long periods, be aware of your Screen Time settings. Downtime or App Limits could interrupt a recording. Navigate to Settings > Screen Time to adjust these settings as needed.
Optimizing Storage When Regularly Recording Screens
Frequent screen recordings can take up significant storage space. Here are some strategies to manage this.
How Screen Recording Affects Storage
The impact on storage depends on the length and resolution of your recordings. Longer, high-resolution recordings will use more storage.
Tips on Managing Storage
- Choose a lower recording resolution if the detail is not critical.
- Regularly transfer your recordings to cloud storage services like iCloud or Google Drive.
- Use a video compression app to reduce the file size before saving.
Steps for Deleting Screen Recordings or Moving Them to Other Storage Platforms
- To delete a recording, open the Photos app, select the recording, and tap the trash can icon.
- To move a recording, you can use the Share button, then choose a destination like Dropbox or Google Drive.
Beyond the Basics: Professional Use Cases for Screen Recording
Screen recording is not only for personal use. Let’s explore some professional use cases.
Educators
Teachers can record lessons or tutorials and share them with students for remote learning or revision.
App Developers and UX/UI Designers
Screen recordings are invaluable to app designers and developers for user testing, demonstrating new features, or providing user support.
Content Creation, Live Streaming, or Gaming
Content creators can record their screens as part of their content strategy, especially for tech tips, game walkthroughs, app reviews, and more.
Conclusion
Screen recording, an integral feature of the iPhone 14, holds the potential to revolutionize the way we communicate, educate, and create digital content. We have journeyed through its extensive utility, from straightforward tasks to its creative and professional uses. Alongside, we have navigated its nuanced settings and ways to seamlessly incorporate it into your daily digital interactions.
The screen recording feature, with its user-friendly interface and advanced capabilities, amplifies the iPhone 14’s standing as a powerful tool in our digitized world. As we have learned, it transcends beyond being a mere tool for capturing on-screen activities. From creating engaging educational content to troubleshooting technical issues, from reliving digital memories to broadcasting live screen activities, screen recording emerges as a versatile, comprehensive feature that caters to a wide array of needs.
But as with any tool, its true potential is unleashed through your personal or professional use. So, we encourage you to explore the screen recording feature on your iPhone 14. Familiarize yourself with its functionality, experiment with its settings, and discover its potential. Whether you’re a student, an educator, a content creator, a gaming enthusiast, or just someone looking to enhance their digital communication, screen recording on the iPhone 14 opens a world of possibilities.
Join us in embracing this digital era, leveraging the power of screen recording to its fullest, and transforming our screen-based experiences. Your digital journey awaits, so dive in and start recording!


