How to Record Your Voice on an iPhone

On this page
Key Points
- Use Apple Voice Memos for quick, free voice recording on any iPhone
- Adjust audio quality settings for lossless or compressed formats
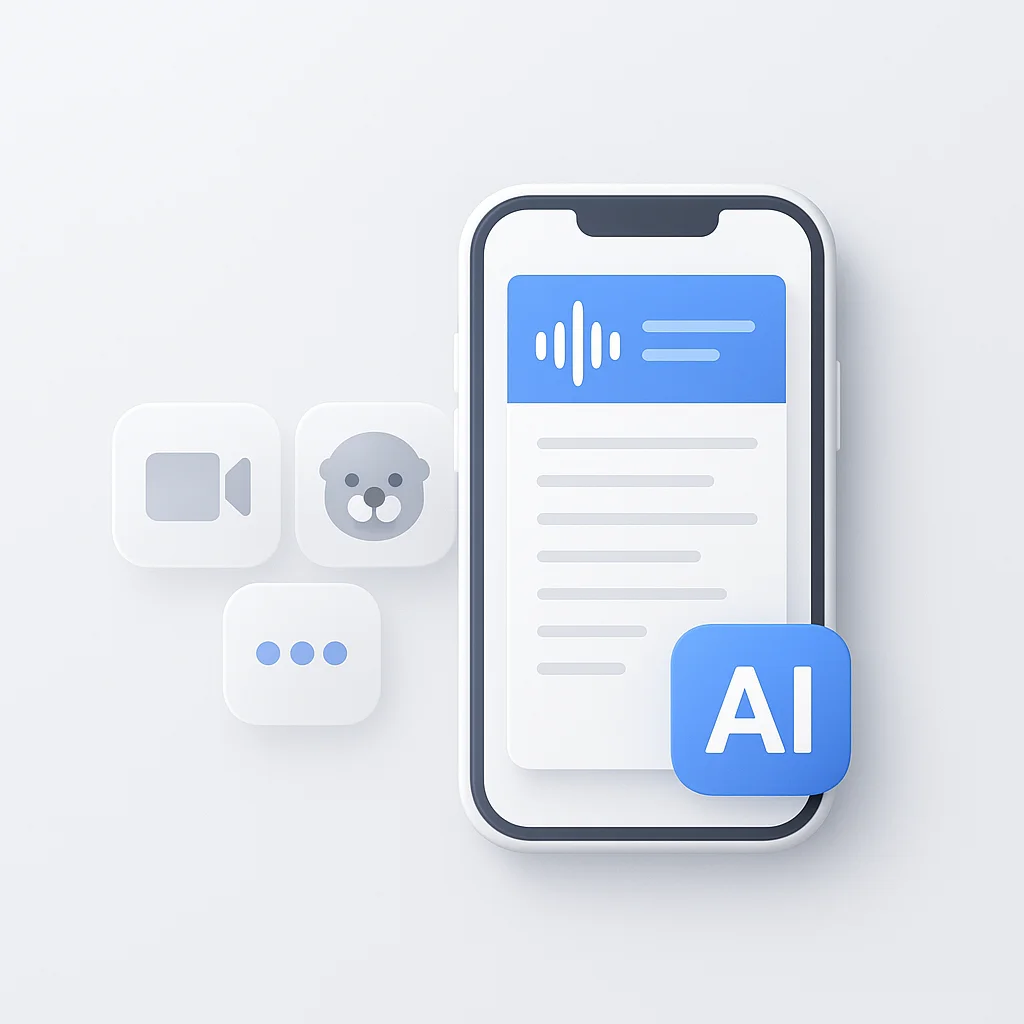
- Third-party apps like ScreenApp offer AI transcription and noise reduction
- External microphones significantly improve recording quality
- Choose quiet environments and speak clearly for best results
Your iPhone is capable of much more than just phone calls and messaging. With its advanced technology, it can serve as a powerful voice recording device.
Whether you’re a student looking to record lectures, a musician trying to capture inspiration, or a professional conducting interviews, your iPhone has you covered. In this guide, we will walk you through voice recording on your iPhone, providing detailed instructions and useful tips. We will cover Apple’s built-in Voice Memos app, explore alternatives such as third-party applications and external microphones, and discuss best practices for capturing high-quality audio.
Using Apple Voice Memos App
Apple’s Voice Memos application comes pre-installed on all iPhones, providing users with a straightforward method for recording audio. To begin using this feature, follow these steps:
Preparation
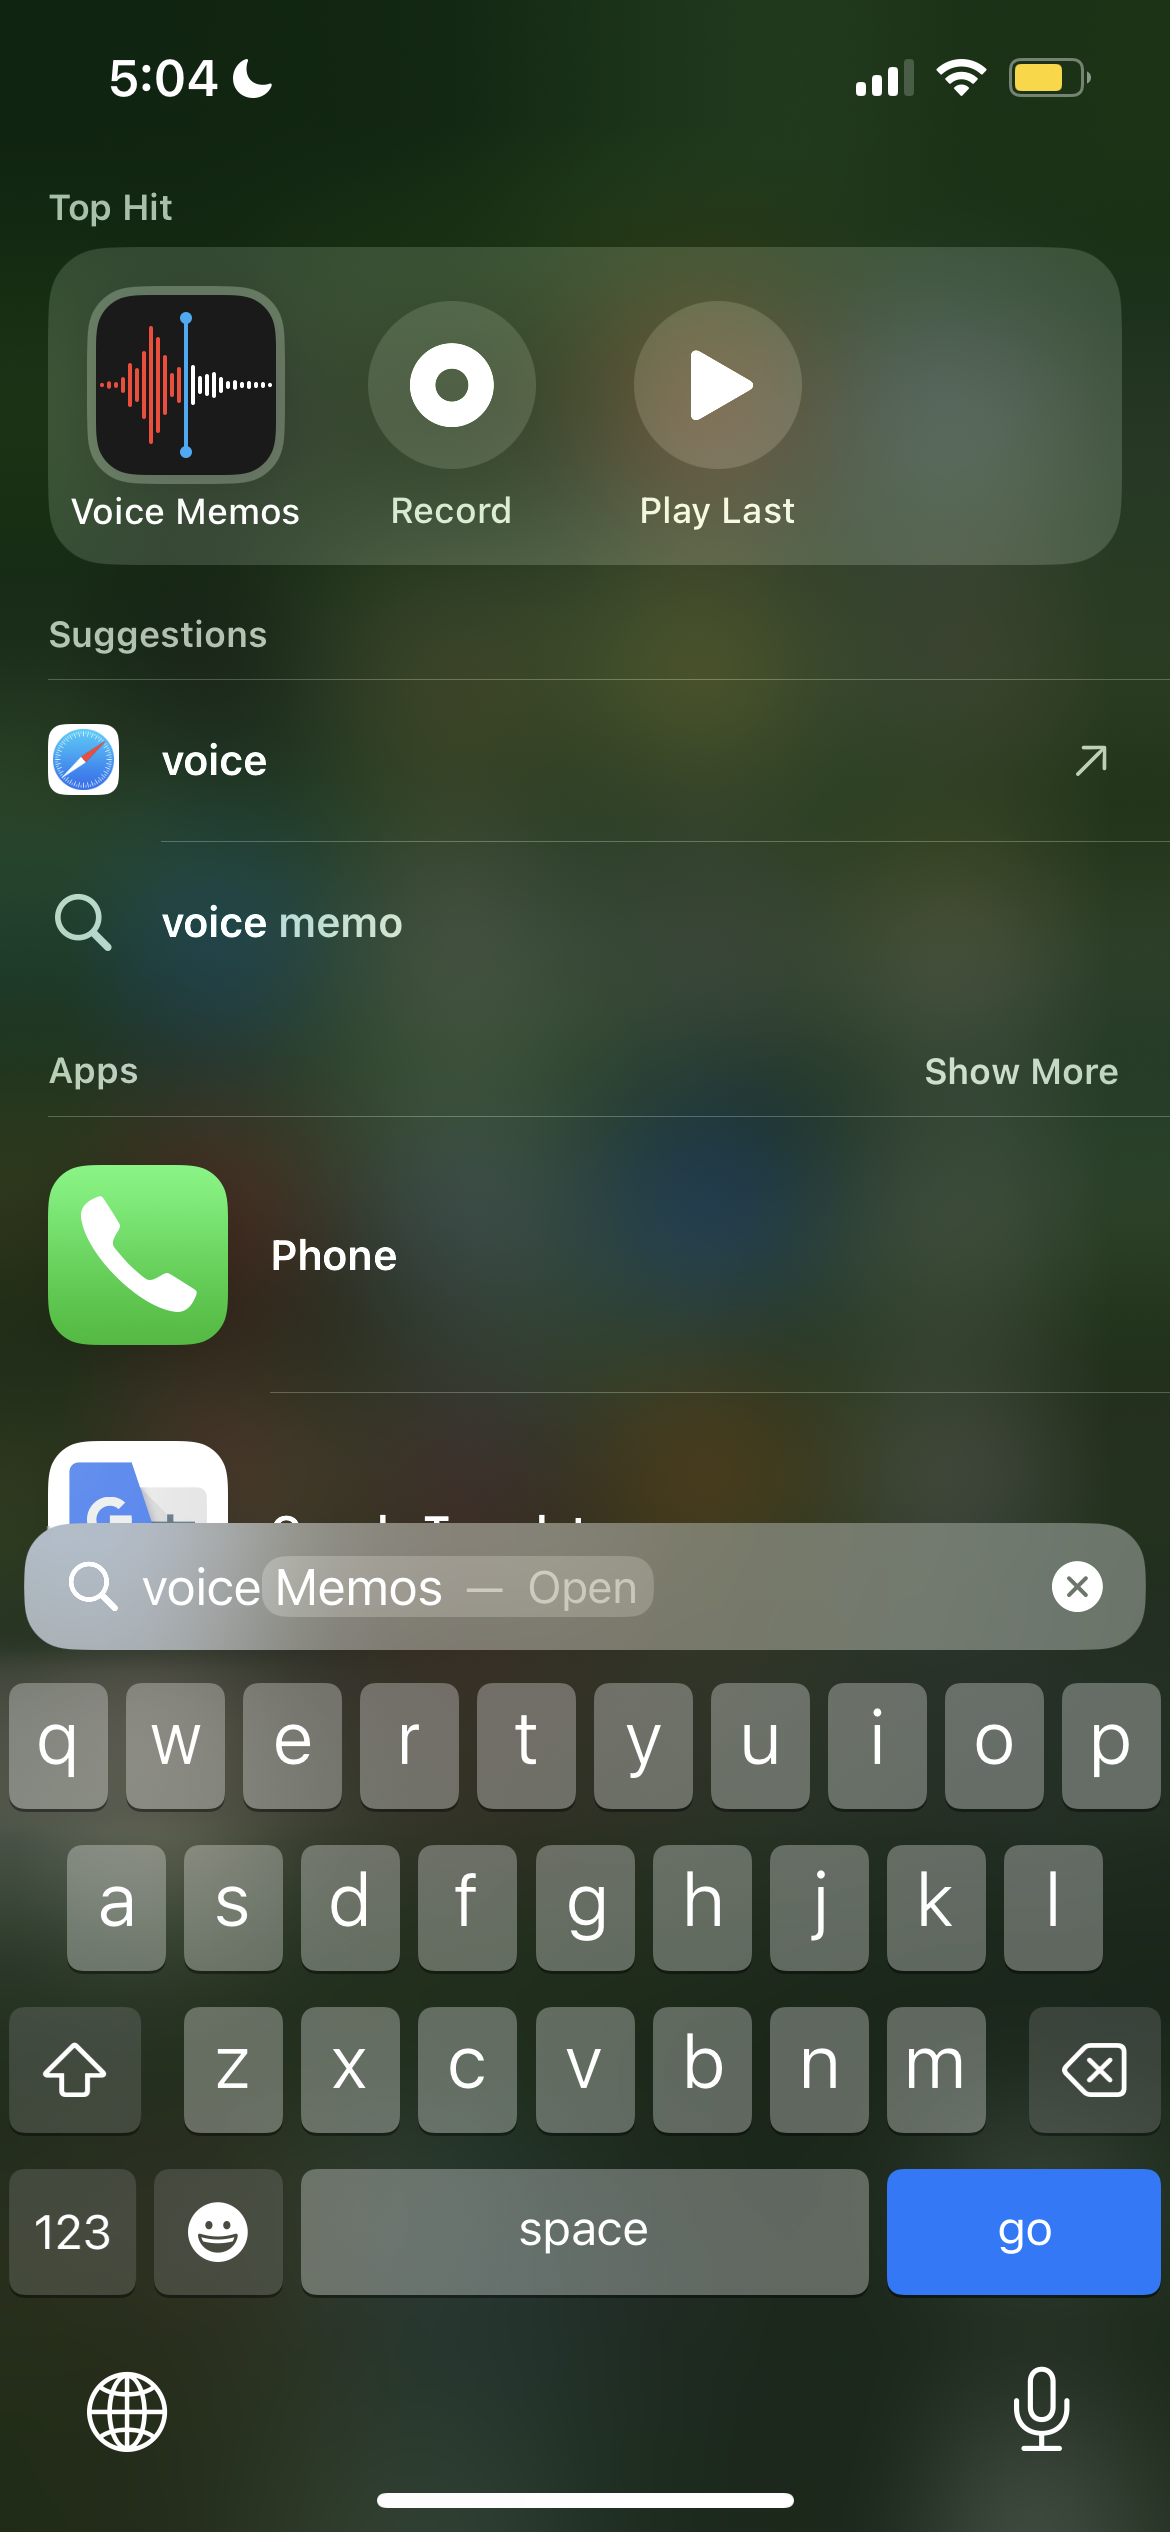
- Locating the app: Find Voice Memos either in the Utilities folder or directly on your Home screen. If it’s hiding, swipe down on the Home screen to reveal the search bar and type “Voice Memos” to quickly locate it.
- Optimizing Settings (Optional): Tap the three dots in the top right corner to access settings. Consider adjusting the following:
- Audio Quality: Choose between Lossless (higher quality, larger file size) or Compressed (smaller file size, slightly reduced quality).
- Microphone Mode: Select Standard for most situations or Stereo for capturing a wider sound field, which is ideal for music or ambient recordings.
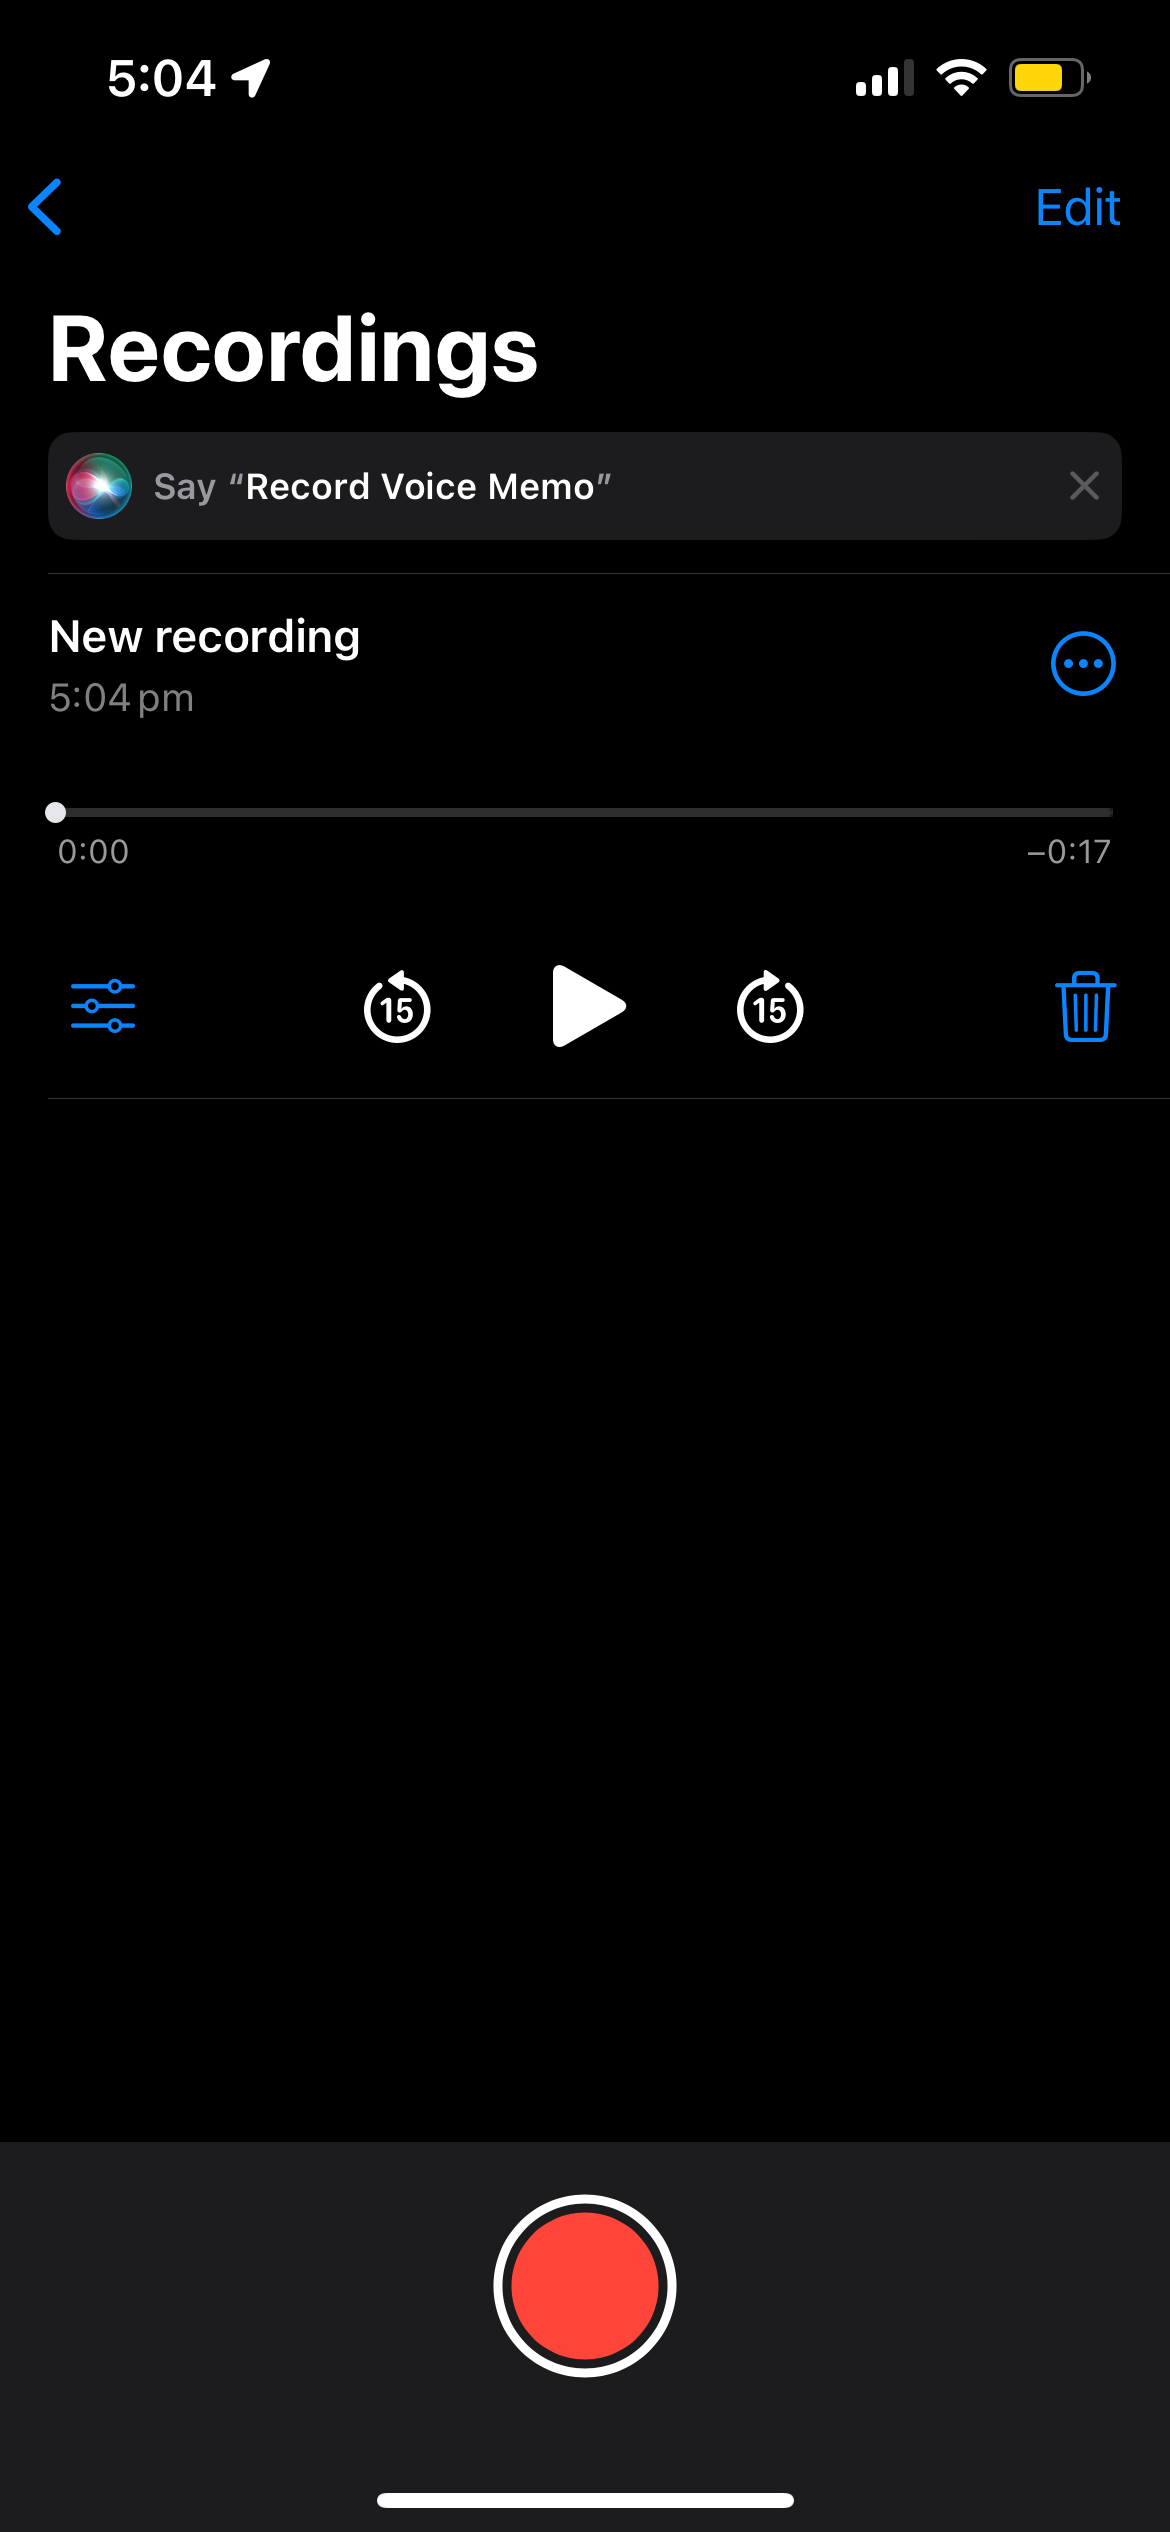
Recording
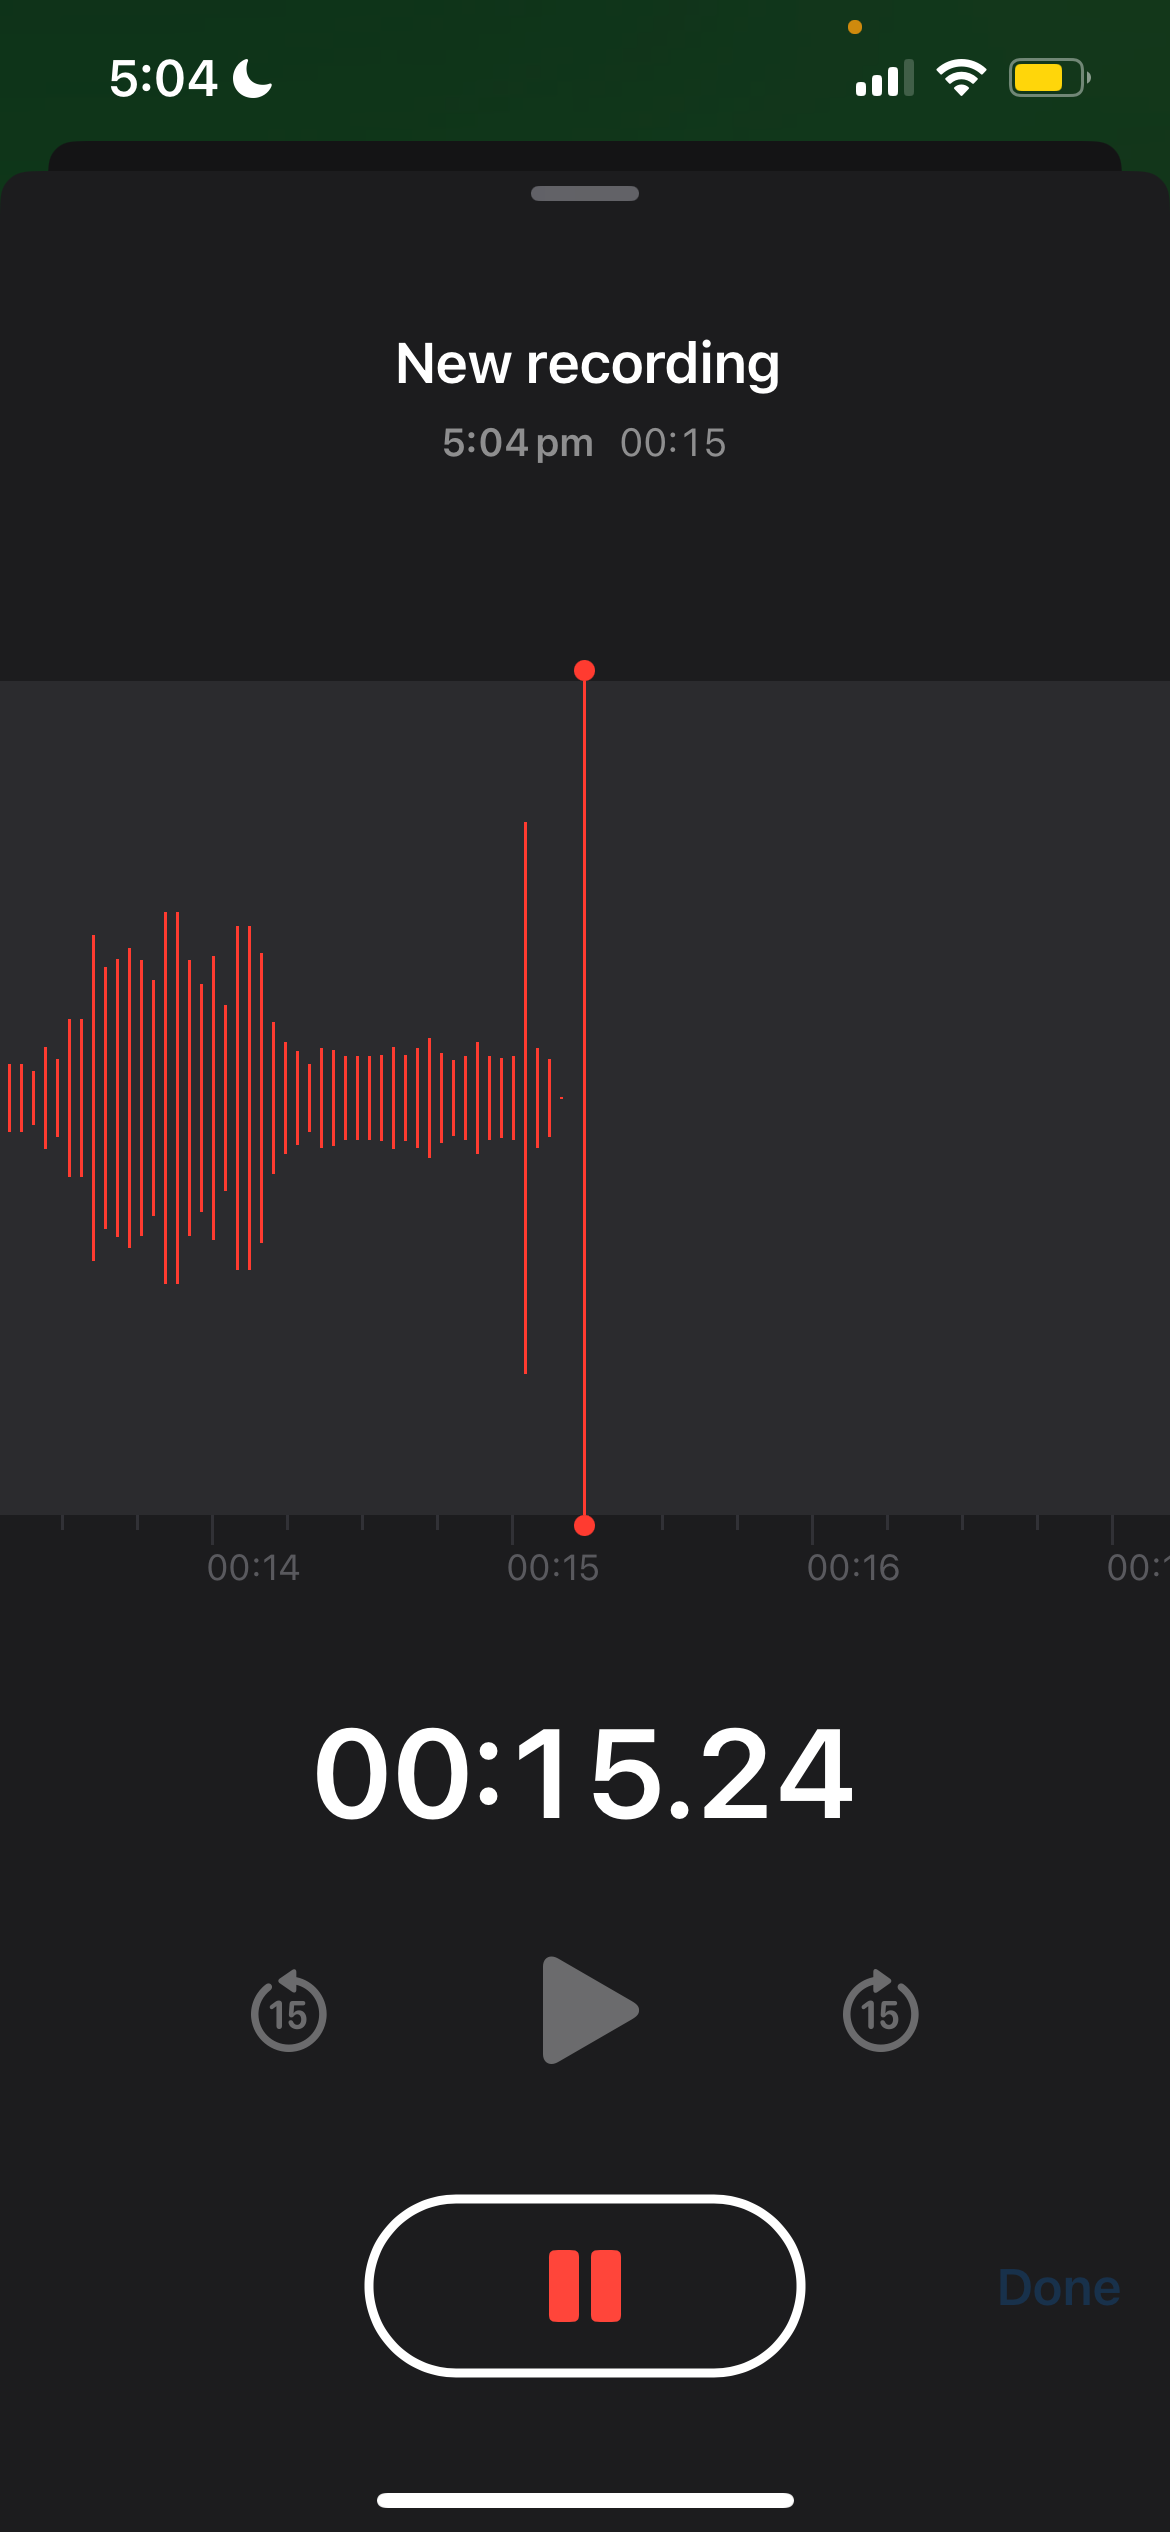
- Starting the Magic: Tap the large red button in the center of the screen to initiate recording. Observe the waveform as it visualizes the sound being captured.
- Taking a Break: Need a pause? Tap the pause button (two vertical bars) to temporarily stop recording. Ready to resume? Tap the same button again, now transformed into a red circle, to seamlessly continue your recording.
- Finding Your Voice Level: Experiment with speaking closer to or farther away from the microphone for optimal sound quality. Use the waveform as guidance toward finding the ideal distance.
Advanced Features for Refinement
- Trimming Unwanted Sections: Drag the yellow handles at the beginning or end of the waveform to remove unnecessary portions of the recording.
- Replacing Specific Parts: Tap “Edit,” then use the “Replace” function to swap out unsatisfactory segments with improved ones.
- Resuming Recordings Later: Within the same recording session, press the red button once more to pick up where you left off.
Saving and Sharing Your Creation
- Storing Your Masterpiece: Once satisfied, tap “Done” to save the recording. Name your recording descriptively to facilitate easy retrieval.
- Sharing Your Recording: Access various sharing options via the share icon (a square with an arrow pointing upward), including Email, AirDrop, Messages, Notes, Cloud Storage Services, and more.
Exploring Alternatives
Although Voice Memos is a solid choice for many scenarios, other options exist that provide enhanced functionality tailored to specific user needs. Below, we examine third-party applications and external microphones designed to elevate your iPhone’s recording abilities.
Third-Party Voice Recording Apps
- ScreenApp’s Voice Recorder: Ideal for podcasters and interviewers, this app offers features such as customizable audio formats (WAV, MP3, PCM, etc.), powerful noise reduction, real-time transcription, and streamlined file management with folders, tags, and cloud storage integration.
- Rev Voice Recorder: Perfect for professionals requiring precise transcriptions, this app combines recording capabilities with efficient multilingual transcription services, speaker identification, and customizable timestamping.
External Microphones
Investing in an external microphone can significantly improve audio quality when used correctly. Popular choices include:
- Shure MV88+ Video Mic: Compact shotgun design delivering clear, directional audio, suitable for isolating voices from background noise.
- Rode VideoMic Me-L: Lightweight clip-on mic offering broadcast-quality audio for mobile recordings.
When employing an external mic, remember that connecting it to your iPhone typically necessitates a compatible adapter for the Lightning port. Always refer to product guidelines for proper setup procedures.
Top Tips for iPhone Audio Mastery
To maximize the potential of your iPhone’s built-in microphone or an attached external one, keep the following recommendations in mind:
- Reducing Background Noise: Opt for quiet environments whenever possible. When absolute silence is not possible, utilize noise-canceling headphones or earbuds equipped with integrated microphones. You can also test your voice online before recording to check that your mic is picking up sound properly.
- Prioritizing Clear Speech: Clearly enunciate words and refrain from mumbling. Adjust pacing (neither too fast nor too slow) to optimize intelligibility.
- Positioning the Microphone: Test various placements to determine the sweet spot for capturing audio. Directly addressing the mic generally produces favorable results. For lectures or interviews, hold the iPhone at a slight angle toward the desired subject. In musical contexts, experiment with distance and orientation to strike the ideal balance among instruments and vocals.
- Editing for Perfection: Even flawless recordings may require minor improvements. Take advantage of Voice Memos’ editing functions (trimming starts and ends, replacing select segments) or invest in additional software if needed.
Start Recording High-Quality Audio
Your iPhone offers powerful voice recording capabilities right out of the box. From selecting preferred applications to fine-tuning hardware configurations, these techniques help you capture professional audio anywhere.
Start with Voice Memos for quick recordings, explore third-party apps for advanced features like transcription, and invest in an external microphone when quality matters most. With practice and the right setup, your iPhone becomes a reliable recording studio in your pocket.
FAQ
Can I record high-quality audio on iPhone without an external mic?
Yes, iPhone’s built-in microphone captures high-quality audio for most purposes. For best results, record in quiet environments, speak 6-12 inches from the phone, and use Voice Memos’ lossless quality setting. External mics improve quality for professional productions but aren’t required for lectures, interviews, or casual recordings.
How do I record a phone call on iPhone?
iPhone doesn’t include a built-in call recording feature due to privacy laws. Use third-party apps like TapeACall or Rev Call Recorder, which work by creating three-way conference calls. Always inform the other party you’re recording, as laws vary by location.
What’s the maximum recording time on iPhone Voice Memos?
Voice Memos has no fixed time limit. Recording length depends on available iPhone storage. At compressed quality, one hour of audio uses approximately 30MB. Check Settings > General > iPhone Storage to see available space.
How do I reduce background noise in iPhone recordings?
For live recording, choose quiet locations and use Voice Memos’ stereo mode. For existing recordings, use apps like ScreenApp or Ferrite Recording Studio that offer noise reduction features. Position the mic close to your mouth (6-8 inches) to improve the voice-to-noise ratio.
Can I edit voice recordings on iPhone?
Yes, Voice Memos includes basic editing tools: trim recordings, replace sections, and resume interrupted recordings. For advanced editing like multi-track mixing, noise reduction, or effects, use third-party apps like Ferrite, Hokusai Audio Editor, or ScreenApp.
FAQ
Can I record high-quality audio on iPhone without an external mic?
Yes, iPhone's built-in microphone captures high-quality audio for most purposes. For best results, record in quiet environments, speak 6-12 inches from the phone, and use Voice Memos' lossless quality setting. External mics improve quality for professional productions but aren't required for lectures, interviews, or casual recordings.
How do I record a phone call on iPhone?
iPhone doesn't include a built-in call recording feature due to privacy laws. Use third-party apps like TapeACall or Rev Call Recorder, which work by creating three-way conference calls. Always inform the other party you're recording, as laws vary by location.
What's the maximum recording time on iPhone Voice Memos?
Voice Memos has no fixed time limit. Recording length depends on available iPhone storage. At compressed quality, one hour of audio uses approximately 30MB. Check Settings > General > iPhone Storage to see available space.
How do I reduce background noise in iPhone recordings?
For live recording, choose quiet locations and use Voice Memos' stereo mode. For existing recordings, use apps like ScreenApp or Ferrite Recording Studio that offer noise reduction features. Position the mic close to your mouth (6-8 inches) to improve the voice-to-noise ratio.
Can I edit voice recordings on iPhone?
Yes, Voice Memos includes basic editing tools: trim recordings, replace sections, and resume interrupted recordings. For advanced editing like multi-track mixing, noise reduction, or effects, use third-party apps like Ferrite, Hokusai Audio Editor, or ScreenApp.