Check a Recording Before You Publish It
Drop an audio file and it decodes the waveform and measures it: how loud the peaks get, whether anything clipped, the average level, and how much background noise sits under the voice. You get a score and, more useful than the score, the actual numbers and what to do about each one. It all happens in your browser, so the recording never leaves your device.
This is the check you want after recording a podcast, a voiceover, or an interview, and before you spend an hour editing something that was broken at the source. Clipping and a buried noise floor are the two problems you cannot fix in the edit, so catching them now is the whole point.
What It Actually Measures
Each number comes straight off the samples, not from a model guessing.
Peak level, in dBFS. Zero is the ceiling. If the peak sits at 0.0 and a chunk of samples are pinned there, the waveform is clipped, squared off at the top, and that distortion is baked in. The checker counts what fraction of samples are maxed out and flags it as a fail, because no plugin un-clips audio.
Average level, the RMS. This is how loud the recording actually is over time, not just the loudest instant. Spoken audio usually wants to land somewhere around -18 dBFS on average. Down at -35 it is too quiet and you will crank it later and lift the noise with it. The tool tells you roughly how many dB to add.
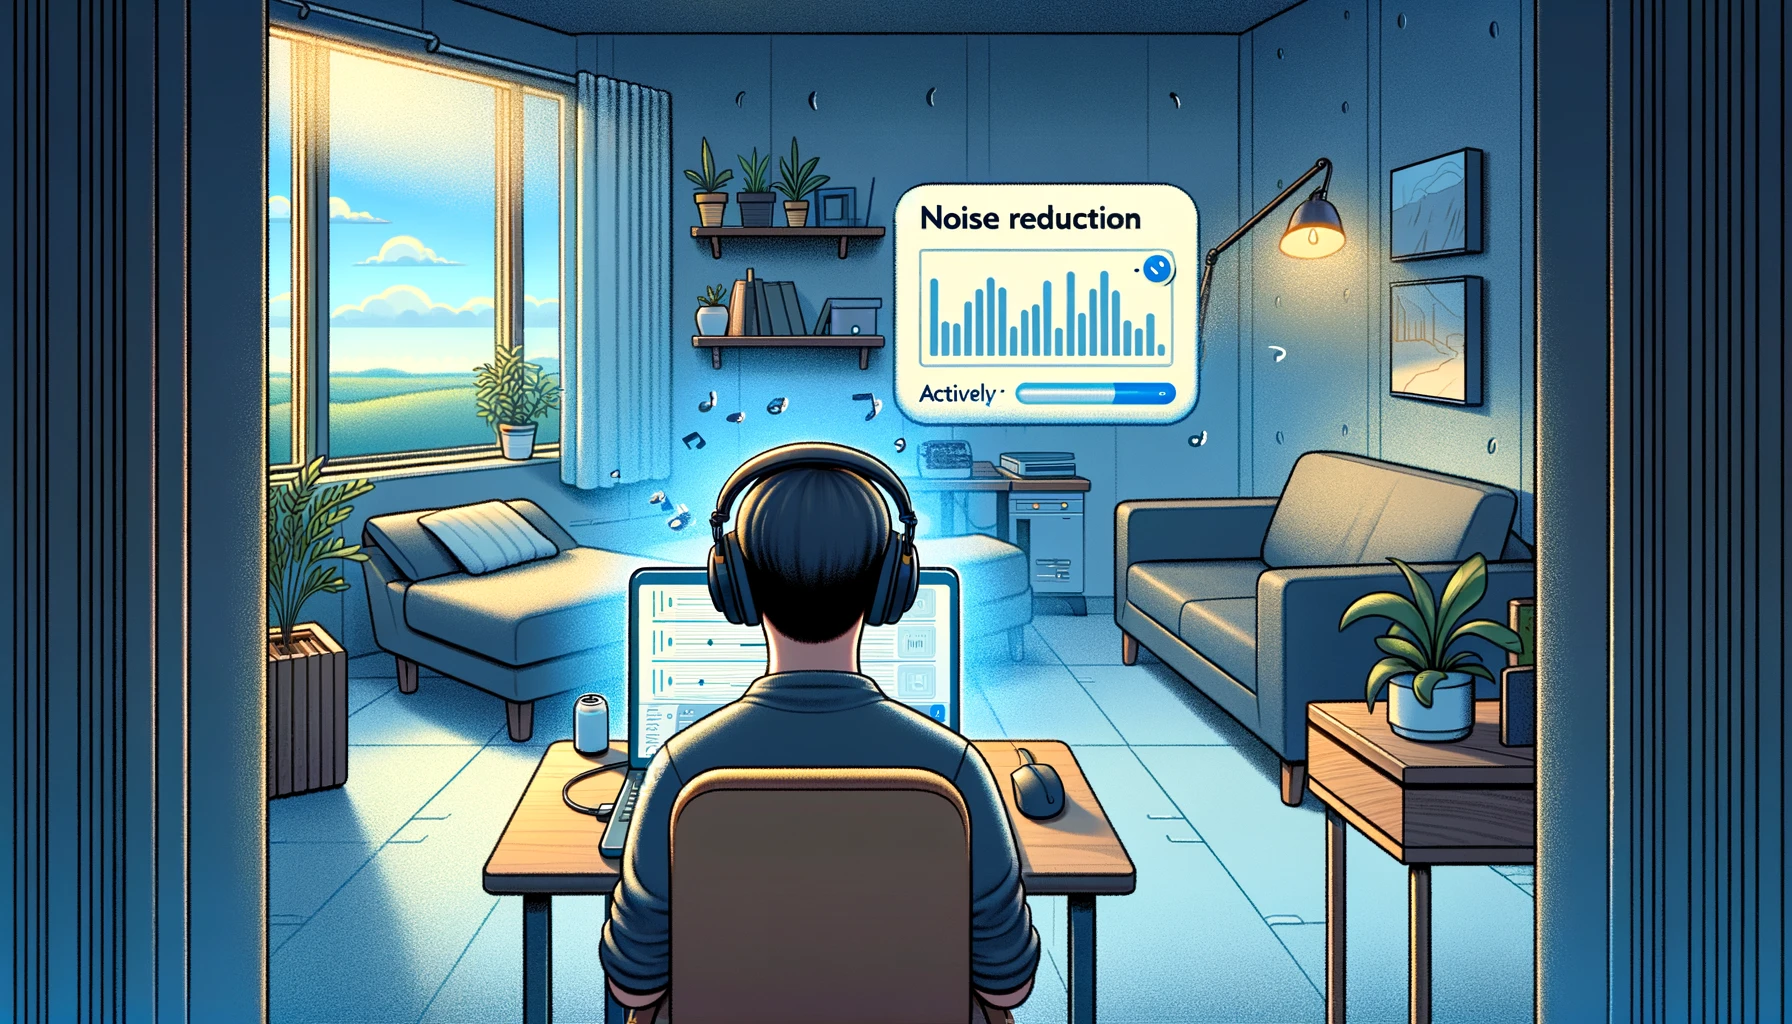
Noise floor and signal-to-noise. It looks at the quietest stretches of the file to estimate the noise floor, the hiss, the room tone, the fan, then compares that to the voice. Above about 40 dB of separation is clean. Under 25 and a listener on headphones hears the room. This one is an estimate, and I will be straight about that below.
DC offset. A waveform shifted off the center line, usually a hardware quirk, that quietly eats headroom. Easy to miss and easy to fix with a high-pass filter.
What a Score Cannot Tell You
A number cannot judge taste. This measures whether a recording is technically clean, not whether a voice sounds good, whether the mic suits it, or whether the room has a pleasant character. A warm, deliberately close-mic’d voice and a harsh one can score the same, because the meter reads levels, not feel.
And the signal-to-noise figure is an estimate. It assumes the file has quiet gaps to sample the noise floor from, which is true for speech and mostly false for continuous music. On a solid wall of sound the noise reading gets unreliable, so trust the SNR most on talk and least on a music bed. I would rather say that than pretend the number is gospel.
The Fixes It Points To
The checker does not just grade, it tells you the move. Clipping means lower the input gain and re-record, there is no salvage. Too quiet means raise the gain by the amount it suggests, or normalize the file before you publish. A high noise floor is usually the room, not the mic, so the biggest win is recording somewhere quieter, with a noise-reduction pass as the fallback. A DC offset gets cleaned by a high-pass or a DC-removal filter in any editor.
Use It as a Mic Test
Recording a quick clip and running it through here is the fastest microphone quality test there is. Say a few sentences at your normal distance, drop the file in, and read the peak and noise numbers. If the peaks are slamming the ceiling, you are too close or the gain is too high. If the noise floor is loud, the mic is picking up the room, or it is a cheap mic doing what cheap mics do. You learn more from those two numbers than from listening back and guessing.
How This Differs From the Audio Analyzer
Worth being clear, because the names are close. The audio analyzer is an AI tool that tells you what is in a file: speech versus music, which instruments, what language, which sounds. This is a technical meter that tells you whether the recording is clean: levels, clipping, noise. One answers “what is this audio,” the other answers “is this audio any good to publish.” Use the analyzer to understand content, use this to quality-check a recording.
Once a recording passes, the next steps live elsewhere: extract audio from videos pulls a clean track out of a video first, online audio cutter trims the dead air, and the transcript generator turns the finished audio into text.