How to Record your Voice on a Mac

On this page
From brainstorming ideas to recording podcast segments, your Mac can be a powerful tool for capturing audio. But with so many options, where do you begin? This guide explores three methods for recording audio on your Mac, catering to both beginners and those seeking more advanced features. Whether you need a quick voice memo or a high-quality audio track, we’ll equip you with the knowledge to turn your Mac into a recording powerhouse.
Introduction
Our Macs are true multimedia workhorses. But did you know they’re also fantastic audio recorders? Whether you’re capturing a fleeting thought, crafting a podcast masterpiece, or sending a personalized voice message, your Mac has you covered. This guide explores three ways to record audio on your Mac, catering to both beginners and those seeking more advanced features.
Why Record Audio on Your Mac?
The reasons to record audio on your Mac are as diverse as its users. Here are just a few examples:
- Brainstorming & Note-Taking: Capture fleeting ideas or record lectures for later review.
- Musicians & Singers: Lay down rough tracks or record practice sessions.
- Podcasters & Creatives: Produce high-quality audio content for your audience.
- Communication & Education: Send personalized voice messages or record video tutorials with narration.
No matter your project, this guide equips you with the tools to get started. We’ll explore two built-in Mac applications – Voice Memos and QuickTime Player – as well as delve into a powerful third-party option: ScreenApp.
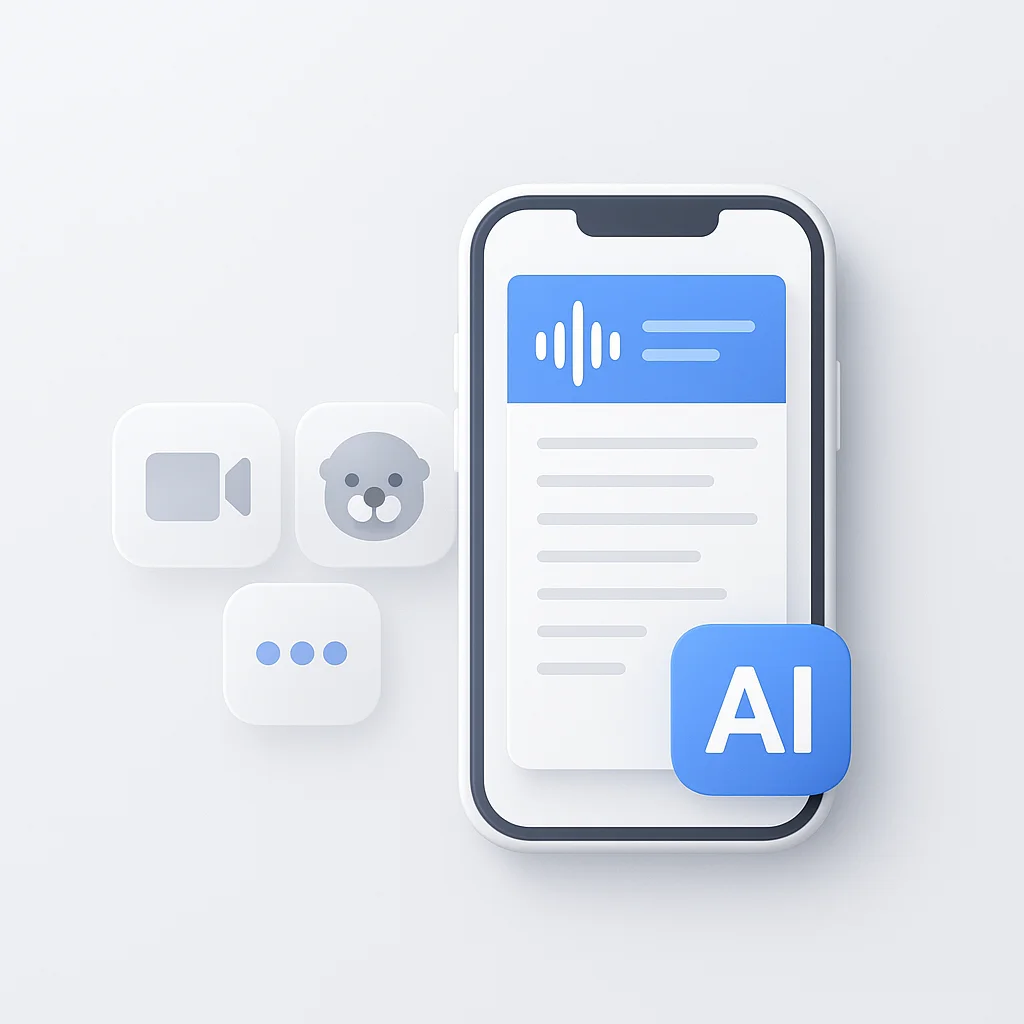
One-click voice recording on Mac. The free ScreenApp Mac app records your mic with auto-transcription, so every memo, interview, or voiceover is searchable text the moment you stop recording.
Recording with Voice Memos (Simple Option)
Voice Memos is your go-to app for quick and easy audio capture on Mac. It’s perfect for recording lectures, brainstorming ideas, or sending voice messages. Here’s how to use it:
Getting Started: Finding Your Voice
Voice Memos is readily available on your Mac. You can find it in two ways:
- Spotlight Search: Click the magnifying glass icon in the top right corner of your screen and type “Voice Memos.” When the app icon appears, click it to launch.
- Launchpad: Open Launchpad (usually found in the Dock) and navigate through the applications until you find the “Voice Memos” icon. Double-click to open.
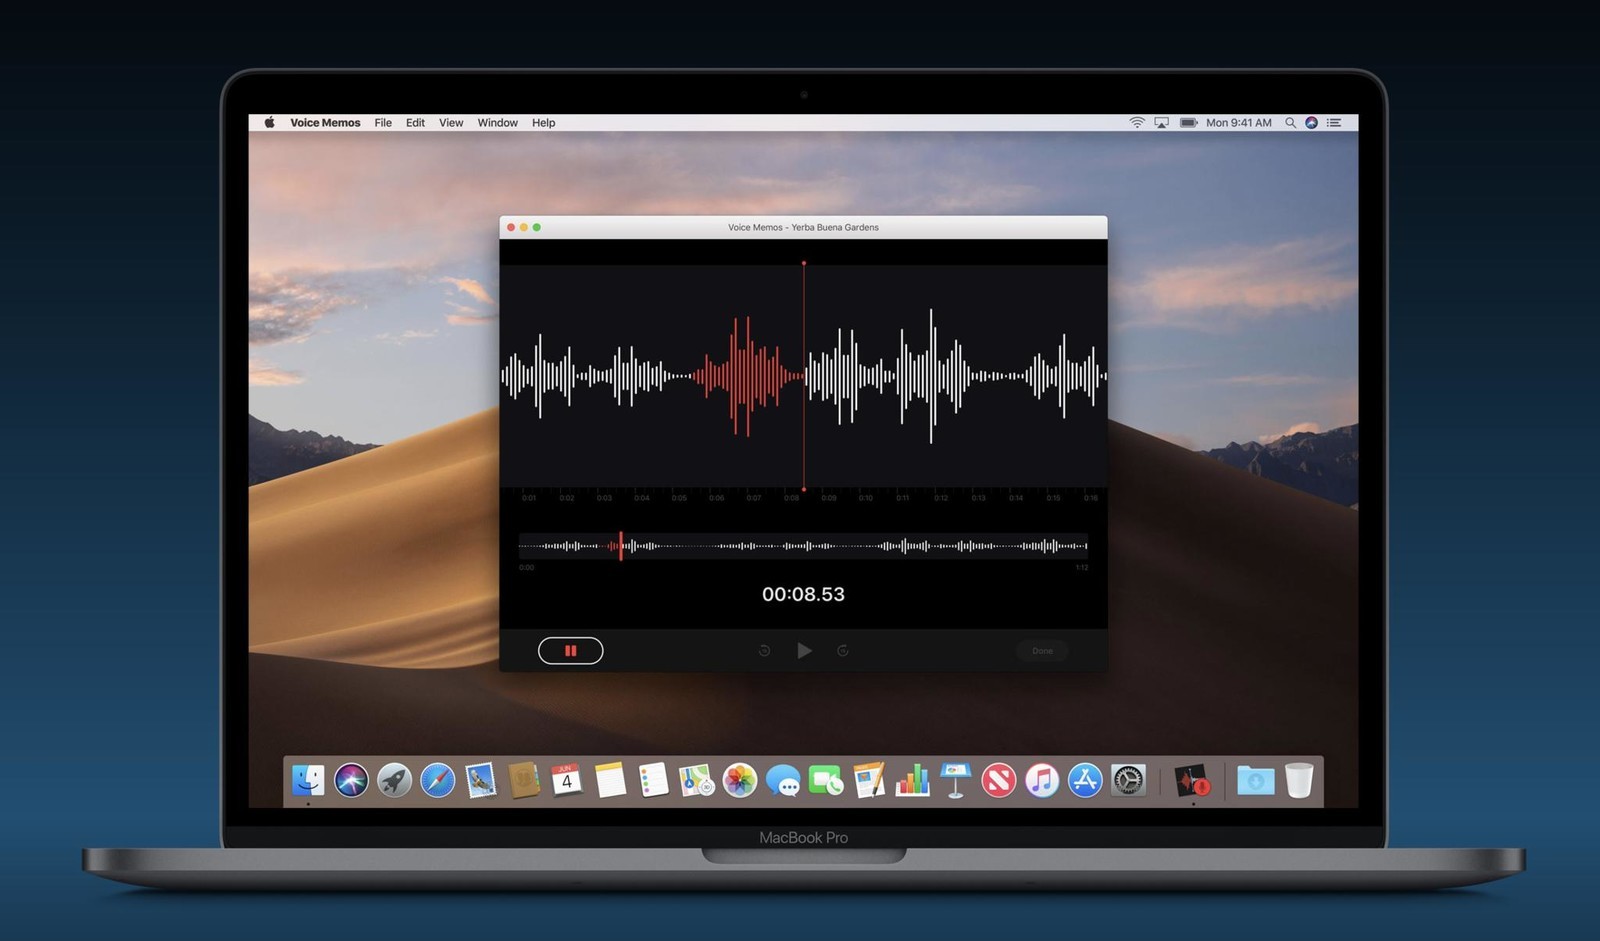
Recording Your Audio: Hit Record, Speak Your Mind
The Voice Memos interface is refreshingly simple. Here’s what you need to do:
- Hit the Big Red Button: A large red button dominates the center of the Voice Memos window. Click it to begin recording.
- Pause and Resume (Optional): Need to take a break? Click the pause button (looks like two vertical lines) to temporarily stop recording. Click it again to resume.
- Touch Bar Control (For Applicable Macs): If your MacBook Pro has a Touch Bar, you might see a record button displayed there for convenient one-touch recording control.
Saving and Managing Your Recordings: Keep Your Voice Memos Organized
Once you’ve captured your audio masterpiece, it’s time to save it:
- Click the Done Button: When you’re finished recording, click the red “Done” button in the bottom right corner.
- Give it a Name: Voice Memos automatically assigns a generic name based on the date and time. Click on the filename at the top and rename it for easy identification.
- Playback Made Easy: Voice Memos allows you to listen back to your recordings directly within the app. Simply click the play button next to the recording name.
Voice Memos offers a streamlined approach to audio capture on Mac. It’s perfect for quick voice notes and basic recording needs. But if you require more features or control over the recording process, keep reading to explore the options offered by QuickTime Player.
Recording with QuickTime Player (More Options)
While Voice Memos excels in simplicity, QuickTime Player offers a more feature-rich experience for recording audio on your Mac. It’s ideal for projects requiring higher quality or more control over the recording process.
Setting Up the Recording: Get Ready to Capture
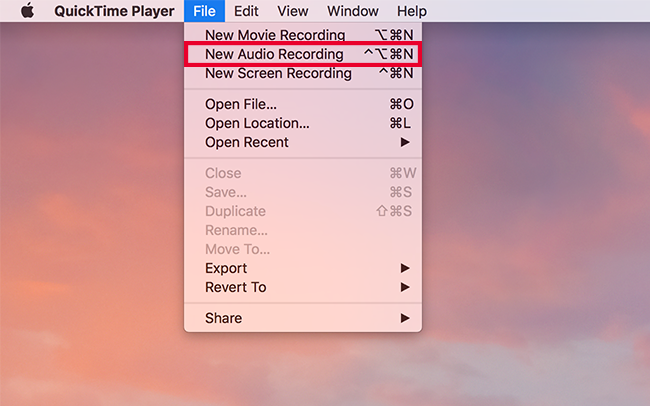
- Open QuickTime Player: Locate QuickTime Player in your Applications folder or Launchpad. Double-click the icon to launch the app.
- New Audio Recording: Once open, navigate to the “File” menu at the top of the screen. From the dropdown menu, select “New Audio Recording.”
Customization Options: Fine-Tuning Your Capture
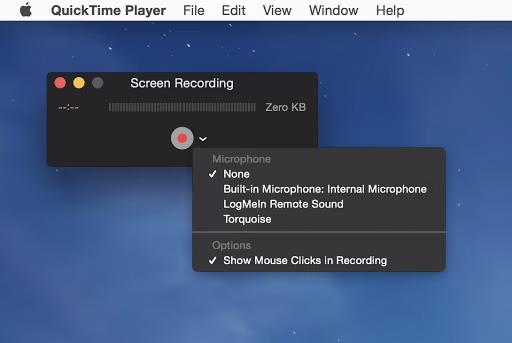
QuickTime Player allows you to customize your recording experience before hitting record. Here’s what you can adjust:
- Microphone Choice: Click the down arrow next to the record button. This reveals a list of available microphones. Choose the microphone you want to use for recording (built-in microphone, external USB microphone, etc.).
- Recording Quality: Click the “Options” menu (down arrow) next to the record button. Here, you can choose the recording quality from options like “Low” (smaller file size, less clear audio) to “High” (larger file size, superior audio quality). The best choice depends on your project’s needs.
Recording and Saving: Capture and Save Your Audio
Now you’re ready to record!
- Hit Record: Click the red record button to begin capturing audio.
- Stop Recording: Once finished, click the red record button again to stop recording.
- Pause (Optional): Need a quick break in recording? Click the pause button (two vertical lines) to temporarily stop and then click it again to resume.
Advanced Features (Optional): A Touch of Polish
QuickTime Player provides basic editing options within the app itself. You can:
- Trim Your Recording: Click and drag the yellow bars at the beginning and end of the waveform to remove unwanted sections.
- Split Recordings: Click the scissor icon at any point on the waveform to split your recording into separate files.
While these editing features are helpful for quick adjustments, for more advanced editing tasks, you might want to explore third-party audio editing software.
By leveraging the customization options and basic editing tools in QuickTime Player, you can capture higher-quality audio recordings with more control over the process.
Recording with QuickTime Player (More Options)
While Voice Memos excels in simplicity, QuickTime Player offers a more feature-rich experience for recording audio on your Mac. It’s ideal for projects requiring higher quality or more control over the recording process.
Setting Up the Recording: Get Ready to Capture
- Open QuickTime Player: Locate QuickTime Player in your Applications folder or Launchpad. Double-click the icon to launch the app.
- New Audio Recording: Once open, navigate to the “File” menu at the top of the screen. From the dropdown menu, select “New Audio Recording.”
Customization Options: Fine-Tuning Your Capture
QuickTime Player allows you to customize your recording experience before hitting record. Here’s what you can adjust:
- Microphone Choice: Click the down arrow next to the record button. This reveals a list of available microphones. Choose the microphone you want to use for recording (built-in microphone, external USB microphone, etc.).
- Recording Quality: Click the “Options” menu (down arrow) next to the record button. Here, you can choose the recording quality from options like “Low” (smaller file size, less clear audio) to “High” (larger file size, superior audio quality). The best choice depends on your project’s needs.
Recording and Saving: Capture and Save Your Audio
Now you’re ready to record!
- Hit Record: Click the red record button to begin capturing audio.
- Stop Recording: Once finished, click the red record button again to stop recording.
- Pause (Optional): Need a quick break in recording? Click the pause button (two vertical lines) to temporarily stop and then click it again to resume.
Advanced Features (Optional):
QuickTime Player provides basic editing options within the app itself. You can:
- Trim Your Recording: Click and drag the yellow bars at the beginning and end of the waveform to remove unwanted sections.
- Split Recordings: Click the scissor icon at any point on the waveform to split your recording into separate files.
While these editing features are helpful for quick adjustments, for more advanced editing tasks, you might want to explore third-party audio editing software.
By leveraging the customization options and basic editing tools in QuickTime Player, you can capture higher-quality audio recordings with more control over the process.
Recording with Third-Party App: ScreenApp
While the built-in Mac options are great, third-party apps like ScreenApp offer a whole new level of functionality for recording audio. ScreenApp goes beyond simple capture, providing features specifically designed to enhance your workflow and productivity.
Getting Started with ScreenApp: Sign Up and Explore (FREE!)
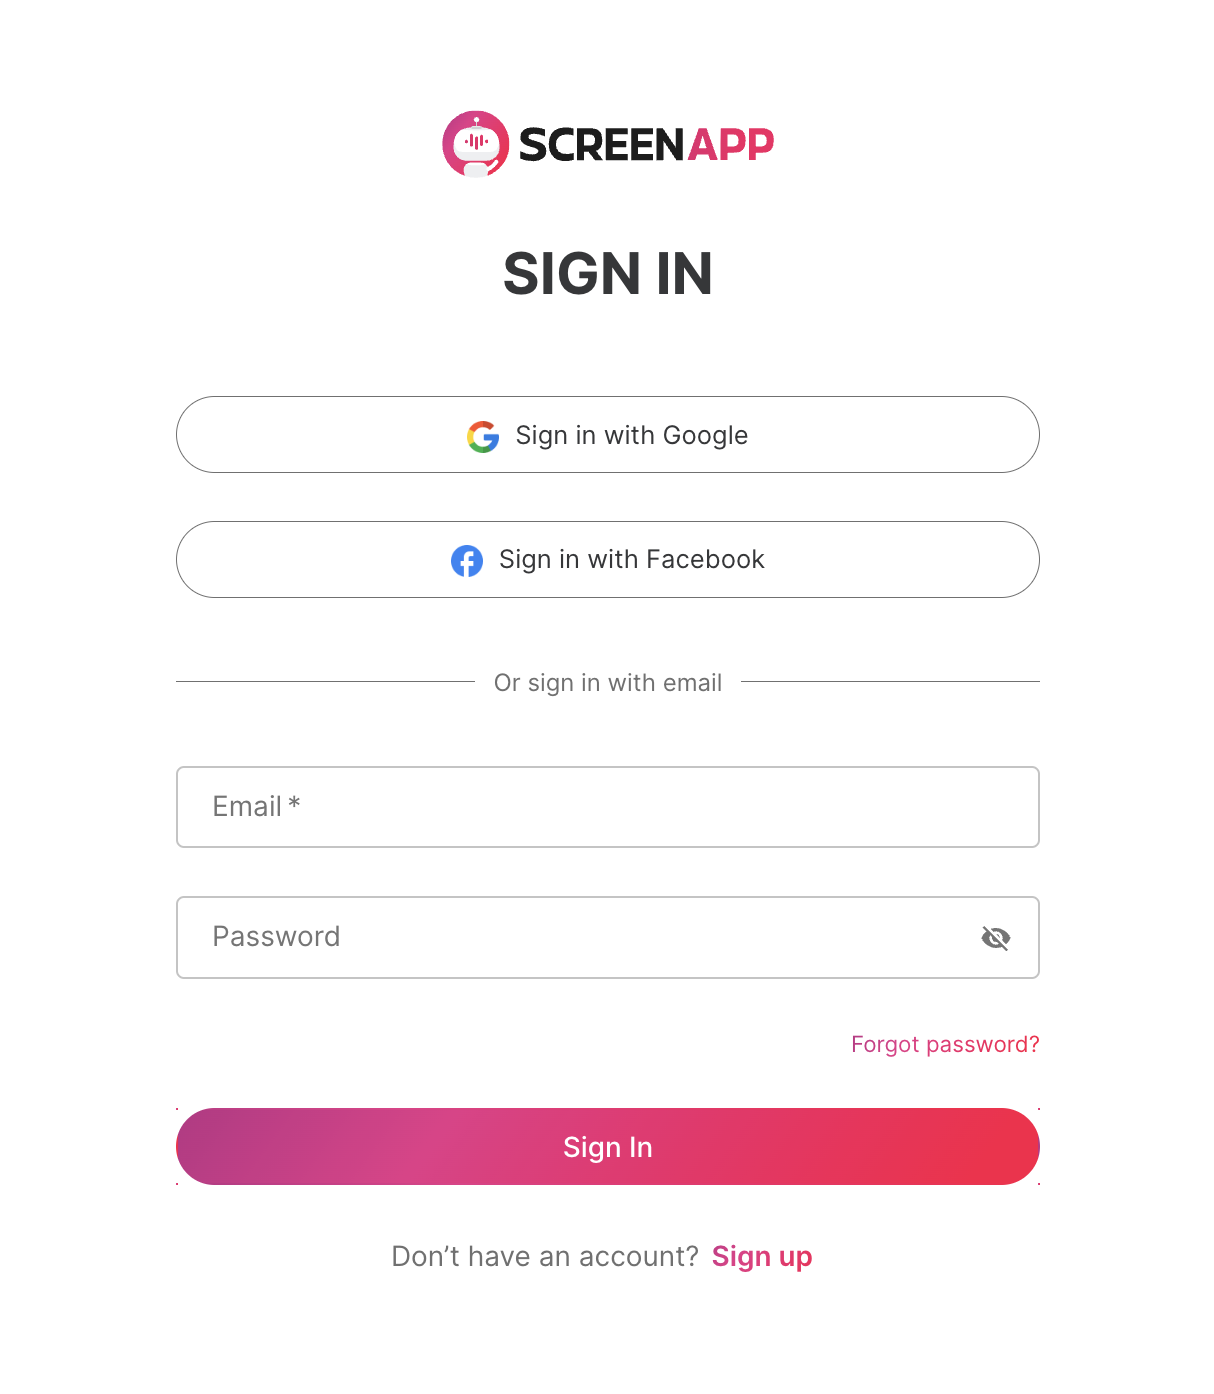
- Head to ScreenApp: Visit the ScreenApp website in your web browser.
- Sign Up for Free: Click the “Get Started” button and follow the on-screen instructions to create your free ScreenApp account.
Recording Your Audio: Capture and Transcribe with Ease
ScreenApp offers a streamlined recording experience with additional features to boost your efficiency. Here’s what you get:
- Intuitive Interface: The ScreenApp interface is clean and user-friendly. Locate the prominent “Record” button in the center of the screen.
- Audio-Centric Recording: Unlike some screen recording apps, ScreenApp prioritizes audio capture. Simply click the “Record” button to begin capturing high-quality audio from your chosen microphone.
- Pause and Stop with Precision: Need a break? Click the “Pause” button (two vertical lines) to temporarily stop recording. Click it again to resume. When finished, click the red square button to stop recording.
Beyond Recording: Automatic Transcription and Powerful Note-Taking
ScreenApp takes audio capture a step further with its intelligent features:
- Automatic Transcription: While you record, ScreenApp generates a text transcript in real-time. This is a fantastic feature for capturing lectures, interviews, or meetings and having a written record alongside the audio.
- Audio Note Taker: Leverage ScreenApp’s “Audio Note Taker” feature. As you record, you can add written notes, timestamps, and highlights directly within the recording interface. This streamlines organization and helps you focus on key points.
Advanced Feature Spotlight: AI Audio Pen (Pro Feature)
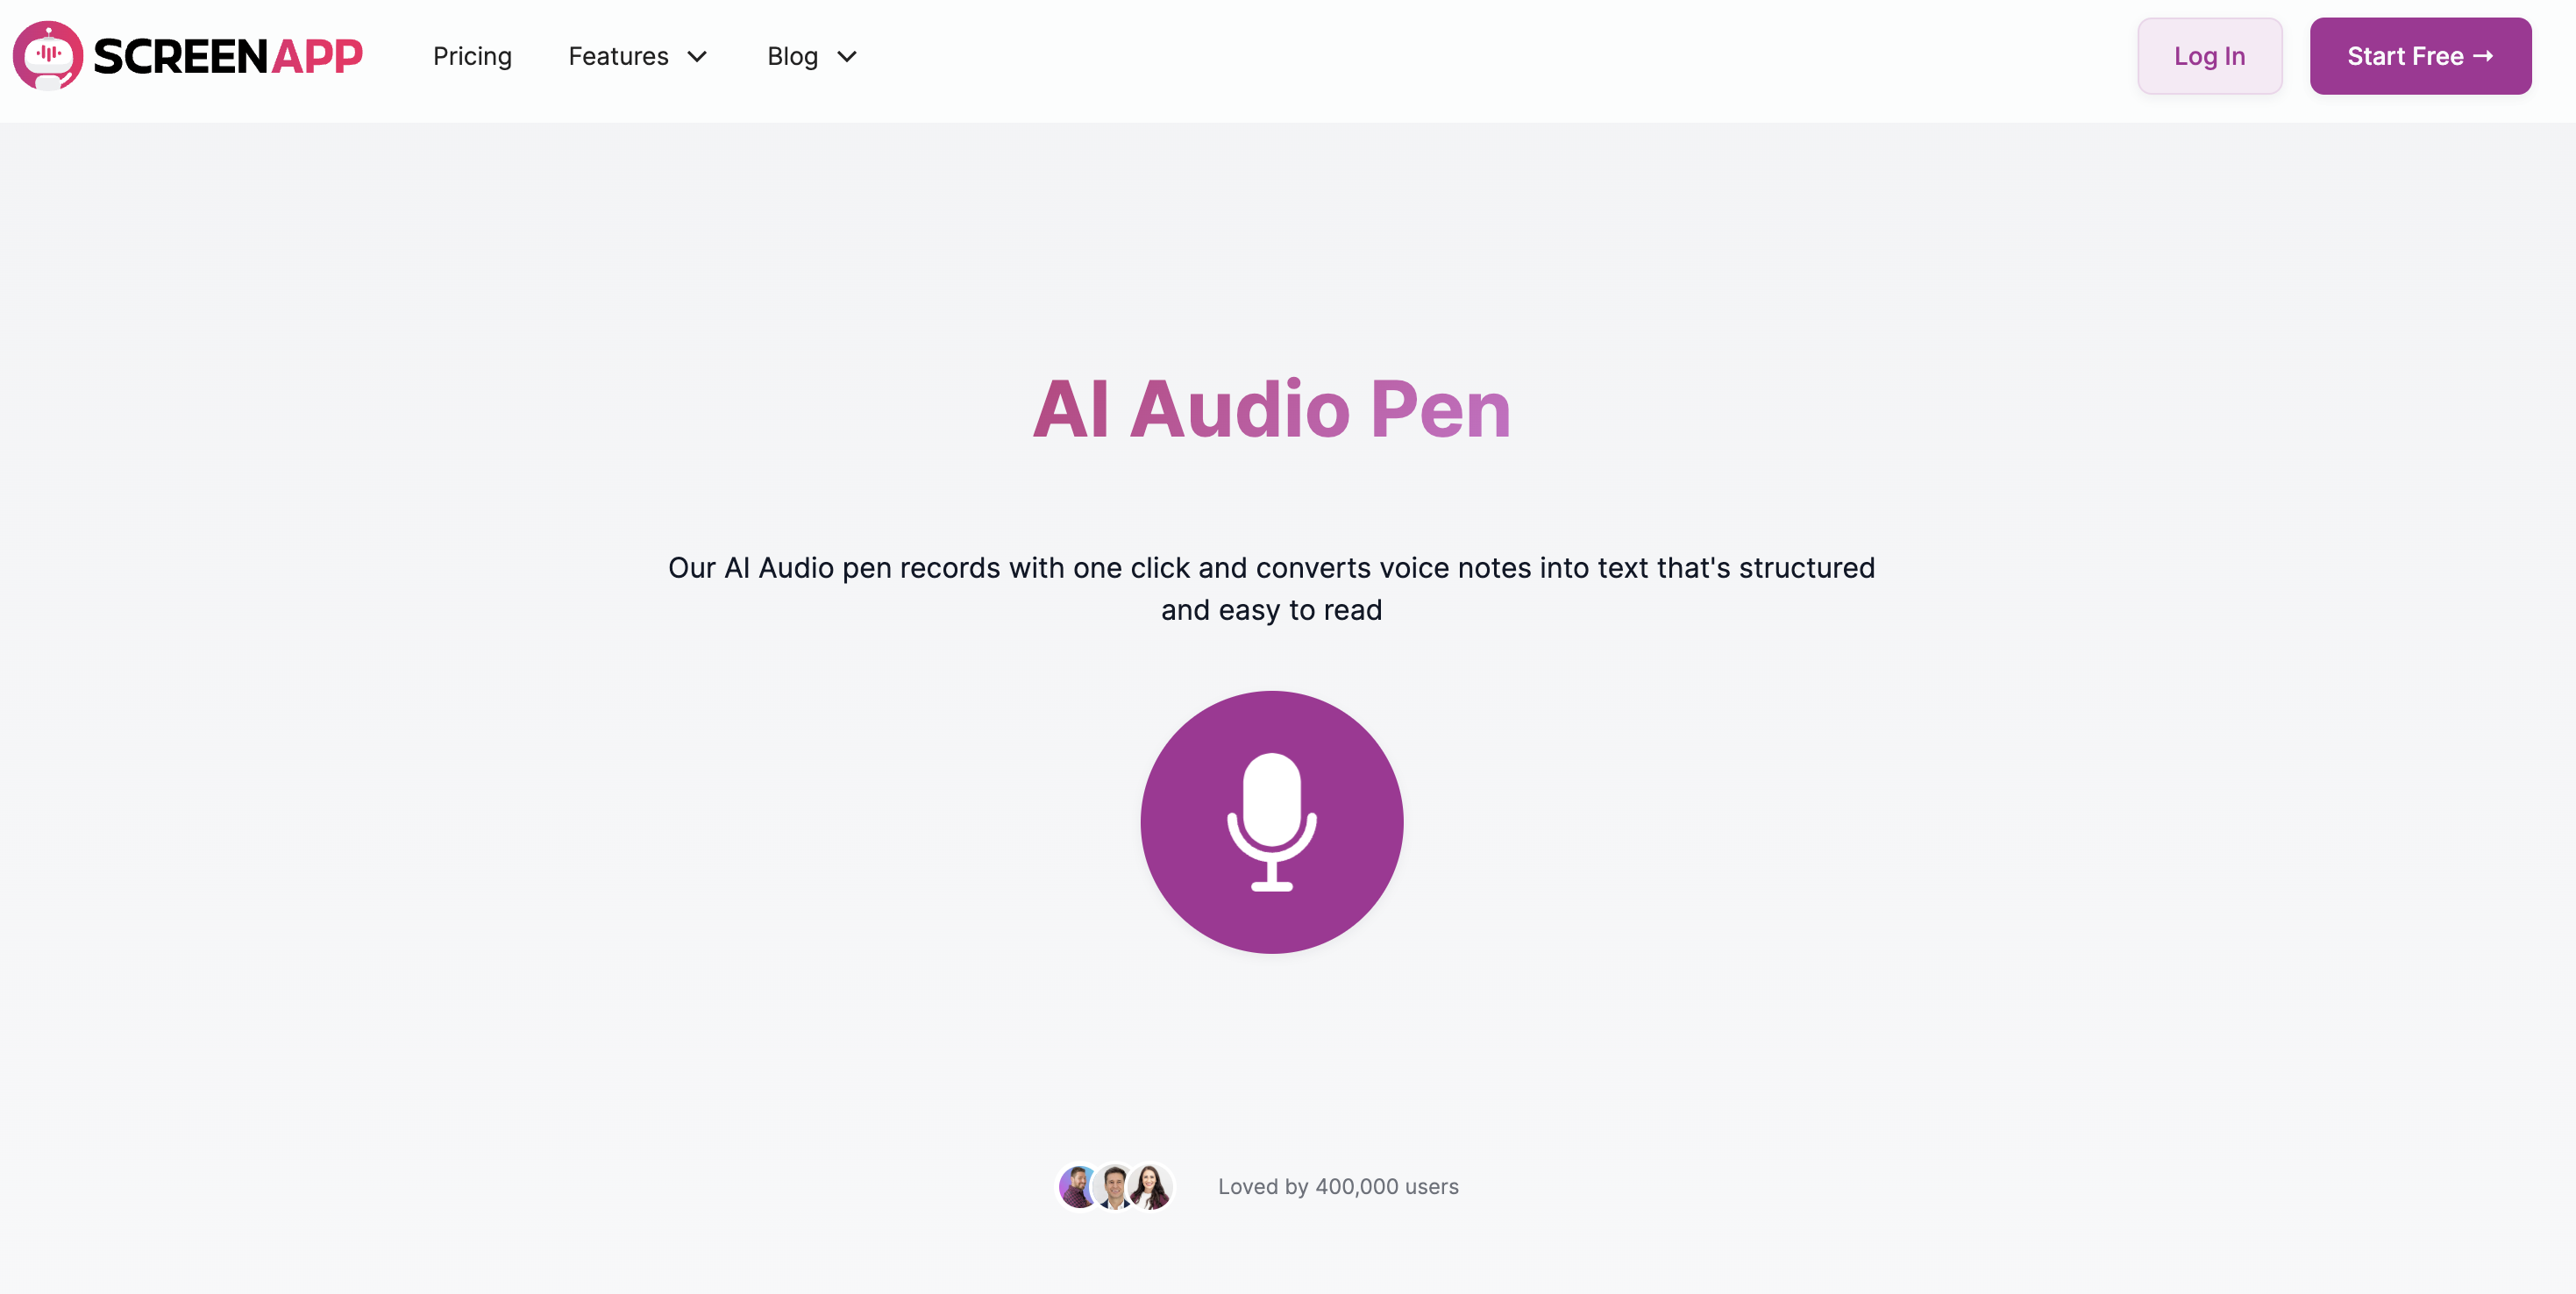
Upgrading to ScreenApp’s Pro plan unlocks the powerful “AI Audio Pen” feature. This innovative tool allows you to click anywhere on the audio waveform and see the corresponding transcribed text. This makes navigating and editing your recordings incredibly efficient.
ScreenApp empowers you to record high-quality audio while simultaneously generating transcripts and taking notes. It’s a one-stop shop for capturing, organizing, and referencing your audio content.
Conclusion
This guide has explored three ways to record audio on your Mac, catering to different needs and experience levels.
- Voice Memos: Your on-the-go companion for quick and easy voice capture. Ideal for capturing fleeting ideas, notes, or voice messages.
- QuickTime Player: Offers more features and customization options for higher-quality recordings. Perfect for projects requiring control over microphone selection, recording quality, and basic editing.
- Third-Party Apps (like ScreenApp): For power users and audio professionals, third-party recording software offers a vast array of advanced features like multi-track recording, noise cancellation, and professional editing tools.
Pro Tip: Enhance Your Recordings
Here are some additional tips to elevate your Mac audio recordings:
- Invest in an External Microphone: The built-in microphone is adequate for basic recordings, but an external microphone can significantly improve audio quality.
- Find a Quiet Recording Space: Background noise can be distracting. Choose a quiet environment for the best results.
Explore the Possibilities
With the tools and techniques covered in this guide, you’re well-equipped to capture high-quality audio on your Mac. So, fire up your favorite app, hit record, and unleash your creativity!
FAQ
Why Record Audio on Your Mac?
The reasons to record audio on your Mac are as diverse as its users. Here are just a few examples: - Brainstorming & Note-Taking: Capture fleeting ideas or record lectures for later review. - Musicians & Singers: Lay down rough tracks or record practice sessions. - Podcasters & Creatives: Produce high-quality audio content for your audience. - Communication & Education: Send personalized voice messages or record video tutorials with narration. No matter your project, this guide equips you with t