Can You Edit Videos in Photoshop? Complete Step-by-Step Guide


On this page
Yes, you can edit videos in Photoshop, and most people who own it never find out. The desktop app has had a real video Timeline since CS6: you can import clips, trim and split them, stack text and graphics on top, animate layers with keyframes, grade the footage with adjustment layers, add music, and export an MP4.
The better question is whether you should. Photoshop is an image editor with video tools bolted on, and that shows. It is genuinely good at short, visual projects (social clips, GIFs, cinemagraphs, frame-level retouching) and genuinely painful for anything long or complex. This guide covers the full workflow step by step, the formats and limits, the errors that stop people, and the honest line where you should switch to a dedicated editor.
Quick answer
Photoshop desktop edits video through its Timeline panel: import clips, trim and split footage, arrange multiple clips, add audio and transitions, animate layers with keyframes, apply adjustment layers and filters, and export with File, then Export, then Render Video. It is best for short visual edits, GIFs, and frame-level retouching, not for long-form projects, multi-camera editing, captions, or serious audio work. Photoshop on the web does not offer this workflow; you need the desktop app.
Related guides: how to transcribe in Premiere Pro, our video editing workflow tips, and where AI video editing is heading.
Can You Edit Videos in Photoshop?
Yes. Adobe’s own video and animation documentation describes the Timeline panel as “an Adobe Premiere-like set of tools”, and that is a fair description of the basics. In Photoshop desktop you can:
- Import video clips and preview them with playback controls
- Trim the start or end of a clip, split one clip into several, and rearrange them
- Combine multiple clips in a Video Group on a single track
- Add text, logos, and shape layers above the footage
- Animate position, opacity, and style with keyframes
- Add cross fades and fade-to-color transitions
- Apply adjustment layers (Curves, Hue/Saturation, and the rest) across clips
- Paint, clone, or retouch individual frames
- Add a music track, set volume, and fade audio in and out
- Export the result as MP4 or MOV, or as an image sequence
What it is not designed to do well: multi-camera projects, audio mixing beyond basic volume and fades, captions and transcription, long-form editing with dozens of cuts, motion tracking, or collaborative review. There are no proxies, no real color-grading scopes, and performance drops fast as timelines grow.
So is Photoshop a full video editor? No. It contains real editing tools, but it does not replace Premiere Pro, DaVinci Resolve, or Final Cut. Think of it as the video mode of an image editor, excellent exactly where image editing meets motion.
Is Photoshop Good for Video Editing?
Good for some jobs, wrong for others, and the difference is mostly project length and how image-heavy the work is.
| Project | Photoshop suitable? | Better option when needed |
|---|---|---|
| Animated GIF | Yes, one of the best | Photoshop |
| Short social promo | Yes | Adobe Express or CapCut for speed |
| Frame-by-frame retouching | Yes, its specialty | After Effects for tracked fixes |
| Cinemagraph | Yes | Photoshop |
| YouTube tutorial | Limited | Premiere Pro or DaVinci Resolve |
| Long interview or podcast | No | Dedicated editor |
| Multi-camera video | No | Premiere Pro |
| Advanced motion graphics | Limited | After Effects |
The pattern: if the project’s value comes from image work (a color look, a retouch, a designed composition that happens to move), Photoshop earns its place. If the value comes from cutting, pacing, sound, or length, it does not.
Before You Start: Three Things That Trip People Up
First, this whole workflow is desktop-only. Photoshop on the web handles image formats (PSD, PNG, JPEG, TIFF) and does not offer the Timeline video workflow, so if you cannot find the Timeline in a browser, that is why.
Second, version matters. Timeline-based video editing arrived properly in CS6, and every Creative Cloud version since has the modern workflow, but menu names and export options have shifted over the years. If a tutorial’s buttons do not match your screen, the tutorial is probably older than your Photoshop. Update the app before debugging anything else.
Third, prepare the footage like you would for any editor: keep a copy of the original, store working files locally (not on a flaky external drive or cloud placeholder), and test the workflow with a short sample clip before committing a big project to it. Photoshop caches video frames in RAM, so short and local beats long and remote every time.
What Video and Audio Formats Does Photoshop Support?
Per Adobe’s import documentation, Photoshop imports the common containers: MP4/MPEG-4, MOV, AVI, plus MPEG-1, 3GP, MTS, MXF, FLV, and others, with MPEG-2 depending on an installed decoder. For audio, it takes AAC, M4A, MP3, MP2, and M2A. Export goes out as MP4 or MOV (through Adobe Media Encoder presets) or as an image sequence, per the Render Video documentation.
The distinction that solves most “supported format still fails” mysteries: the extension is a container, the codec is what is inside it. MP4 is a box; H.264 is a codec commonly stored in that box. Two MP4 files can behave completely differently, and a file with a supported extension can still fail because its codec (H.265/HEVC is the usual suspect) is not decodable on your system. The fix is almost always to re-export the clip as H.264 MP4 from any converter and import that working copy instead.
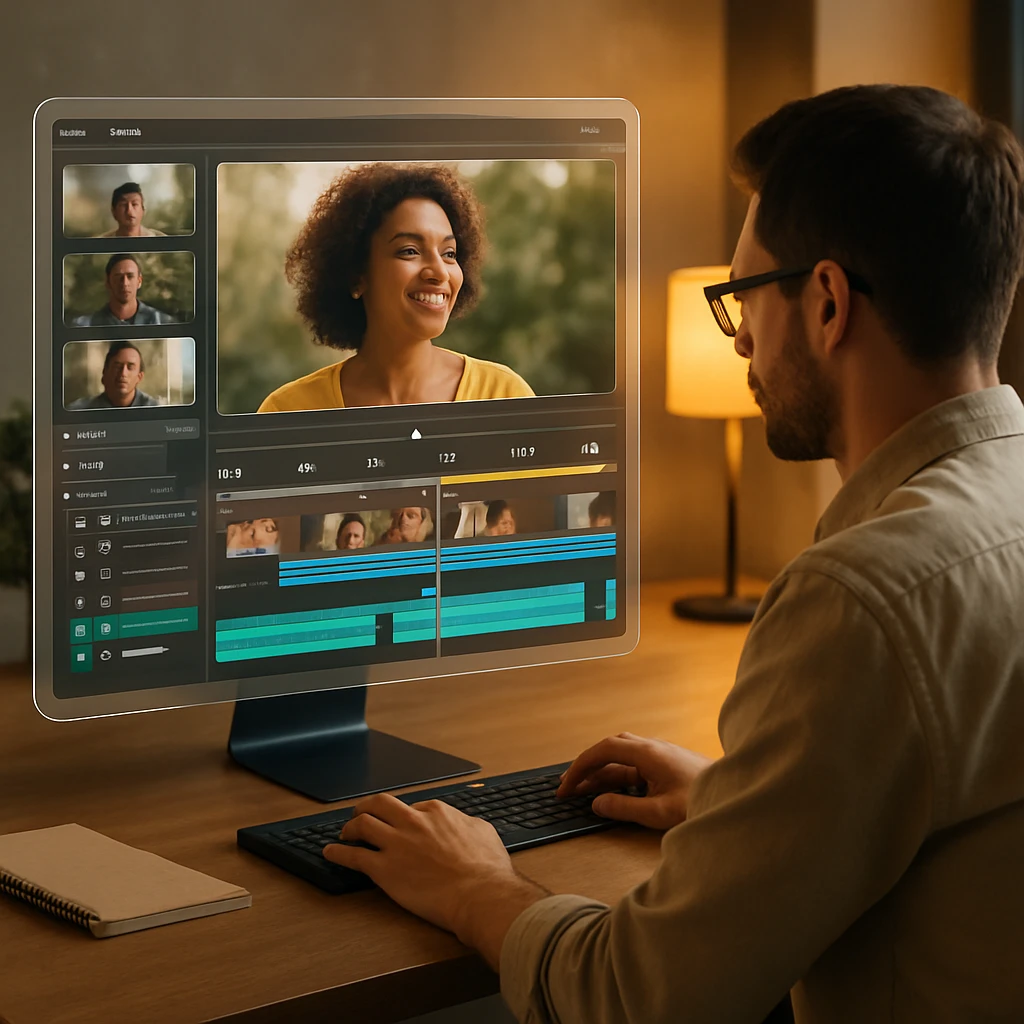
How to Edit Video in Photoshop Step by Step
The whole workflow, in the order you will actually use it. Menu paths are from the current Creative Cloud release, verified against Adobe’s documentation in July 2026.
Create a video Timeline
Open Photoshop, then select Window then Timeline. In the panel that appears at the bottom, choose Create Video Timeline (not Frame Animation, which is a different tool for hand-built GIF frames). Drag the panel taller; the default height makes editing miserable.
The Timeline gives you video tracks, an audio track, a playhead, a time ruler, playback controls, and the scissors and transition buttons you will use constantly.
Import your video
Three ways, depending on where you are starting from:
- 1.Fastest: File then Open, and pick the video. Photoshop creates a document with the clip as a Video Layer, already sitting in a Video Group.
- 2.Into an existing document: click the filmstrip icon on the Timeline's video track and choose Add Media. This is how you add a second and third clip.
- 3.Into a design: if you already have a composition with a background, text, and logo, use Add Media or drag the file in, then order the layers so the video sits where it belongs in the stack.
If the import fails, jump to the troubleshooting section; it is nearly always the codec.
Understand Video Groups
When a video imports, Photoshop wraps it in a Video Group in the Layers panel. Clips inside the group play one after another on a single track; layers outside the group (text, logos, adjustment layers) stack above or below the whole sequence like any Photoshop document.
That one idea explains most of the Timeline's behavior: sequence inside the group, composition outside it. Normal layer rules apply, so an adjustment layer above the group grades every clip beneath it.
Trim, split, and cut clips
To trim, grab the left or right edge of a clip in the Timeline and drag inward. Trimming hides frames rather than deleting them, so you can drag the edge back out later if you cut too much.
To split, park the playhead where you want the cut, select the clip, and click the scissors icon. The clip becomes two clips; select the piece you do not want and delete it, or drag the pieces into a new order. That covers the standard patterns: cutting a mistake out of the middle, tightening an intro, or slicing one long recording into several short clips.
| Action | What it does |
|---|---|
| Trim | Shortens a clip from either end, reversibly |
| Split | Divides one clip into separate clips at the playhead |
| Delete | Removes a selected clip or segment |
| Slip | Changes which source frames show without moving the clip or changing its length |
Arrange multiple clips
Add each clip to the same Video Group and drag them left or right to reorder; they snap end to end. Keep clips on one track unless you deliberately want overlap, and rename layers descriptively; "MVI_8203" three times is how projects become unmanageable.
A concrete shape that works for a 15-second social promo: a 3-second opener, a 7-second demonstration, a 3-second result, and a 2-second call to action.
Add transitions
Click the transition button (the split square icon) on the Timeline, then drag a transition onto the join between two clips. Photoshop offers a small set: Fade, Cross Fade, and fades through black, white, or a color. Select a placed transition to set its duration.
Restraint advice that applies in any editor: a plain cut looks more professional than a fade on every join. Use cross fades to signal a time or scene change, keep them short, and stay consistent.
Add text and titles
Use the Type tool exactly as in any Photoshop document; the text becomes a layer with its own duration bar in the Timeline. Drag the bar's ends to control when the title appears and disappears, and keep the layer above the Video Group so it renders on top.
This covers opening titles, lower thirds, end cards, watermarks, and manually placed captions. Keep titles big, high-contrast, and away from the edges; preview at actual size before judging readability.
Animate with keyframes
Expand a layer's row in the Timeline (the small arrow) to reveal its animatable properties: position, opacity, and style. Click the stopwatch next to a property to set the first keyframe, move the playhead, change the property, and Photoshop records the second keyframe and animates between them, as covered in Adobe's timeline animation workflow.
That is enough for the animations short content actually needs: text fading in, a logo sliding into frame, a slow scale on a still image, a before-and-after reveal driven by an animated mask, a call to action appearing at the end.
Grade with adjustment layers and filters
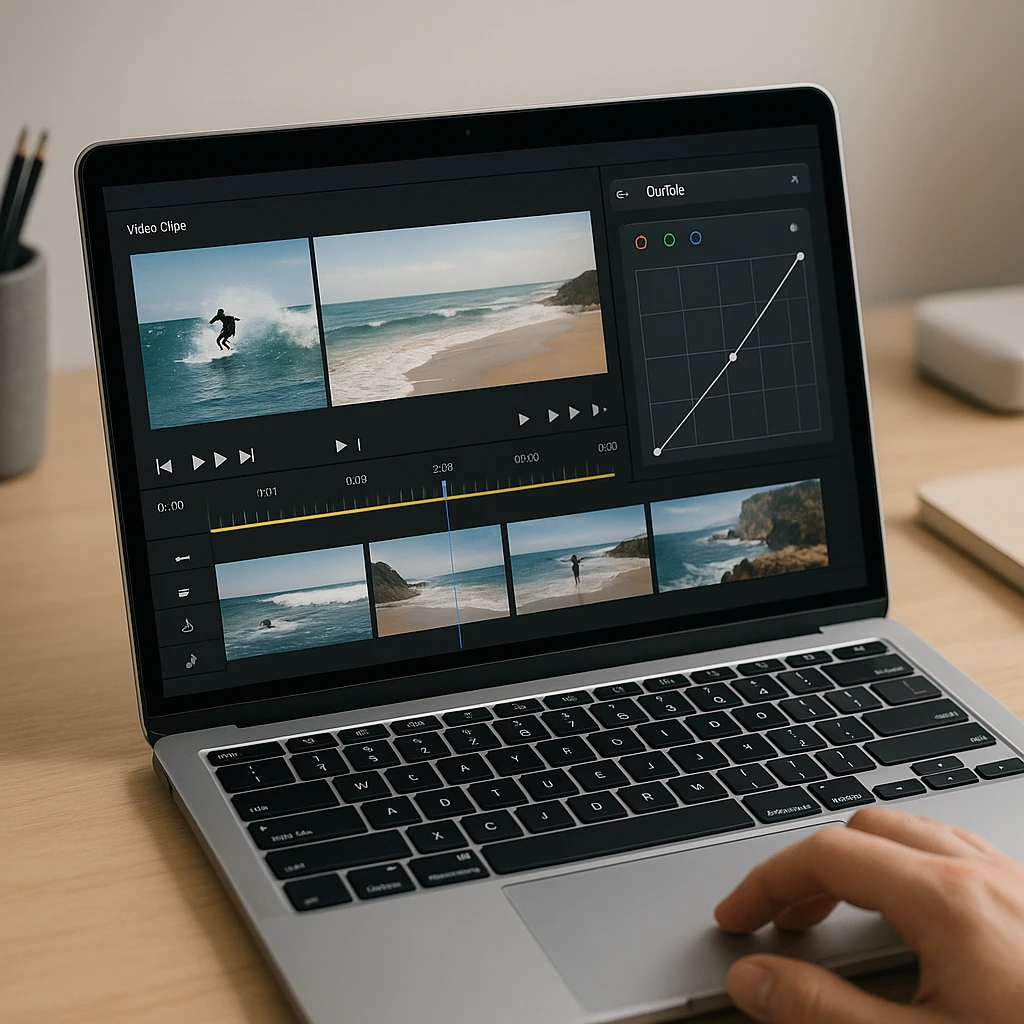
This is where Photoshop beats most dedicated editors at their own game. Drop a Curves, Hue/Saturation, Color Balance, or Gradient Map adjustment layer above the Video Group and it grades every clip beneath it, nondestructively, with the full Photoshop toolset including masks. A vignette, a film grain layer, a selective color shift: all of it works on video the way it works on photos.
For filters, convert the layer to a Smart Object first so the filter stays editable, then apply and tune it. One warning: filters run per frame, so anything heavy (noise reduction, complex blurs) slows playback and export dramatically. Preview a full section before committing to a look, and simplify if rendering crawls.
Retouch individual frames
The "can a video be Photoshopped?" question, and the answer is yes, frame by frame. Adobe's video features documentation is explicit that you can paint and clone on individual frames within Video Layers. Move the playhead to a frame, paint or clone as usual, step to the next frame, repeat.
Be honest with yourself about scope before starting: this is practical for removing a brief distraction, fixing a defect that lasts a few frames, or rotoscoping a short sequence for a hand-drawn effect. It is not motion tracking; if the object moves for ten seconds, every one of those ~250 frames needs the fix applied, and After Effects becomes the sane choice. Generative Fill is an image workflow too; do not expect one fill to stay consistent across a moving shot.
Add music and audio
Click the note icon on the Timeline's audio track and choose Add Audio, then trim and position the music the same way you handle clips. Selecting the audio clip exposes volume, mute, and fade-in and fade-out controls, and each video clip carries its own audio settings too, so you can mute camera sound under a music bed. Preview with headphones; laptop speakers hide clicks at cut points.
That is the extent of it. There is no noise removal, EQ, compression, ducking, or multitrack mixing. If the recording's spoken content matters (you need captions text, a transcript, or a summary of what was said), run the clip through a video to text converter alongside your edit, and paste the results into your Photoshop titles or your notes.
Export with Render Video
Save the PSD first; it is your editable project file. Then select File then Export then Render Video. In the dialog, name the file, pick a destination, and choose Adobe Media Encoder as the renderer with an H.264 MP4 preset for anything going online.
Check the size and frame rate match your document, choose the full timeline or a frame range, and select Render. Test the finished file in a normal player before calling it done.
Rules of thumb for the format choice: MP4 with the default H.264 preset for social and web, high-quality MOV or an image sequence if the footage is heading into another editor, and for GIFs skip Render Video entirely and use Photoshop’s GIF export workflow (or trim aggressively and hand the clip to a GIF maker, because file size balloons fast).
Why Is Video Not Working in Photoshop?
The failures cluster into a handful of causes, roughly in order of frequency:
The Timeline panel is missing. Window, then Timeline. If it is still absent, you are in Photoshop on the web or an unsupported version; this workflow needs the desktop app.
The video will not import. Codec, almost every time. The extension being MP4 or MOV means nothing if the codec inside is HEVC/H.265 without a system decoder. Re-export the clip as H.264 MP4 in any converter and import the working copy. Also check the file plays in a normal player at all (rules out corruption) and that it is stored locally, not a cloud placeholder.
The video shows a black screen. Toggle the GPU: Preferences, then Performance, then Graphics Processor Settings, and restart. Outdated GPU drivers cause most of these; layer visibility and playhead position outside the clip’s duration cause the rest.
There is no sound. Check the source file actually contains audio, the clip and track are not muted, the audio codec is supported (AAC and MP3 are safe), and your output device is right. Photoshop imports the audio inside video files, but an unsupported audio codec fails silently.
Playback is slow and choppy. Normal, to a point: Photoshop caches frames to RAM as it plays, so the second pass is smoother than the first. Beyond that: shorter clips, smaller documents, fewer Smart Filters, close other apps, give Photoshop more memory in Preferences, and accept that a long 4K timeline is simply past what this tool is for.
Render Video is greyed out or the export sticks. Greyed out usually means no video Timeline exists in the document. A stuck render: save, restart Photoshop, render a shorter frame range to isolate the problem section, temporarily disable heavy Smart Filters, check disk space, try a different output location or format, and update Photoshop; stalled Render Video exports are a known, documented failure mode, especially on macOS.
The export looks worse than the preview. Check the export dimensions match the document, the frame rate matches the footage, and you are not recompressing an already compressed file at low quality. Export one high-quality master, then make smaller delivery copies from that, instead of re-rendering the project at different sizes.
What About Photoshop CS6?
CS6 is where Timeline video editing became broadly available, and the core workflow in this guide (open video, trim, split, text, Render Video) exists there in recognizable form. Expect differences: the interface has shifted, export presets and codecs are dated, and a 2012 application on a 2026 operating system brings its own compatibility problems. If you are on CS6, keep untouched copies of your source files, test the export early, and treat modern tutorials as approximate. The concepts transfer; the exact buttons may not.
Can You Edit Video in Photoshop for Free?
Photoshop desktop is paid software, with a trial depending on Adobe’s current offer in your region. Photoshop on the web does not include the video Timeline, so the browser route is not a workaround. And a caution worth stating plainly: “Photoshop video editor free download” results from anywhere other than Adobe are a malware category, not a discount. If the budget is zero, use a legitimately free editor (DaVinci Resolve’s free tier is the strongest) rather than an unofficial Photoshop.
Photoshop vs Premiere Pro for Video Editing
| Capability | Photoshop | Premiere Pro |
|---|---|---|
| Trimming and sequencing clips | Yes, basic | Yes, full toolset |
| Image-based effects and grading | Excellent | Good |
| Frame-level retouching | Strong | Limited |
| Transitions and effects library | A handful of fades | Extensive |
| Audio mixing | Volume and fades only | Advanced |
| Captions and transcription | None | Built-in speech-to-text |
| Multi-camera and long-form | No | Yes |
| Best use | Short visual edits, GIFs, retouching | Complete video production |
Beyond Adobe: Adobe Express fits template-based social content in the browser, CapCut wins for Reels and TikTok speed with built-in captions, and DaVinci Resolve is the free desktop editor that handles long projects, color, and audio properly. Choose Photoshop when you already live in it and the project is short and image-led; choose anything else when the edit itself is the hard part.
The jobs Photoshop cannot do with your footage
ScreenAppPhotoshop has no transcription, captions, or speech tools at all. If your clip contains talking (a lecture, a meeting, a demo voiceover), ScreenApp covers the other half of the workflow; we build it, and the free tier is enough to test on a real recording:
- -Transcribe the video with timestamps, then paste clean captions text into your Photoshop titles
- -Summarize a long recording to find the 15 seconds worth editing before you open Photoshop
- -Analyze scenes and objects to jump straight to the moments that matter in long footage
Two Projects Worth Trying First
A 15-second vertical promo: import the clip into a 1080x1920 document, trim to the strongest 10 seconds, add a Curves adjustment layer for the look, a title with a two-keyframe fade-in, your logo, and a music bed with a fade-out, then Render Video to MP4. Every skill in this guide, one small deliverable.
A video-to-GIF conversion: open the video, trim aggressively (under 4 seconds loops best), reduce the document size, and export as GIF rather than video. Photoshop remains one of the best GIF tools ever shipped, and this is the workflow where its video mode feels least like a compromise.
FAQ
Can Photoshop edit videos?
Yes. Photoshop desktop includes a Timeline panel for importing clips, trimming and splitting them, adding text, transitions, adjustment layers, and audio, and exporting the result as a video. It has shipped with these tools since CS6. It suits short visual projects rather than long-form editing.
Can I open MP4 and MOV files in Photoshop?
Yes, both are supported import formats. If a specific file fails, the codec inside the container is the usual cause: H.265/HEVC needs a system decoder, while H.264 imports reliably. Re-export a failing clip as H.264 MP4 and it will almost always open.
How do I open the video Timeline in Photoshop?
Select Window, then Timeline, then click Create Video Timeline in the panel that appears. Pick Video Timeline rather than Frame Animation, which is the separate frame-by-frame GIF tool. If the option is missing entirely, you are in Photoshop on the web, which does not include the video workflow.
Can I trim or split a video in Photoshop?
Yes. Drag a clip's edge inward on the Timeline to trim it (reversible; the frames are hidden, not deleted), or park the playhead and use the scissors icon to split one clip into several, then delete or rearrange the pieces.
Can I add text and animate it over a video?
Yes. Text layers work exactly as in image documents, with a duration bar in the Timeline controlling when they appear. Expand the layer and set keyframes on position or opacity to animate a fade-in or slide. Keep text large and high-contrast for mobile viewers.
Can I add music to a video in Photoshop?
Yes. The Timeline has an audio track: click its note icon, choose Add Audio, then trim, position, and fade the file. Controls stop at volume, mute, and fades; there is no EQ, noise removal, or mixing, so treat it as placing a finished music bed, not producing audio.
Can Photoshop remove something from a video?
Frame by frame, yes: you can clone, paint, or mask on individual frames, which works for brief distractions or defects lasting a few frames. There is no motion tracking, so an object moving through a long shot means editing hundreds of frames by hand; After Effects handles that job properly.
Can Photoshop color-grade video?
Yes, and it is the strongest part of the workflow. Adjustment layers (Curves, Hue/Saturation, Color Balance, Gradient Map) sit above the footage and grade every clip nondestructively, with masks for selective corrections. What is missing is the measurement side: no scopes, no proper grading environment.
How do I export video from Photoshop, and can it export MP4?
Select File, then Export, then Render Video, choose Adobe Media Encoder as the renderer, and pick an H.264 MP4 preset for web and social use. MOV and image sequences are the other main outputs. Save the PSD first; it is your editable project.
Why is Render Video greyed out or stuck?
Greyed out usually means the document has no video Timeline. A render that stalls mid-export is a known failure mode: save, restart Photoshop, render a shorter frame range, temporarily disable heavy Smart Filters, check disk space, and update the app. Exporting a different format isolates whether the preset is the problem.
Can I edit videos in Photoshop CS6?
Yes; CS6 is where Timeline video editing became broadly available, and the core trim-split-text-render workflow exists there. Expect an older interface, dated export presets, and compatibility quirks on modern operating systems. Keep original source files safe and test exports early.
Is Photoshop better than Premiere Pro for video?
For image-led work on short clips (grading, retouching, designed compositions, GIFs), Photoshop is genuinely better. For everything the word "editing" usually means (many cuts, pacing, audio, captions, length), Premiere Pro or DaVinci Resolve wins without contest. Plenty of designers use Photoshop for the look and a real editor for the cut. Photoshop can absolutely edit video; just point it at the jobs where its image tools are the advantage.