What is ScreenApp?
ScreenApp is a browser-based screen recording tool that lets you capture your screen, microphone, and webcam directly in your web browser. No downloads or installations required—just open your browser and start recording.
Whether you’re creating tutorials, documenting bugs, recording meetings, or capturing presentations, ScreenApp makes screen recording simple and instant.
Getting Started with ScreenApp
Prerequisites
Before you start recording, you’ll need:
- A modern web browser (Chrome, Firefox, Safari, or Edge)
- Microphone access (for narration)
- Webcam access (optional, for adding your video)
- Internet connection for uploading recordings
Accessing ScreenApp
- Open your browser and navigate to ScreenApp
- Sign up for a free account or log in
- You’ll land on your Library dashboard
Recording Your Screen: Step-by-Step
Step 1: Start a New Recording
From your ScreenApp Library:
- Click the “Record Screen” button in the top action bar
- The recording setup dialog will appear with the title “Choose what to record”
This dialog lets you configure exactly what you want to capture before starting.
Step 2: Choose Your Screen Source
In the Screen dropdown, select what you want to record:
- Browser Tab - Records only a specific browser tab (perfect for web demos)
- Entire Screen - Captures everything on your display
- Application Window - Records a specific program window
Best for tutorials: Choose “Entire Screen” or “Application Window” so viewers see exactly what you’re demonstrating.
Step 3: Configure Audio Settings
Microphone Selection
In the Mic dropdown:
- Select your preferred microphone device
- ScreenApp detects all available microphones automatically
- Choose “MacBook Air Microphone” for built-in mic or select your external USB microphone
Pro Tip: For clearer audio, use an external USB microphone rather than your computer’s built-in mic.
System Audio (Optional)
ScreenApp can also capture:
- Browser audio (from videos, music, or calls)
- Application sounds
- System notifications
This is enabled automatically when recording browser tabs.
Step 4: Add Webcam (Optional)
In the Camera dropdown:
- Select your webcam if you want to include your video
- Your webcam feed will appear as a small overlay during recording
- Skip this step if you only need screen recording
When to use webcam:
- Personal tutorials where face-to-camera builds connection
- Presentations where you want to be visible
- Video messages to colleagues
Step 5: Start Recording
-
Review your settings in the dialog
-
Click the blue “Start Recording” button
-
Your browser will prompt you to share your screen:
- Chrome/Edge: Select the tab, window, or screen to share
- Firefox: Choose “Share Screen” and select your option
- Safari: Grant screen recording permission in System Preferences
-
Click “Share” or “Allow” in the browser permission dialog
Step 6: Recording in Progress
Once recording starts:
- A recording indicator appears (usually a red dot or timer)
- Recording controls are visible:
- Pause button - Temporarily stop recording
- Stop button - End and save your recording
- Timer - Shows recording duration
During recording, you can:
- Navigate between applications
- Switch browser tabs
- Present slides or documents
- Type, click, and demonstrate features
- Speak clearly into your microphone
Best practices while recording:
- Speak 20% slower than normal conversation
- Move your cursor deliberately so viewers can follow
- Pause between major sections for easier editing later
- Close distracting notifications (enable Do Not Disturb)
Step 7: Pause Your Recording (Optional)
Need to take a break or prepare the next section?
- Click the Pause button in the recording controls
- Recording pauses but doesn’t end
- Click Resume when ready to continue
- The pause won’t appear in your final video
When to use pause:
- Taking a quick break
- Switching to a different application
- Preparing the next demonstration step
Step 8: Stop and Save Your Recording
When you’re finished:
- Click the Stop button in the recording controls
- ScreenApp automatically processes your recording
- Your video uploads to your Library
- Processing typically takes 10-30 seconds depending on length
What happens during processing:
- Video is compressed for optimal quality and file size
- Automatic transcription begins (speech-to-text)
- AI summary generation starts
- Thumbnail is created from the first frame
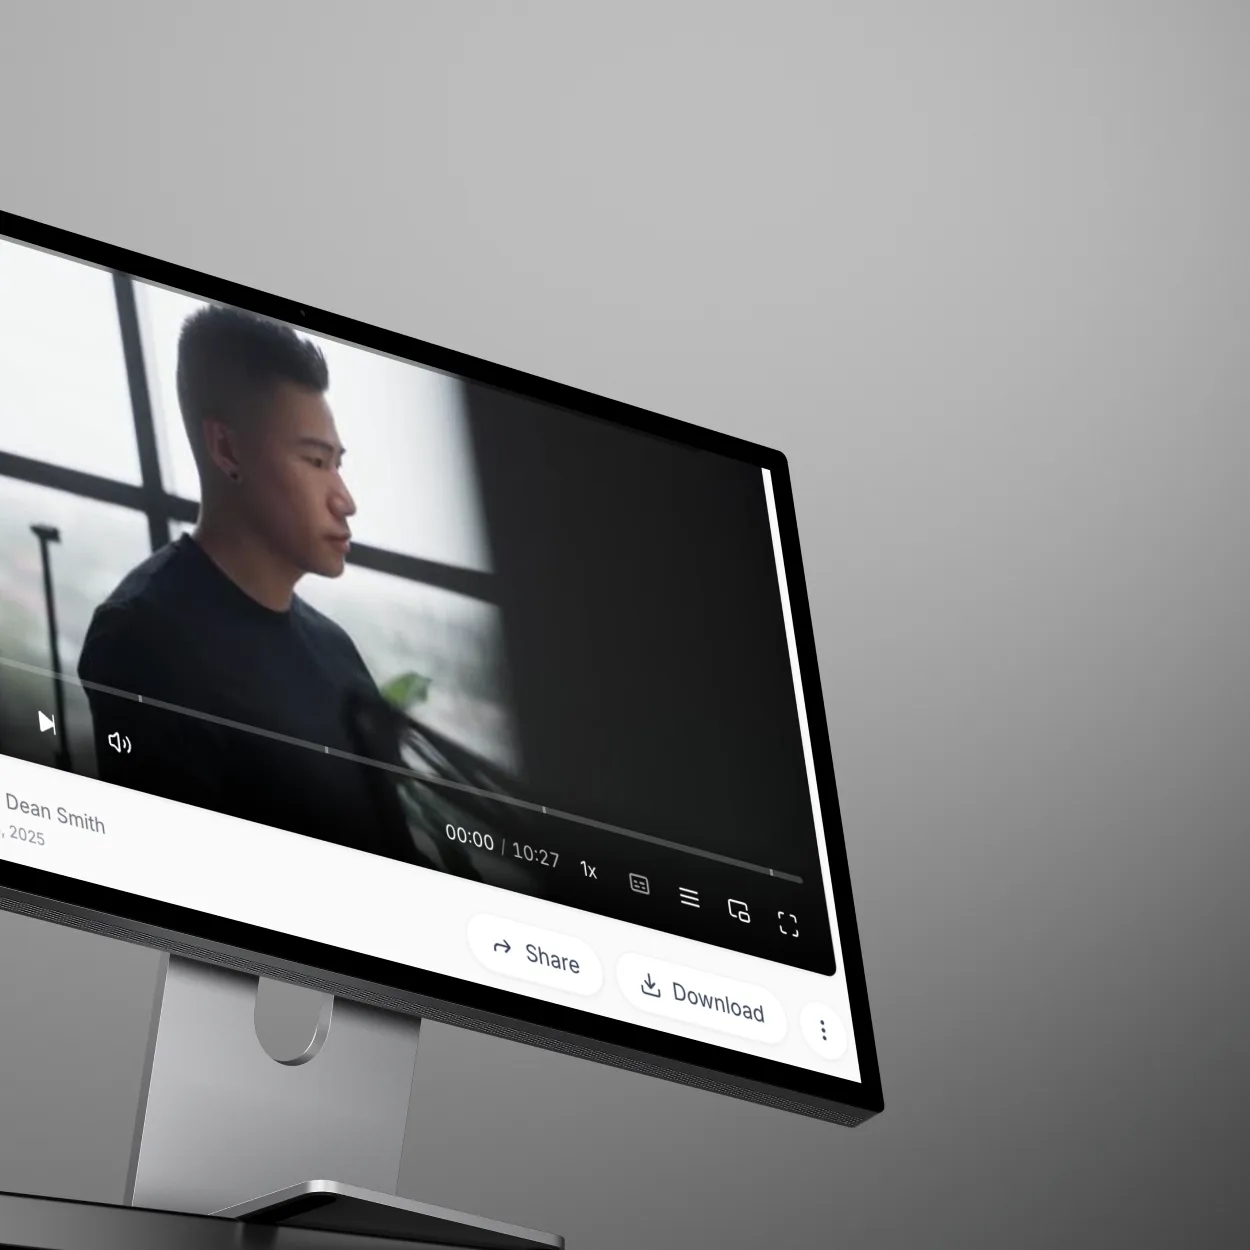
Step 9: Access Your Recording
After processing completes:
- Your recording appears in your ScreenApp Library
- Click the recording to open it
- You’ll see:
- Video player with your recording
- Transcript of spoken words (AI-generated)
- Summary of key points
- Share link for sending to others
Sharing Your Screen Recording
ScreenApp offers multiple sharing options:
Instant Share Link
- Click the Share button on your recording
- Copy the shareable link
- Send via email, Slack, or messaging
- Recipients watch in-browser without downloads or sign-ups
Perfect for:
- Sending to clients or colleagues
- Embedding in documentation
- Sharing on social media
Download Video File
- Click the Download button
- Choose your format (MP4 recommended)
- Save to your computer
- Upload to YouTube, Vimeo, or other platforms
Embed in Websites
- Click Embed
- Copy the embed code
- Paste into your website or blog
- Recording plays directly on your page
Recording Settings and Quality
Video Quality Options
ScreenApp automatically optimizes recording quality based on your internet connection:
- 1080p (Full HD): Default for most recordings
- 720p (HD): Used for slower connections
- Bitrate: Adjusted automatically for smooth recording
Audio Quality
- Sample Rate: 48 kHz (professional standard)
- Microphone: Auto-adjusts based on your device
- Noise reduction: Basic background noise filtering
Common Recording Scenarios
Recording a Tutorial
- Choose “Application Window” or “Entire Screen”
- Enable microphone for narration
- Optional: Enable webcam for personal touch
- Prepare your script or outline before starting
- Record in sections—pause between major steps
Recording a Meeting or Presentation
- Choose “Browser Tab” for Google Meet/Zoom browser version
- Enable microphone and system audio
- Start recording before the meeting begins
- Stop after the meeting ends
- ScreenApp’s AI will transcribe and summarize automatically
Recording a Bug Report
- Choose “Application Window” to show the specific program
- Enable microphone to explain the issue
- Demonstrate the bug step-by-step
- Stop recording and share the link with your development team
Recording a Product Demo
- Choose “Entire Screen” for full context
- Enable microphone and webcam for personalization
- Prepare demo flow in advance
- Record with clear narration of features and benefits
Troubleshooting Common Issues
”Screen sharing permission denied”
Solution:
- Chrome/Edge: Click the browser address bar > Site settings > Allow screen recording
- Safari: System Preferences > Security & Privacy > Screen Recording > Enable for Safari
- Firefox: About:preferences > Privacy & Security > Permissions > Use your camera/microphone
”No microphone detected”
Solution:
- Check microphone is plugged in (for external mics)
- Browser Settings > Mic permissions > Allow for ScreenApp
- System Settings > Sound > Ensure microphone is enabled
- Refresh the ScreenApp page
”Recording is laggy or stuttering”
Solution:
- Close unnecessary browser tabs and applications
- Reduce recording resolution (ScreenApp does this automatically)
- Check internet connection speed
- Restart your browser
”Can’t hear audio in my recording”
Solution:
- Verify microphone was selected before recording
- Check system audio wasn’t muted during recording
- Ensure browser audio permissions are enabled
- Test microphone with a short recording first
Advanced Tips for Professional Recordings
Before You Record
- Test your setup - Do a 10-second test recording to check audio and video
- Clean your desktop - Close unrelated applications and browser tabs
- Disable notifications - Turn on Do Not Disturb mode
- Prepare a script - Write bullet points of what you’ll cover
- Close sensitive information - Hide emails, passwords, bookmarks
During Recording
- Speak clearly - Enunciate and maintain steady pace
- Use your cursor deliberately - Point to important elements
- Zoom when needed - Get closer to show small details
- Pause between sections - Makes editing easier later
- Acknowledge mistakes and continue - You can edit them out later
After Recording
- Review before sharing - Watch your recording to catch issues
- Add a descriptive title - Help viewers understand the content
- Use the transcript - Copy key sections for documentation
- Check the AI summary - Ensure it captured main points accurately
Next Steps
Now that you know how to record your screen with ScreenApp, explore these topics:
- How to Add Subtitles to Videos - Add captions to your screen recordings
- How to Record Meetings with AI - Record professional meetings with transcription
- How to Transcribe Audio to Text - Get searchable transcripts of recordings
Start Recording Today
ScreenApp makes screen recording effortless. With browser-based recording, automatic transcription, and instant sharing, you can create professional screen recordings in minutes.
Ready to create your first recording? Start using ScreenApp for free and put this guide into action.