洞察と記事
AIツール、生産性向上ハック、ソフトウェアレビュー、テクノロジーのトレンドの最新情報を発見してください。

Einstein AI vs ScreenApp: 最高の無料AI講義ノート作成ツール
2026年版 Einstein AI vs ScreenApp を比較:学生にとって最適な無料AI講義ノート作成ツールはどちらか? 文字起こし精度、YouTube対応、料金、プライバシーについて徹底検証。

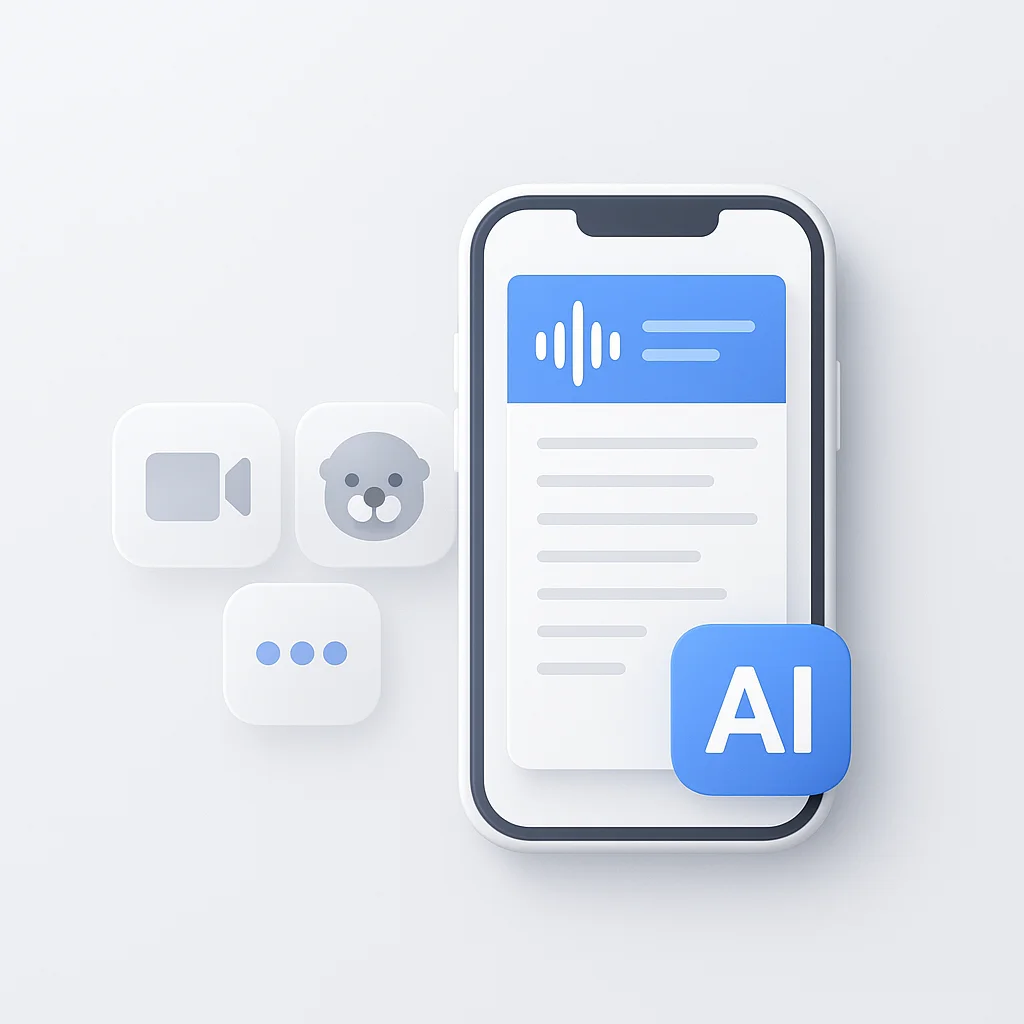
最高のAI講義ノート作成アプリ
iPhoneとAndroid向けの最高の無料AI講義ノート作成アプリをダウンロード。ScreenApp、Otter、その他の講義録音アプリ(バックグラウンド録音、ライブ文字起こし、学生向け自動要約機能付き)を比較。
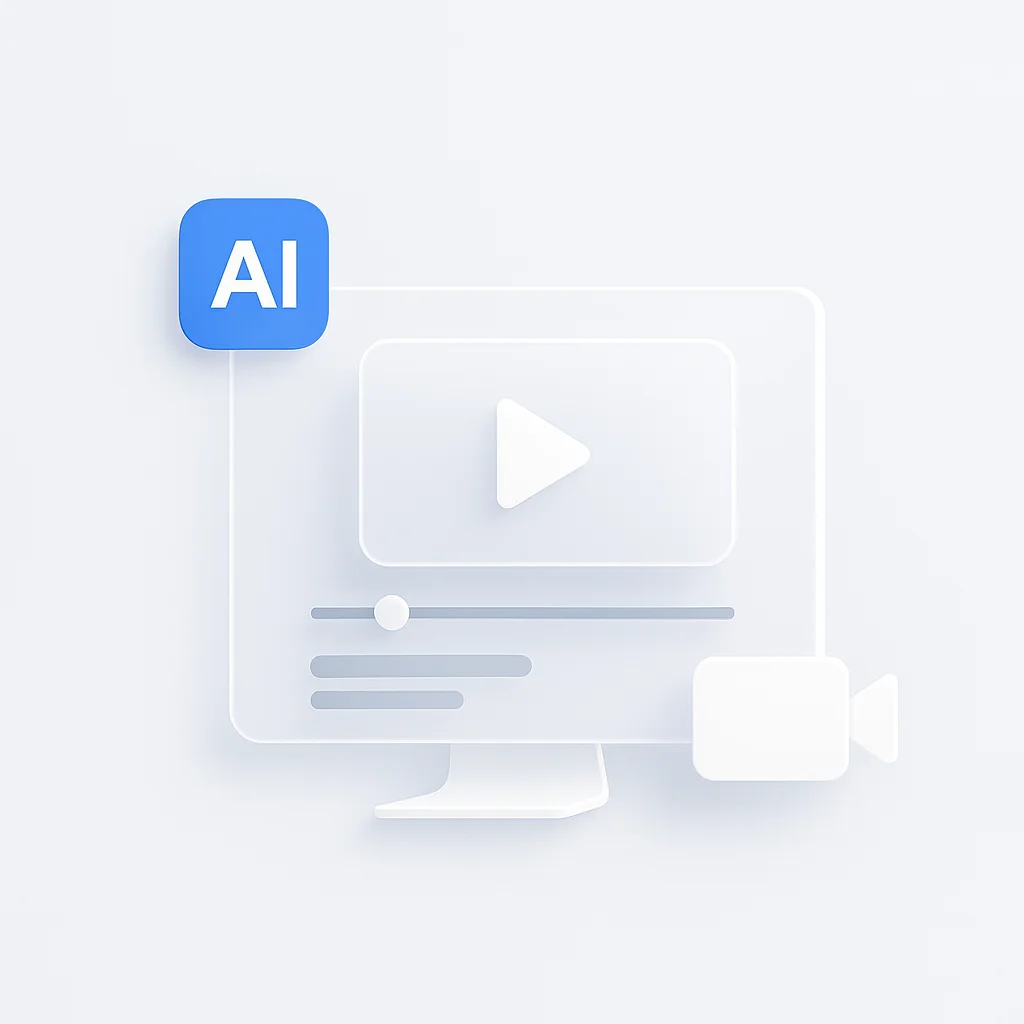
2026年 YouTube向けベストAI動画生成ツール:9つのツールを比較
2026年 YouTube向け最高の無料AI動画生成ツール(価格、透かし、書き出し制限で比較):InVideo AI、HeyGen、Pictory、Fliki、その他5つのショート動画・長尺動画対応ツール
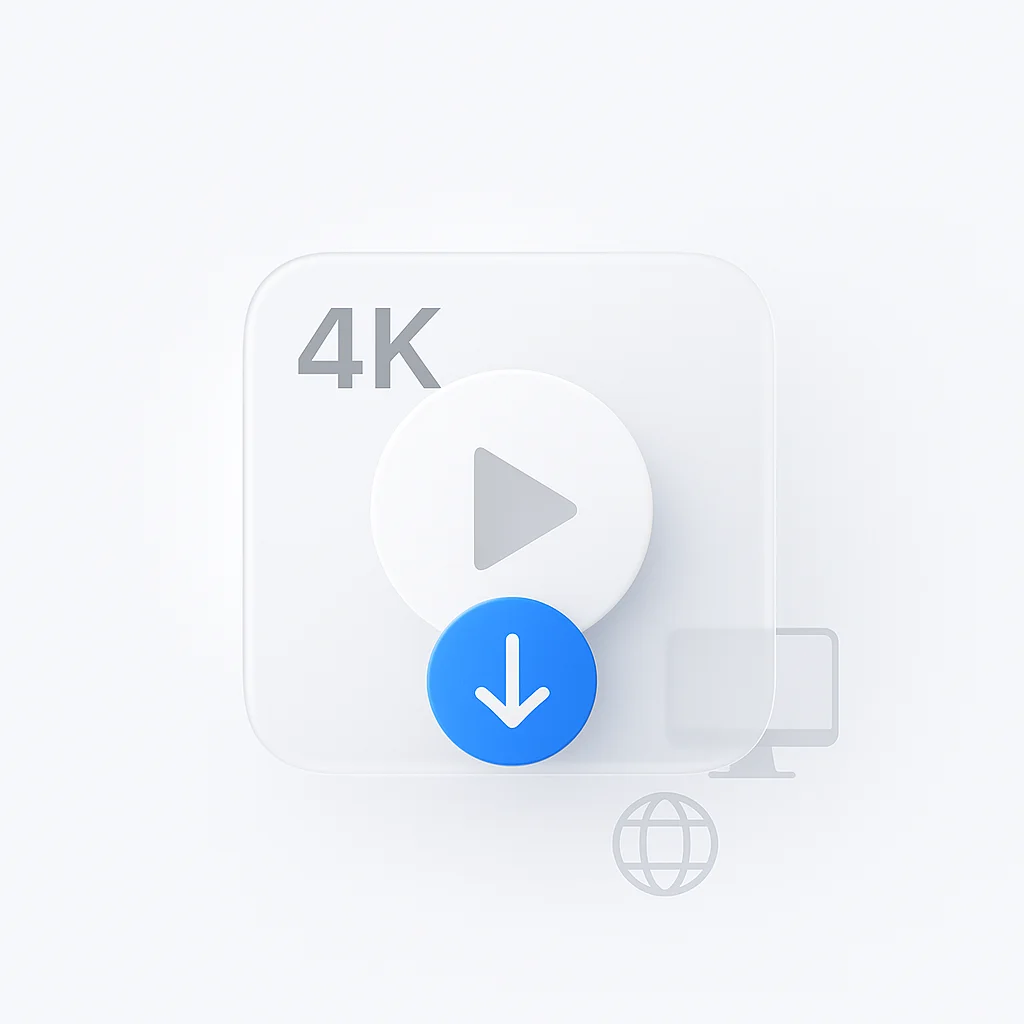
2026年最高の4K動画ダウンローダー代替ツール:無料、オンライン、インストール不要
2026年最高の4K動画ダウンローダー代替ソフトを徹底比較:ブラウザダウンロードとClipGrab、yt-dlp、JDownloader 2などのデスクトップアプリ、そしてインストール不要で4K動画をオンライン保存する方法

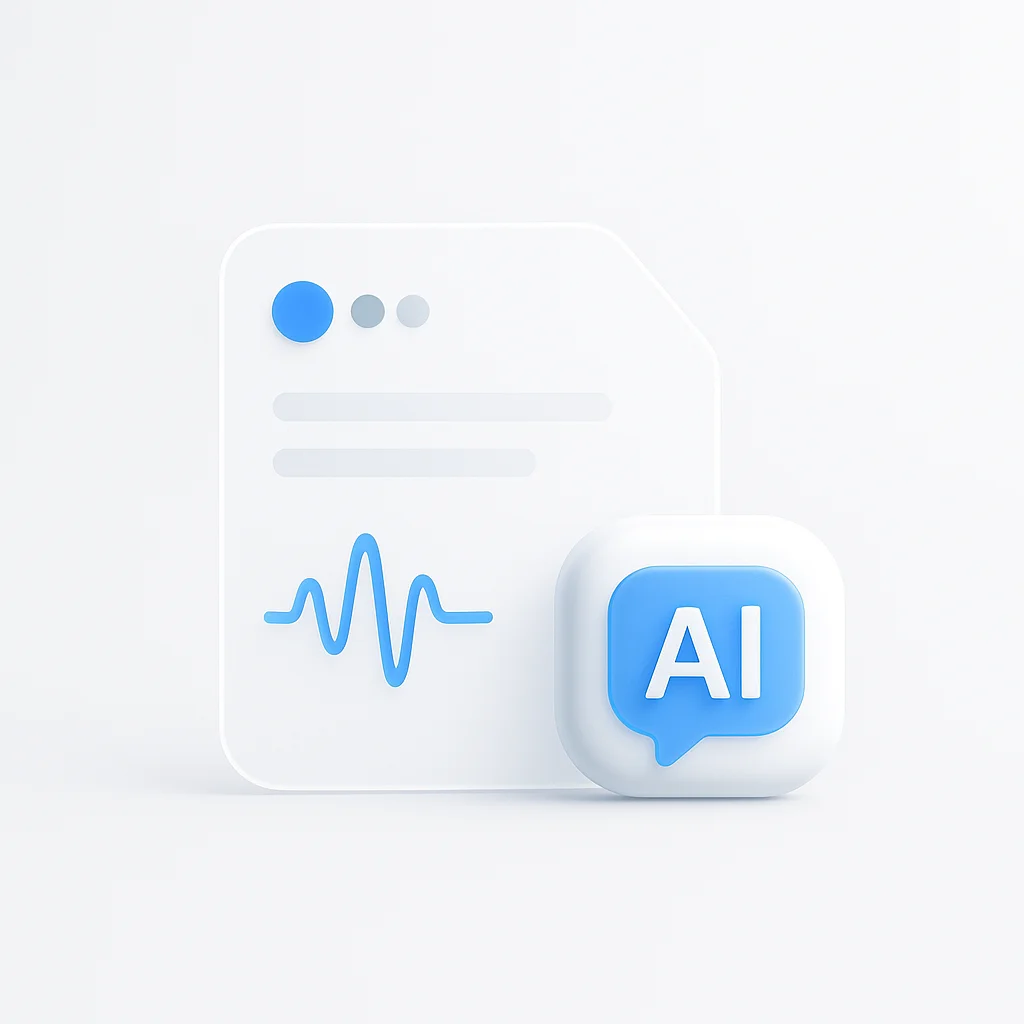
2026年版ベスト音声翻訳機:音声翻訳ツール10選を比較
最高の音声翻訳機を、精度、リアルタイム性、オフライン利用、対応言語数の観点から比較。旅行、ビジネス、語学学習において、AI音声翻訳ツールがどのように比較されるかをご覧ください。

AI議事録作成ツール:Otter vs Fireflies vs Fathom vs MeetGeek vs tl;dv
2026年版AI議事録作成ツール比較:Otter vs Fireflies vs Fathom vs MeetGeek vs tl;dvに加え、GrainとScreenApp。実際の無料プラン制限、現在の価格、あなたのワークフローに最適なのはどれか。

AI動画インテリジェンスツール 2026年:7つのプラットフォーム比較
2026年最高のAI動画インテリジェンスプラットフォームを比較。Oriane、ScreenApp、Pictoryなど、ブランドモニタリング、コンテンツ分析、動画検索機能について分析しました。あなたのニーズに合ったツールを見つけてください。

AppleがMotionVFXを買収:2026年、ビデオクリエイターにとっての意味
Appleは2026年にMotionVFXを買収する。これがFinal Cut Proユーザーやビデオクリエイターに何を意味し、迅速な編集ワークフローにおいてより良い価値を提供する代替案はどれか。

AI動画解析ツール2026:機能、価格、精度を比較
OCR、文字起こし、要約に最適なAI動画解析ツールを比較。精度、価格、プライバシーの観点から8つのプラットフォームをテストし、あなたに最適なツール選びをサポートします。

AI文字起こしプライバシーリスク:職場コンプライアンスガイド 2026年
速報: AI文字起こしツールが、職場会議において法務・人事のコンプライアンス問題を引き起こしています。GDPRに準拠した会議議事録作成のため、ScreenAppなどのAI文字起こしツールを利用する際の従業員のプライバシー保護方法を学びましょう。

AI動画編集トレンド2026:知っておくべき5つの革新的な機能
2026年のコンテンツ制作を変革する最新のAI動画編集トレンドをご覧ください。自動ワークフローからAI搭載キャプション、テキストtoビデオ編集まで。
AI議事録ツールのプライバシーリスク:人事チームがパニックに陥る理由
フォーチュン誌は、AI会議ツールが人事部門に悪夢をもたらしていると報じています。実際のプライバシーリスク、法的同意の問題、そして職場でAI議事録ツールを責任を持って利用する方法を学びましょう。
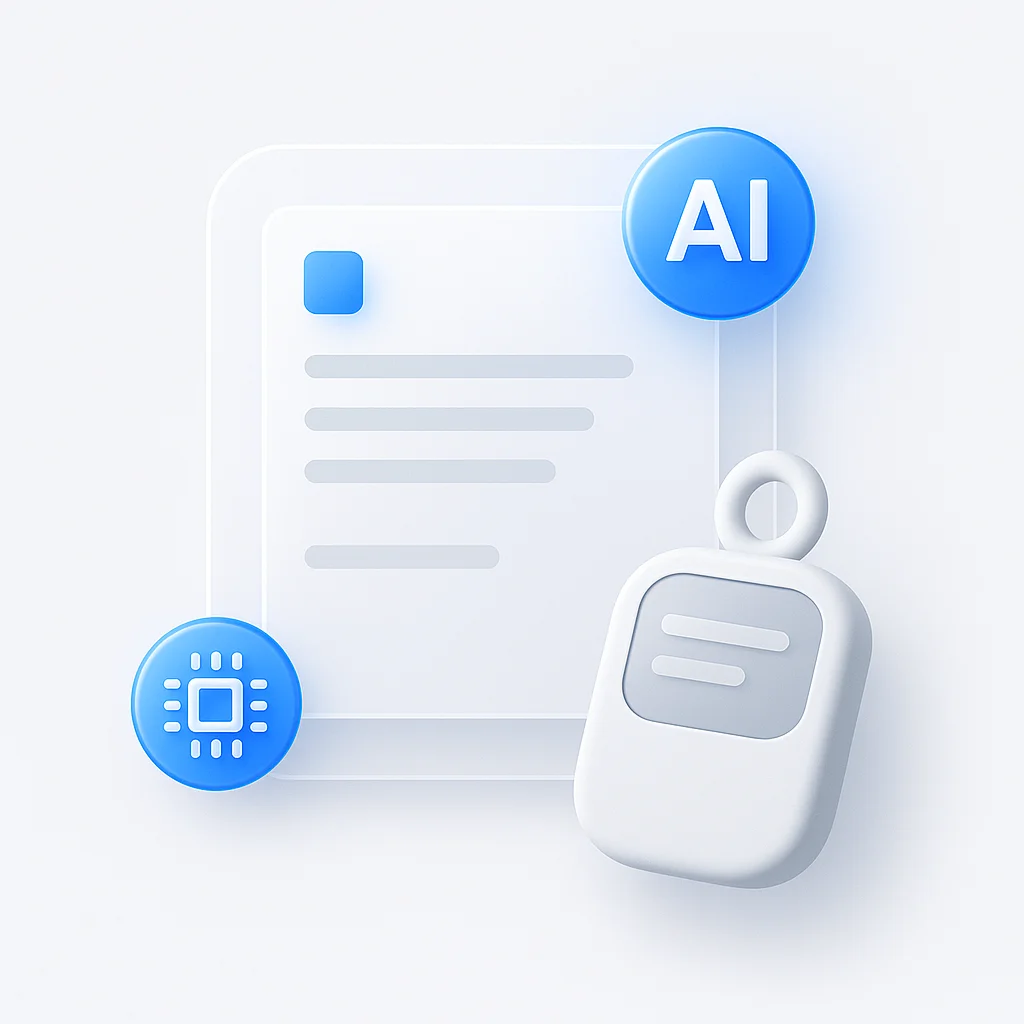
2026年のAIノートテーカー:ハードウェアデバイス vs ソフトウェアソリューション
Plaud NotePinやLimitless Pendantのようなデバイスを擁するハードウェアAIノートテーカーがCES 2026を席巻しました。ハードウェアとソフトウェアのアプローチを比較し、市場がどこへ向かっているのかを探ります。