· 9 min read
视频剪辑工作流程技巧:在2025年简化您的制作流程

On this page
<style>
/* Enhanced Visual Styling for Video Editing Workflow Guide */
.workflow-card {
background: white;
border: 1px solid #e2e8f0;
border-radius: 12px;
padding: 24px;
margin: 24px 0;
box-shadow: 0 2px 8px rgba(0,0,0,0.08);
transition: transform 0.2s ease;
position: relative;
}
.workflow-card:hover {
transform: translateY(-2px);
box-shadow: 0 4px 16px rgba(0,0,0,0.12);
}
.workflow-step {
background: #667eea;
color: white;
width: 44px;
height: 44px;
border-radius: 50%;
display: flex;
align-items: center;
justify-content: center;
font-weight: bold;
font-size: 20px;
position: absolute;
top: 20px;
right: 20px;
box-shadow: 0 2px 8px rgba(102, 126, 234, 0.3);
}
.workflow-card h4 {
margin: 0 0 16px 0;
padding-right: 70px;
font-size: 18px;
font-weight: 600;
color: #1a202c;
}
.workflow-card ul {
margin: 0;
padding-left: 20px;
}
.workflow-card li {
margin: 8px 0;
line-height: 1.5;
color: #4a5568;
}
.workflow-card p {
margin: 0 0 16px 0;
color: #4a5568;
line-height: 1.6;
}
.quick-start-grid {
display: grid;
grid-template-columns: repeat(auto-fit, minmax(250px, 1fr));
gap: 20px;
margin: 32px 0;
}
.quick-start-card {
background: linear-gradient(135deg, #667eea 0%, #764ba2 100%);
color: white;
padding: 24px;
border-radius: 12px;
text-align: center;
transition: transform 0.2s ease;
}
.quick-start-card:hover {
transform: translateY(-4px);
}
.quick-start-card h3 {
margin: 0 0 12px 0;
font-size: 20px;
}
.quick-start-card p {
margin: 0;
opacity: 0.9;
font-size: 14px;
}
.tool-comparison-grid {
display: grid;
grid-template-columns: repeat(auto-fit, minmax(300px, 1fr));
gap: 24px;
margin: 32px 0;
}
.tool-card {
background: white;
border: 1px solid #e2e8f0;
border-radius: 12px;
padding: 24px;
box-shadow: 0 2px 4px rgba(0,0,0,0.05);
transition: all 0.2s ease;
}
.tool-card:hover {
box-shadow: 0 8px 24px rgba(0,0,0,0.1);
transform: translateY(-2px);
}
.tool-card h4 {
color: #1a202c;
margin: 0 0 16px 0;
font-size: 18px;
font-weight: 600;
}
.tool-card ul {
margin: 0;
padding-left: 20px;
}
.tool-card li {
margin: 8px 0;
font-size: 14px;
color: #4a5568;
}
.comparison-table-container {
overflow-x: auto;
border-radius: 12px;
box-shadow: 0 4px 6px rgba(0, 0, 0, 0.1);
margin: 24px 0;
}
.comparison-table {
width: 100%;
border-collapse: collapse;
font-size: 14px;
}
.comparison-table th {
background: #f8fafc;
color: #1a202c;
padding: 16px;
font-weight: 600;
text-align: left;
border-bottom: 2px solid #e2e8f0;
}
.comparison-table td {
padding: 12px 16px;
border-bottom: 1px solid #e2e8f0;
vertical-align: top;
}
.comparison-table tr:hover {
background-color: #f8fafc;
}
.pros-cons {
display: grid;
grid-template-columns: 1fr 1fr;
gap: 24px;
margin: 20px 0;
}
.pros-cons-section {
background: #f8fafc;
padding: 20px;
border-radius: 8px;
}
.pros-cons-section h4 {
margin: 0 0 12px 0;
font-size: 16px;
font-weight: 600;
}
.pros-cons-section.pros h4 {
color: #059669;
}
.pros-cons-section.cons h4 {
color: #dc2626;
}
.pros-cons-section ul {
margin: 0;
padding-left: 20px;
}
.pros-cons-section li {
margin: 8px 0;
font-size: 14px;
}
.faq-section {
background: #f8fafc;
border-radius: 12px;
padding: 40px;
margin: 40px 0;
}
.faq-item {
border-bottom: 1px solid #e2e8f0;
padding: 24px 0;
margin: 0;
}
.faq-item:last-child {
border-bottom: none;
padding-bottom: 0;
}
.faq-item:first-child {
padding-top: 0;
}
.faq-question {
font-weight: 600;
color: #1a202c;
margin: 0 0 16px 0;
font-size: 18px;
line-height: 1.4;
}
.faq-answer {
color: #4a5568;
line-height: 1.7;
margin: 0;
font-size: 15px;
}
.stat-highlight {
background: linear-gradient(135deg, #10b981 0%, #047857 100%);
color: white;
padding: 32px;
border-radius: 16px;
text-align: center;
margin: 32px 0;
}
.stat-grid {
display: grid;
grid-template-columns: repeat(auto-fit, minmax(200px, 1fr));
gap: 24px;
margin-top: 24px;
}
.stat-item {
background: rgba(255,255,255,0.1);
padding: 20px;
border-radius: 8px;
}
.stat-number {
font-size: 32px;
font-weight: bold;
margin-bottom: 8px;
}
.stat-label {
font-size: 14px;
opacity: 0.9;
}
.workflow-phase {
border: 1px solid #e2e8f0;
border-radius: 12px;
margin: 24px 0;
overflow: hidden;
transition: box-shadow 0.2s;
background: white;
}
.workflow-phase:hover {
box-shadow: 0 4px 12px rgba(0, 0, 0, 0.1);
}
.workflow-phase-header {
background: #f8fafc;
padding: 24px;
border-bottom: 1px solid #e2e8f0;
}
.workflow-phase-badge {
background: #667eea;
color: white;
width: 32px;
height: 32px;
border-radius: 50%;
display: inline-flex;
align-items: center;
justify-content: center;
font-weight: bold;
margin-right: 16px;
}
.workflow-phase-title {
display: inline-block;
font-size: 24px;
font-weight: bold;
margin: 0;
color: #1a202c;
}
.workflow-phase-subtitle {
color: #64748b;
font-size: 16px;
margin: 8px 0 0 48px;
}
.workflow-phase-content {
padding: 24px;
}
@media (max-width: 768px) {
.pros-cons {
grid-template-columns: 1fr;
}
.quick-start-grid {
grid-template-columns: 1fr;
}
.tool-comparison-grid {
grid-template-columns: 1fr;
}
}
</style>
视频编辑可能会让人感到不知所措——数小时的素材、无数次的拍摄以及无休止的修订。但是,借助正确的工作流程,您可以将混乱转化为简化的、高效的流程,从而始终如一地提供专业的结果。在2025年,成功的创作者正在使用这些经过验证的策略,将编辑时间缩短50%,同时提高质量。
<div style="background: linear-gradient(135deg, #667eea 0%, #764ba2 100%); border-radius: 12px; padding: 2rem; color: white; margin: 2rem 0; text-align: center;">
<h3 style="color: white; margin-bottom: 1rem;">🎬 在本指南中,您将学到什么</h3>
<div style="display: grid; grid-template-columns: repeat(auto-fit, minmax(200px, 1fr)); gap: 1rem; margin-top: 1.5rem;">
<div>📁 项目组织策略</div>
<div>⚡ 快速编辑技巧</div>
<div>🎯 质量优化方法</div>
<div>🔄 工作流程自动化提示</div>
</div>
</div>
无论您是编辑 YouTube 内容、公司视频还是社交媒体剪辑,这些工作流程技巧都将帮助您更智能地工作,而不是更努力地工作。让我们深入了解专业编辑人员用于保持一致性和效率的策略。
## 快速开始:选择您的编辑路径
<div class="quick-start-grid">
<div class="quick-start-card">
<h3>🎬 初学者</h3>
<p>从基本的组织和简单的编辑技术开始,使用用户友好的软件</p>
</div>
<div class="quick-start-card">
<h3>⚡ 中级</h3>
<p>掌握键盘快捷键并实施三遍编辑系统</p>
</div>
<div class="quick-start-card">
<h3>🛠️ 高级</h3>
<p>使用代理工作流程和高级自动化来优化性能</p>
</div>
<div class="quick-start-card">
<h3>🏢 专业</h3>
<p>实施团队协作工作流程和 AI 驱动的编辑功能</p>
</div>
</div>
## 预制作:为成功做好准备
高效编辑工作流程的基础在您打开编辑软件之前很久就开始了。适当的预制作计划可以在编辑阶段节省数小时。
#
## 项目组织框架
<div class="workflow-card">
<div class="workflow-step">1</div>
<h4>创建一致的文件夹结构</h4>
<p>为每个项目建立标准化的组织系统:</p>
<div style="background: #f8fafc; padding: 1.5rem; border-radius: 8px; margin: 1rem 0; font-family: monospace; font-size: 14px;">
Project_Name/<br>
├── 01_Raw_Footage/<br>
│ ├── Camera_A/<br>
│ ├── Camera_B/<br>
│ └── Audio/<br>
├── 02_Assets/<br>
│ ├── Graphics/<br>
│ ├── Music/<br>
│ └── Sound_Effects/<br>
├── 03_Exports/<br>
│ ├── Rough_Cuts/<br>
│ ├── Final_Versions/<br>
│ └── Social_Media/<br>
└── 04_Project_Files/<br>
├── Premiere_Pro/<br>
├── After_Effects/<br>
└── DaVinci_Resolve/
</div>
<div style="background: #ecfdf5; padding: 1rem; border-radius: 8px; margin-top: 1rem;">
<strong>💡 专业提示:</strong> 在所有项目中使用一致的命名约定。这使得查找文件和与团队成员协作变得更加容易。
</div>
</div>
<div class="workflow-card">
<div class="workflow-step">2</div>
<h4>镜头记录和元数据</h4>
<p>在编辑之前,创建一个全面的镜头记录,其中包括:</p>
<ul>
<li><strong>镜头编号和描述</strong>,便于识别</li>
<li><strong>时间码入点和出点</strong>,用于精确编辑</li>
<li><strong>质量评级(1-5 星)</strong>,用于标记最佳镜头</li>
<li><strong>关于内容和技术问题的注释</strong>,供参考</li>
<li><strong>标记的最佳镜头</strong>,便于识别</li>
</ul>
<div style="background: #fef3c7; padding: 1rem; border-radius: 8px; margin-top: 1rem;">
<strong>⏱️ 节省时间:</strong> 通过消除在编辑过程中搜索素材的需求,这个简单的步骤可以将您的编辑时间缩短 30%。
</div>
</div>
## 三遍编辑系统
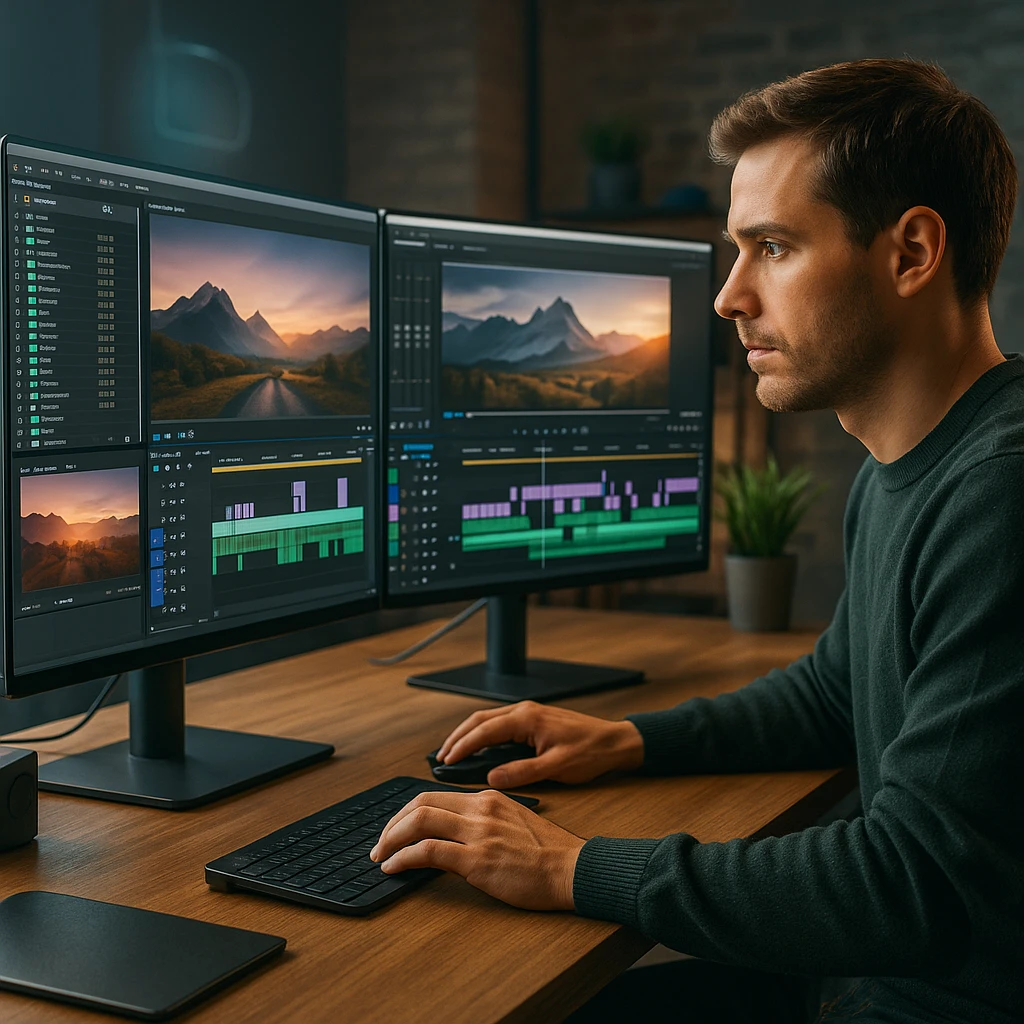
专业编辑人员使用系统的方法来避免过早地迷失在细节中。这是经过验证的三遍系统:
<div class="workflow-phase">
<div class="workflow-phase-header">
<div class="workflow-phase-badge">1</div>
<div class="workflow-phase-title">装配编辑(全局)</div>
<div class="workflow-phase-subtitle">创建一个讲述故事的粗略版本</div>
</div>
<div class="workflow-phase-content">
<p><strong>时间分配:</strong> 占总编辑时间的 20%</p>
<div class="pros-cons">
<div class="pros-cons-section pros">
<h4>✅ 该做什么</h4>
<ul>
<li>导入所有素材并按场景组织</li>
<li>使用最佳镜头创建基本时间线</li>
<li>专注于内容和流程,而不是技术上的完美</li>
<li>建立整体故事结构</li>
</ul>
</div>
<div class="pros-cons-section cons">
<h4>❌ 不该做什么</h4>
<ul>
<li>花时间进行精确的剪切</li>
<li>添加效果或过渡</li>
<li>校正单个剪辑的颜色</li>
<li>混合音频电平</li>
</ul>
</div>
</div>
</div>
</div>
<div class="workflow-phase">
<div class="workflow-phase-header">
<div class="workflow-phase-badge">2</div>
<div class="workflow-phase-title">细化(细节)</div>
<div class="workflow-phase-subtitle">润色编辑并改善节奏</div>
</div>
<div class="workflow-phase-content">
<p><strong>时间分配:</strong> 占总编辑时间的 60%</p>
<div class="pros-cons">
<div class="pros-cons-section pros">
<h4>✅ 该做什么</h4>
<ul>
<li>微调剪切和时间</li>
<li>添加过渡和基本效果</li>
<li>开始颜色校正</li>
<li>开始音频混合</li>
<li>添加图形和标题</li>
</ul>
</div>
<div class="pros-cons-section cons">
<h4>❌ 不该做什么</h4>
<ul>
<li>进行重大的结构更改</li>
<li>完善每个细节</li>
<li>添加最终音乐或音效</li>
<li>专注于技术上的完美</li>
</ul>
</div>
</div>
</div>
</div>
<div class="workflow-phase">
<div class="workflow-phase-header">
<div class="workflow-phase-badge">3</div>
<div class="workflow-phase-title">抛光(最后的润色)</div>
<div class="workflow-phase-subtitle">完善技术方面</div>
</div>
<div class="workflow-phase-content">
<p><strong>时间分配:</strong> 占总编辑时间的 20%</p>
<div class="pros-cons">
<div class="pros-cons-section pros">
<h4>✅ 该做什么</h4>
<ul>
<li>最终颜色分级</li>
<li>完成音频混合和母带处理</li>
<li>添加最终音乐和音效</li>
<li>导出并在不同的设备上测试</li>
</ul>
</div>
<div class="pros-cons-section cons">
<h4>❌ 不该做什么</h4>
<ul>
<li>进行结构更改</li>
<li>添加新内容</li>
<li>更改整体故事</li>
<li>仓促进行最终质量检查</li>
</ul>
</div>
</div>
</div>
</div>
## 快速编辑技巧
#
## 基本键盘快捷键
<div class="tool-comparison-grid">
<div class="tool-card">
<h4>🎬 Adobe Premiere Pro</h4>
<ul>
<li><strong>Q</strong> - 波纹编辑工具</li>
<li><strong>W</strong> - 滚动编辑工具</li>
<li><strong>E</strong> - 扩展编辑</li>
<li><strong>R</strong> - 速率拉伸工具</li>
<li><strong>C</strong> - 剃刀工具</li>
<li><strong>JKL</strong> - 播放控制</li>
</ul>
</div>
<div class="tool-card">
<h4>🎨 DaVinci Resolve</h4>
<ul>
<li><strong>B</strong> - 刀片工具</li>
<li><strong>A</strong> - 选择工具</li>
<li><strong>T</strong> - 修剪工具</li>
<li><strong>F</strong> - 修剪到播放头</li>
<li><strong>Z</strong> - 缩放工具</li>
<li><strong>JKL</strong> - 播放控制</li>
</ul>
</div>
<div class="tool-card">
<h4>⚡ 快速工作流程提示</h4>
<ul>
<li><strong>使用 JKL 导航</strong> 进行快速播放控制</li>
<li><strong>使用 I 和 O 键标记入点/出点</strong></li>
<li><strong>将剪辑直接拖动</strong> 到时间线以加快装配速度</li>
<li><strong>批量操作</strong> 多个剪辑</li>
</ul>
</div>
</div>
#
## 大型项目的代理工作流程
<div class="workflow-card">
<div class="workflow-step">1</div>
<h4>在导入期间创建代理</h4>
<p>生成较低分辨率的素材版本,以实现流畅的编辑性能。</p>
</div>
<div class="workflow-card">
<div class="workflow-step">2</div>
<h4>使用代理进行编辑</h4>
<p>使用代理文件进行流畅的播放和响应迅速的编辑体验。</p>
</div>
<div class="workflow-card">
<div class="workflow-step">3</div>
<h4>切换到原始媒体</h4>
<p>使用原始高分辨率素材进行最终导出和颜色分级。</p>
</div>
<div class="workflow-card">
<div class="workflow-step">4</div>
<h4>智能渲染</h4>
<p>仅渲染已更改的部分,以节省时间和处理能力。</p>
</div>
## 质量优化策略
#
## 颜色分级工作流程
<div class="workflow-phase">
<div class="workflow-phase-header">
<div class="workflow-phase-badge">1</div>
<div class="workflow-phase-title">技术校正</div>
<div class="workflow-phase-subtitle">修复曝光、白平衡和颜色问题</div>
</div>
<div class="workflow-phase-content">
<ul>
<li>修复曝光和白平衡</li>
<li>确保适当的对比度和饱和度</li>
<li>纠正任何颜色偏差</li>
<li>匹配场景中的镜头</li>
</ul>
</div>
</div>
<div class="workflow-phase">
<div class="workflow-phase-header">
<div class="workflow-phase-badge">2</div>
<div class="workflow-phase-title">创意分级</div>
<div class="workflow-phase-subtitle">应用您的创意外观和风格</div>
</div>
<div class="workflow-phase-content">
<ul>
<li>应用您的创意外观</li>
<li>匹配场景中的镜头</li>
<li>创建视觉一致性</li>
<li>建立情绪和氛围</li>
</ul>
</div>
</div>
<div class="workflow-phase">
<div class="workflow-phase-header">
<div class="workflow-phase-badge">3</div>
<div class="workflow-phase-title">最终润色</div>
<div class="workflow-phase-subtitle">添加最后的润色并确保广播安全</div>
</div>
<div class="workflow-phase-content">
<ul>
<li>如果需要,添加胶片颗粒或纹理</li>
<li>确保广播安全级别</li>
<li>在不同的显示器上测试</li>
<li>最终质量检查</li>
</ul>
</div>
</div>
#
## 音频混合最佳实践
<div class="comparison-table-container">
<table class="comparison-table">
<thead>
<tr>
<th>音频元素</th>
<th>目标电平</th>
<th>目的</th>
<th>处理</th>
</tr>
</thead>
<tbody>
<tr>
<td><strong>对话</strong></td>
<td>-12dB 到 -6dB</td>
<td>最清晰和最重要</td>
<td>降噪、压缩</td>
</tr>
<tr>
<td><strong>音乐</strong></td>
<td>-20dB 到 -16dB</td>
<td>支持,而不是竞争</td>
<td>EQ、侧链压缩</td>
</tr>
<tr>
<td><strong>音效</strong></td>
<td>-18dB 到 -12dB</td>
<td>增强,不要分散注意力</td>
<td>混响、EQ</td>
</tr>
<tr>
<td><strong>环境声音</strong></td>
<td>-24dB 到 -20dB</td>
<td>微妙的背景</td>
<td>低通滤波器</td>
</tr>
</tbody>
</table>
</div>
## 工作流程自动化和集成

#
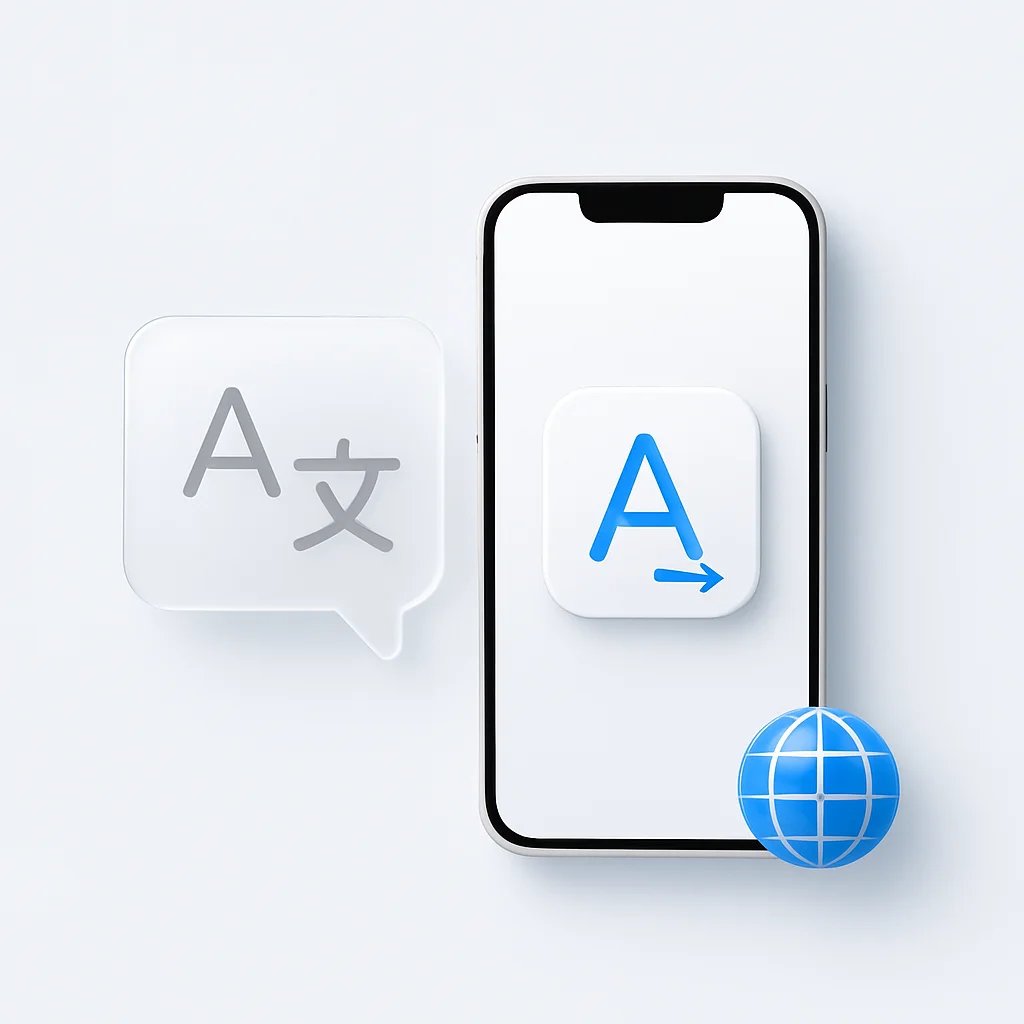
## 自动转录和字幕
<div class="workflow-card">
<div class="workflow-step">1</div>
<h4>上传您的视频</h4>
<p>使用 AI 驱动的转录服务自动生成带有时间戳的准确转录。</p>
</div>
<div class="workflow-card">
<div class="workflow-step">2</div>
<h4>生成字幕</h4>
<p>创建多种格式(SRT、VTT)的字幕,以满足不同平台和可访问性需求。</p>
</div>
<div class="workflow-card">
<div class="workflow-step">3</div>
<h4>集成到时间线</h4>
<p>将字幕直接导入到您的编辑时间线中,以实现精确同步。</p>
</div>
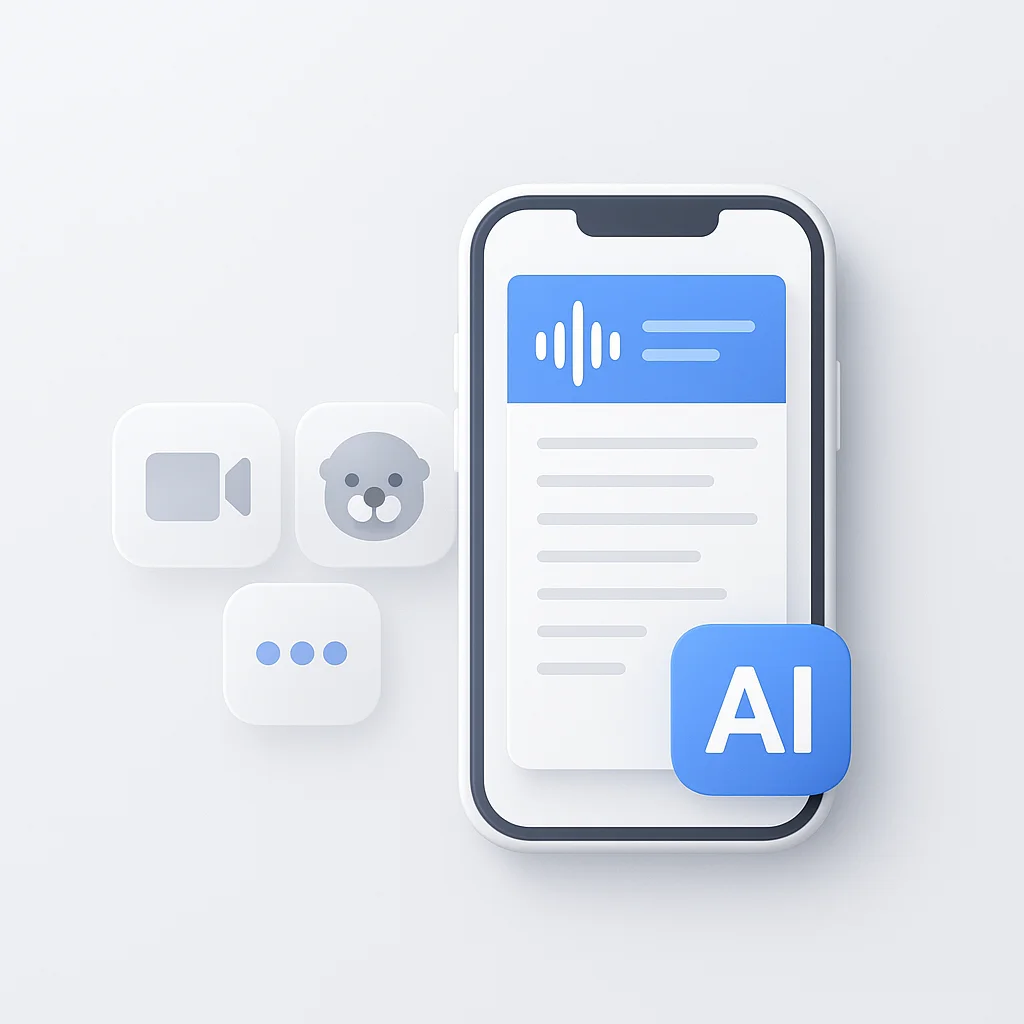
<div style="background: #f0f9ff; border: 1px solid #0ea5e9; border-radius: 8px; padding: 16px; margin: 20px 0;">
<h4 style="color: #0369a1; margin-bottom: 8px;">🤖 AI 集成提示</h4>
<p style="margin: 0;">对于会议内容,请考虑使用<a href="/features/meeting-bot" style="color: #0369a1;">AI 会议助手</a>在编辑之前自动转录和总结您的录音。</p>
</div>
## 避免常见的Workflow错误
<div class="pros-cons">
<div class="pros-cons-section pros">
<h4>✅ 最佳实践</h4>
<ul>
<li>首先关注大局,稍后关注细节</li>
<li>建立并坚持一致的组织系统</li>
<li>对高分辨率素材使用代理工作流程</li>
<li>始终记录素材并计划您的编辑结构</li>
<li>构建和维护模板和预设库</li>
</ul>
</div>
<div class="pros-cons-section cons">
<h4>❌ 常见错误</h4>
<ul>
<li>过早地在次要细节上花费太多时间</li>
<li>组织混乱的项目会减慢工作流程</li>
<li>在功能不足的系统上使用高分辨率素材</li>
<li>没有适当的计划就直接开始编辑</li>
<li>为每个项目重新创建相同的元素</li>
</ul>
</div>
</div>
## 性能优化
#
## 硬件考虑因素
<div class="tool-comparison-grid">
<div class="tool-card">
<h4>💻 最低要求</h4>
<ul>
<li><strong>CPU:</strong> 多核处理器(建议 8 核以上)</li>
<li><strong>RAM:</strong> 16GB 最小,4K 项目 32GB+</li>
<li><strong>存储:</strong> 快速 SSD 用于项目文件和缓存</li>
<li><strong>GPU:</strong> 用于加速的专用显卡</li>
</ul>
</div>
<div class="tool-card">
<h4>⚡ 优化提示</h4>
<ul>
<li>对媒体和缓存使用单独的驱动器</li>
<li>定期清理缓存和临时文件</li>
<li>在编辑时关闭不必要的应用程序</li>
<li>定期更新驱动程序和软件</li>
</ul>
</div>
</div>
## 常见问题
<div style="background: #f8fafc; border-radius: 12px; padding: 48px; margin: 48px 0;">
<h3 style="margin: 0 0 32px 0; color: #1a202c; font-size: 24px; font-weight: 600;">关于视频编辑工作流程的常见问题</h3>
<div style="border-bottom: 1px solid #e2e8f0; padding: 32px 0; margin: 0;">
<div style="font-weight: 600; color: #1a202c; margin: 0 0 20px 0; font-size: 18px; line-height: 1.4;">实施高效的编辑工作流程需要多长时间?</div>
<div style="color: #4a5568; line-height: 1.7; margin: 0; font-size: 15px;">基本工作流程设置需要 1-2 周,而掌握高级技术可能需要 1-3 个月。从三遍系统开始,然后逐步添加自动化工具,以实现最大效率。</div>
</div>
<div style="border-bottom: 1px solid #e2e8f0; padding: 32px 0; margin: 0;">
<div style="font-weight: 600; color: #1a202c; margin: 0 0 20px 0; font-size: 18px; line-height: 1.4;">工作流程优化通常可以节省多少时间?</div>
<div style="color: #4a5568; line-height: 1.7; margin: 0; font-size: 15px;">大多数编辑人员在第一个月内的时间减少了 30-50%。具有自动化的高级工作流程可以实现 60-70% 的更快编辑,同时提高质量和一致性。</div>
</div>
<div style="border-bottom: 1px solid #e2e8f0; padding: 32px 0; margin: 0;">
<div style="font-weight: 600; color: #1a202c; margin: 0 0 20px 0; font-size: 18px; line-height: 1.4;">我是否需要昂贵的软件来创建高效的工作流程?</div>
<div style="color: #4a5568; line-height: 1.7; margin: 0; font-size: 15px;">否。像 DaVinci Resolve 这样的免费工具提供专业级功能。专注于组织、键盘快捷键和三遍编辑系统,而不是昂贵的软件。</div>
</div>
<div style="border-bottom: 1px solid #e2e8f0; padding: 32px 0; margin: 0;">
<div style="font-weight: 600; color: #1a202c; margin: 0 0 20px 0; font-size: 18px; line-height: 1.4;">如何确保多个项目的一致质量?</div>
<div style="color: #4a5568; line-height: 1.7; margin: 0; font-size: 15px;">创建模板项目,构建预设库,建立命名约定,并为每个项目使用相同的工作流程结构。一致性来自系统的流程,而不是个人的努力。</div>
</div>
<div style="padding: 32px 0 0 0; margin: 0;">
<div style="font-weight: 600; color: #1a202c; margin: 0 0 20px 0; font-size: 18px; line-height: 1.4;">如果我的工作流程在项目中中断怎么办?</div>
<div style="color: #4a5568; line-height: 1.7; margin: 0; font-size: 15px;">建立备份系统,对项目文件使用版本控制,维护有组织的备份,并与客户和团队成员建立清晰的沟通协议,以实现顺利恢复。</div>
</div>
</div>
## 入门:您的行动计划
<div class="workflow-card">
<div class="workflow-step">1</div>
<h4>第 1 周:基础</h4>
<ul>
<li>设置您的项目组织系统</li>
<li>创建模板项目和预设</li>
<li>学习基本的键盘快捷键</li>
<li>建立您的三遍编辑工作流程</li>
</ul>
</div>
<div class="workflow-card">
<div class="workflow-step">2</div>
<h4>第 2 周:优化</h4>
<ul>
<li>为大型项目实施代理工作流程</li>
<li>设置自动备份系统</li>
<li>创建您的第一个批处理脚本</li>
<li>优化您的硬件和软件设置</li>
</ul>
</div>
<div class="workflow-card">
<div class="workflow-step">3</div>
<h4>第 3 周:集成</h4>
<ul>
<li>连接转录和字幕服务</li>
<li>为团队项目设置协作工具</li>
<li>创建客户审核工作流程</li>
<li>建立质量控制检查表</li>
</ul>
</div>
<div class="workflow-card">
<div class="workflow-step">4</div>
<h4>第 4 周:高级功能</h4>
<ul>
<li>掌握多机位编辑技术</li>
<li>学习高级颜色分级工作流程</li>
<li>实施运动图形集成</li>
<li>探索 AI 驱动的编辑功能</li>
</ul>
</div>
## 结论:构建您完美的工作流程
成功视频编辑的关键不仅仅在于拥有合适的工具,还在于拥有合适的工作流程。通过实施这些策略,您将创建一个高效、一致且可扩展的系统。
<div class="stat-highlight">
<h3 style="color: white; margin-bottom: 1.5rem;">🎬 准备好改变您的编辑了吗?</h3>
<p style="margin-bottom: 1.5rem; font-size: 1.1rem;">立即开始实施这些工作流程提示,并观看您的编辑效率飙升。</p>
<div class="stat-grid">
<div class="stat-item">
<div class="stat-number">50%</div>
<div class="stat-label">更快的编辑速度</div>
</div>
<div class="stat-item">
<div class="stat-number">30%</div>
<div class="stat-label">节省时间</div>
</div>
<div class="stat-item">
<div class="stat-number">100%</div>