オーディオを自在に操り、プレゼンテーションを強化しましょう
On this page
プレゼンテーションに、もう一段階インパクトを加えたいと思いませんか?聴衆を魅了し、忘れられない印象を与えたいですか?もう探す必要はありません!この包括的なガイドは、プレゼンテーションにオーディオを追加する技術を習得するのに役立ちます。退屈なスライドショーに別れを告げ、まったく新しいレベルのエンゲージメントを迎えましょう。あなたのプレゼンテーションを、平凡から非凡に変える準備をしましょう!
はじめに
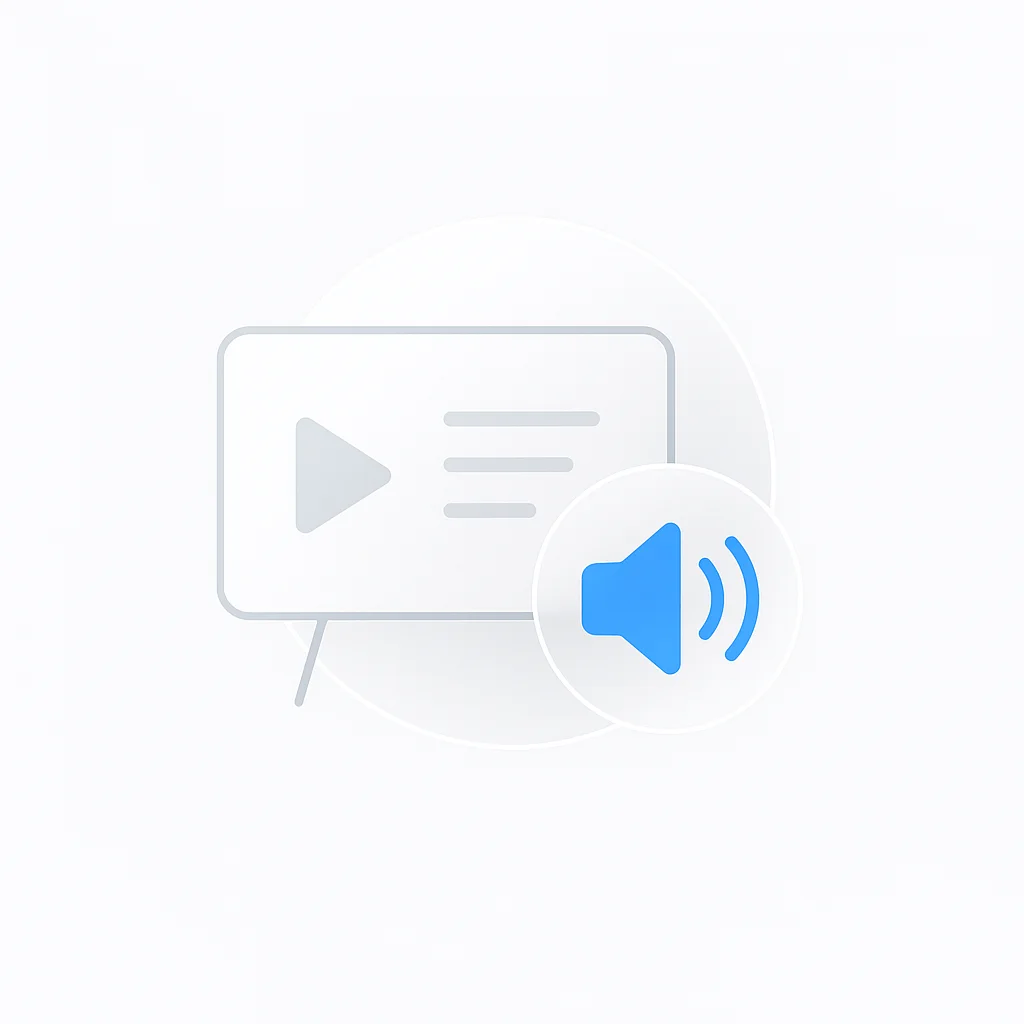
今日のペースの速いデジタル世界では、記憶に残る効果的なPowerPointプレゼンテーションを行うには、魅力的なビジュアルと簡潔なテキストだけでは不十分です。丁寧に作成されたナレーションを追加することで、プレゼンテーション全体のインパクトを大幅に高めることができます。
ナレーションはスライドに命を吹き込み、共有される情報をパーソナライズすることで、聴衆がコンテンツとつながりやすくなります。考え抜かれて統合されたナレーションは、貴重なコンテキストを提供し、複雑なアイデアを明確にし、聴衆をプレゼンテーションへと導きます。この追加されたコミュニケーションレイヤーは、聴衆の関心を維持し、情報の保持を改善し、アクティブラーニングを促進します。
必要な機材:
PowerPointプレゼンテーション用に高品質のナレーションを録音するには、次の機材が不可欠です。
- マイク: 内蔵マイクよりも、外部マイクの方が音質が優れています。USBマイクは費用対効果が高く、比較的優れた性能を発揮します。
- ポップフィルター: これは、話者とマイクの間に配置されるスクリーンで、「p」または「b」の音を含む単語を発音するときに発生する可能性のあるポップノイズを低減します。
- ヘッドホン: 密閉型ヘッドホンを使用すると、バックグラウンドノイズやオーディオの問題がないか録音を監視できます。
また、最高の品質のナレーションは、気が散るものが最小限で、バックグラウンドノイズの発生源がない静かな環境で作られることに注意することも重要です。録音が最高の品質基準を満たしていることを確認するには、Audio Enhancerツールを使用して、不要なノイズを簡単に除去してみてください。
この記事では、PowerPointスライドにナレーションを追加する3つの異なる方法を探ります。最後までには、プレゼンテーションを改善する魅力的なナレーションを作成するために必要な知識とツールを習得できます。
リボンの録音ツール
PowerPointのリボンは、PowerPointウィンドウの上部にあるツールバーです。インタラクティブなプレゼンテーションを作成するためのさまざまなツールとオプションが用意されています。ユーザーは、書式設定、マルチメディアの挿入、トランジションの適用、カスタムアニメーションのデザインなど、リボンを使用してコマンドや機能に簡単にアクセスできます。
リボンでツールにアクセスする手順:
- PowerPointプレゼンテーションを開き、リボンがウィンドウの上部に表示されていることを確認します。(表示されたままになるようにピン留めできます)
- リボンの任意の場所を右クリックして、カスタマイズオプションを開きます。
- [PowerPointのオプション]ウィンドウで、左側の[リボンのユーザー設定]をクリックします。
- 右側に、リボンの項目のリストが表示されます。下にスクロールして、[録音]オプションを見つけます。
- [録音]の横にあるチェックボックスをオンにし、[OK]をクリックして変更を適用します。
- これで、リボンに[録音]という新しいタブが表示され、必要な録音ツールをすべて1か所で見つけることができます。
オーディオの挿入:
リボンを使用してオーディオを追加するには2つの異なる方法があり、どちらも手順を以下に示します。
PCから:
- ナレーションを追加するスライドを選択します。
- リボンの[録音]タブを見つけます。
- [オーディオの挿入]ボタンをクリックします。
- ドロップダウンメニューから[PC上のオーディオ]を選択します。
- コンピューターからオーディオファイルを参照して選択します。
- [挿入]をクリックして、オーディオを追加します。
ナレーションの録音:
- ナレーションを追加するスライドを選択します。
- リボンの[録音]タブに移動します。
- [サウンドの録音]オプションをクリックします。
- [録音]ボタンをクリックして、ナレーションの録音を開始します。
- 完了したら、[停止]ボタンを押します。
- 必要に応じて、[再生]アイコンを使用して録音を確認します。
- [OK]をクリックして、ナレーションの挿入を完了します。
リボンを使用すると、事前に録音されたオーディオファイルを挿入したり、PowerPoint内で直接サウンドを録音したりすることで、PowerPointスライドにナレーションを追加できます。カスタマイズオプションを使用すると、ナレーションが特定のニーズを満たしていることを確認でき、プレゼンテーションがインタラクティブになり、聴衆の関心を維持できます。
スライドショーの録音
[録音]タブの追加:
PowerPointでスライドショーの録音機能を利用するには、まず[録音]タブをリボンに追加する必要があります。次の手順で、その方法を説明します。
- リボンの任意の場所を右クリックして、カスタマイズオプションにアクセスします。
- [PowerPointのオプション]ウィンドウで、左側の[リボンのユーザー設定]を選択します。
- 右側で、[録音]オプションを見つけ、その横にあるチェックボックスをオンにします。
- [OK]をクリックして変更を適用します。
- [録音]タブを追加すると、スライドショーの録音に必要なすべてのツールにアクセスできるようになります。
録音の開始:
[録音]タブを追加したら、スライドショーの録音を開始できます。方法は次のとおりです。
- 録音を開始するスライドを選択します。
- リボンの[録音]タブに移動します。
- 左側にある[スライドショーの録音]ボタンをクリックします。(現在のスライドまたはプレゼンテーションの最初のスライドから録音を開始するかどうかを選択できます)
録音の一時停止と再開:
スライドショーの録音では、次の手順に従って、個々のスライドの録音を一時停止、再開、および管理できます。
- 録音中に一時停止する必要がある場合は、左上隅にある[一時停止]ボタンをクリックします。
- 録音を再開するには、[再開]ボタンをクリックします。
- 特定のスライドの録音をやり直す場合は、左側のスライドサムネイルビューでスライドをクリックします。これにより、現在のスライドの録音が停止し、選択したスライドの新しい録音が開始されます。
タイミングと再生オプション:
録音が完了したら、スライドのタイミングと再生オプションを設定して、再生中にスライドが自動的に進むように制御できます。方法は次のとおりです。
- リボンの[録音]タブにアクセスします。
- [スライドショー]ボタンをクリックして、[スライドショー]タブを表示します。
- [スライドショー]タブで、録音されたタイミングを使用するか、スライドのタイミングを手動で設定するかを選択できます。
- また、ナレーションを自動的に再生するか、視聴者による手動制御が必要かを指定することもできます。
[スライドショーの録音]ビューとその関連機能を利用すると、ナレーションを各スライドと同期させることができ、作成されるプレゼンテーションの品質が向上します。個々のスライドの録音を一時停止、再開、および管理できる機能により、柔軟性と最終結果の制御が可能になります。スライドのタイミングと再生オプションを設定すると、聴衆にシームレスな再生体験が保証され、スライドショーの録音の効果が高まります。
外部ソフトウェアの支援
外部ソフトウェアを使用すると、プレゼンテーションのオーディオ機能を大幅に拡張し、聴衆をまったく新しいレベルで引き込むことができます。プレゼンテーションにオーディオを追加できるソフトウェアの例を次に示します。
-
Audacity:Audacityは、プレゼンテーション用のオーディオをインポート、編集、および拡張できる無料のオーディオ編集ソフトウェアです。オーディオファイルを簡単にトリミング、結合、またはエフェクトを適用して、プレゼンテーションのコンテンツと完全に一致するようにすることができます。
-
Adobe Audition:Adobe Auditionは、オーディオの編集とミキシングのための包括的なツールセットを提供します。このプロフェッショナルグレードのソフトウェアを使用すると、ノイズリダクション、マルチトラック編集、その他のAdobe製品とのシームレスな統合などの高度な機能を使用して、オーディオを録音、編集、および拡張できます。
-
Prezi Video:Prezi Videoは、スライドにダイナミックなビデオオーバーレイを追加できるプレゼンテーションソフトウェアです。オーディオ録音機能を使用すると、ナレーションまたはBGMをプレゼンテーションスライドと同期させて、視覚的に魅力的で没入感のある体験を聴衆に提供できます。
-
Camtasia:Camtasiaは、堅牢なオーディオ編集機能セットを提供します。オーディオファイルをインポートしたり、ナレーションを録音したり、正確に編集したりできます。Camtasiaを使用すると、オーディオを画面録画またはプレゼンテーションスライドと同期させることができるため、チュートリアルスタイルのプレゼンテーションに最適です。
-
Filmora:Filmoraは、オーディオ編集機能を備えた使いやすいビデオ編集ソフトウェアです。オーディオファイルのインポート、ナレーションの録音、および簡単な編集が可能です。
簡単な手順で、プレゼンテーションに簡単にオーディオを追加できます。
- プレゼンテーションをソフトウェアにインポートし、オーディオを追加するスライドを選択します。
- MP3やWAVなどのさまざまなオーディオ形式から選択し、目的のオーディオファイルをインポートします。
- 次に、音量や再生時間などのオーディオ設定を調整して、プレゼンテーションに完全に適合するようにすることができます。
アクセシビリティに関する考慮事項とエチケット
アクセシビリティに関する考慮事項:
プレゼンテーションをすべての人にアクセスできるようにすることは重要な考慮事項です。プレゼンテーションでアクセシビリティを考慮することで、コンテンツがすべての人にとって理解しやすく、包括的であることを保証できます。PowerPointプレゼンテーションをアクセス可能にするためのいくつかの手順を次に示します。
- トランスクリプトを提供する: オーディオを聞いたり理解したりできない人が読めるように、ナレーションのテキスト版を提供します。これは、各スライドのスピーカーノートセクションに追加できます。
- クローズドキャプション: PowerPointには、プレゼンテーションのライブキャプションを自動的に生成する機能があります。これは、[スライドショー]タブの[字幕設定]にあります。
- 明確なビジュアル: ビジュアルが理解しやすく、ナレーションを補完していることを確認します。過度に彩度の高いグラフィックやストロボライト効果は使用しないでください。
エチケット:
プロのプレゼンテーション用にナレーションを録音するには、明瞭さ、敬意、および適切さが必要です。留意すべき点を次に示します。
- 専門用語や頭字語を避ける: 聴衆が理解できると確信できない限り、業界固有の用語や頭字語の使用は避けてください。
- 口語的な言葉遣いを避ける: 言葉遣いをプロフェッショナルに保ちます。スラングや口語的な表現は、すべての聴衆に理解されない可能性があるため避けてください。
- 明瞭かつゆっくりと話す: 聴衆があなたを理解できるようにします。明瞭に話し、言葉をはっきりと発音し、安定したペースを維持します。
- 簡潔にする: メッセージを複雑にしすぎないでください。要点を絞り、不必要な詳細は避けてください。
一般的な問題のトラブルシューティング
残念ながら、PowerPointプレゼンテーションにナレーションを追加するときに技術的な問題が発生する可能性があります。一般的な問題とその解決策を以下にまとめました。
- オーディオが再生されない: オーディオアイコンがスライド上の別の要素の後ろに隠れていないことを確認します。[再生]タブで、オーディオ設定が「再生」に設定されていることを必ず確認してください。
- オーディオ品質が低い: これは、高品質のマイクを使用するか、バックグラウンドノイズを低減するか、または外部ツールでオーディオを編集して明瞭度を向上させることで修正できます。
- オーディオがスライドと同期しない: [画面切り替え]タブで、スライドの画面切り替えタイミングを確認してください。プレゼンテーションを行う前に、[スライドショー]タブで各スライドのタイミングをリハーサルおよび録音して、流れが妨げられないようにすることができます。
結論
この包括的なガイドでは、プレゼンテーションへのオーディオの追加に関連するさまざまなコンポーネントに触れることを試みました。ナレーションの基本、必要な機器、オーディオクリップを追加する3つの方法、およびPowerPointで直接ナレーションを録音するステップバイステップのプロセスについて説明しました。さらに、アクセシビリティの重要性、トラブルシューティングのヒント、およびプロの環境におけるナレーションのエチケットについて説明しました。
インパクトのあるナレーションを作成するための鍵は、知識、テクニック、および実践の組み合わせを利用することに注意することが重要です。他のスキルと同様に、PowerPointでナレーションを習得するには時間と努力が必要です。ただし、その見返りは努力する価値があることがよくあります。
プレゼンテーションにナレーションを追加することで、情報を共有するだけでなく、自分自身の一部、そしてトピックへの情熱を共有することになります。この人間的なつながりは、プレゼンテーションをより記憶に残るものにし、メッセージを効果的に伝え、プロフェッショナルと学術の両方の追求においてあなたを際立たせることができます。